I've been so excited about this giveaway for some time now; as evidenced by the length of this post.
Lime Ricki provided our entire family with swimsuits this year & I'm completely sold on them. So sold. Lime Ricki is a local company started a few years ago that provides the world with comfortable, no-fuss swimwear. I
think I went to high school with the sisters that started the whole thing. I couldn't tell you for sure.

These suits are designed & manufactured in the U.S. with great attention to quality & detail. My incredibly talented friend,
Alma, is the woman behind all of the bright, fantastic prints. The suit I have just screams Alma! I love that I have my very own
Alma Loveland print in my wardrobe. And may I add, it's a pipe dream of mine to have my designs on clothing. I'm so excited that Alma's already there!

Hands down, this is the best-fitting suit I've owned since I spent all of my allowance money on a teal striped suit from Gap when I was 9. I love that LR has suits for every female figure from flat to curvaceous to pregnant. Just this year they've introduced a girl's line
AND a men's line! The girl's line offers a range of different tops, bikini bottoms, rash guards and shorts (I bought shorts for Felix!). The men's line is simple and ingenius; they offer a range of lengths from board shorts to euro trousers. Ever since our excursion to Brazil several years ago, I've been sold on short shorts for men. Chris has awesome legs, so I like it when he shows them off.
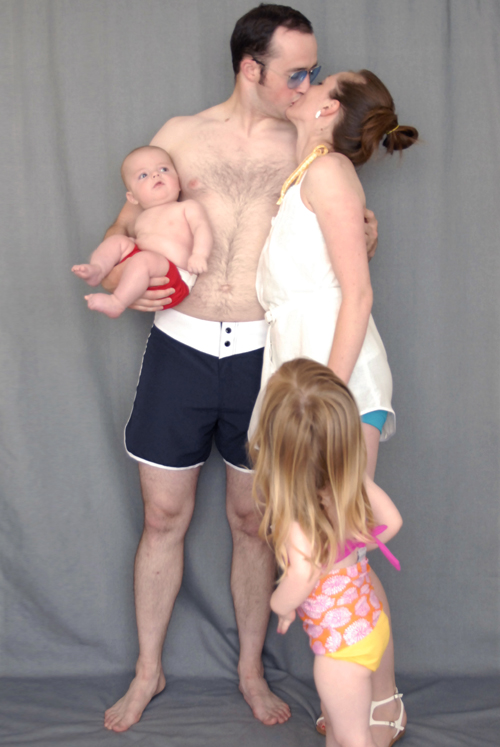
I love that P & F are both looking at us like, "what? you do that still? Gross."
My
suit is fabulous and fully-lined (as are all of their suits). I never have to adjust the bosoms & I feel perfectly covered & secure. The shorts are AH-mazing. Last year I was plotting to
make my own high-waisted boy shorts, but that never happened. While these have yet to be high waisted (that would be such a fab option, next year perhaps?) they're the perfect length. They're longer than most boy shorts & cut off just below the most unflattering part of the leg. The waistband is incredibly comfortable & perfectly constructed. I honestly LOVE my suit. No need to hide behind a cover up in this baby. I still made one anyway, though. Like it? (I'll post better pics later)
Penelope's
suit is equally fabulous. The bottoms stay put as does the top. I love the orange & pink color combo! She loves wearing it, too.

Chris's
swim trunks are the best length. I originally got the
square cut shorts for him, but Chris has very burly thighs from doing crazy heavy squats & deadlifts 3 times a week. I'm sure the 180lb Chris would've loved them, but the 210lb Chris found the legs to be a bit too tight. So an FYI, if your hubby has brauny thighs, go for the mid-length suit. Even then, Lime Ricki offers free shipping on all exchanges. They really stand behind their suits, as do I.
Since I loved their suits so much, I picked up a pair of
boy shorts (made for girls) for Felix. I figure the red color makes 'em pretty gender neutral. They fit him perfectly. He's my mini euro hipster with his little 'speedo'.

Their separates are available for $30-$40 per piece which can be a splurge at $60 per suit, but they're well worth it for the quality, style & original prints! If you're an occasional swimmer like me, they're the suits that last a few swim seasons. Currently they have some of last year's swim pieces on sale in the $10-$20 range, which is a steal. My honest advice: even if you're not going the tankini route this summer, be sure to stock up on their bottoms. You'll be glad you did.
Lime Ricki Facebook • Lime Ricki Twitter • Lime Ricki Blog
Follow Lime Ricki for exclusive deals & updates. They often offer free shipping!
 and this sign for Angela:
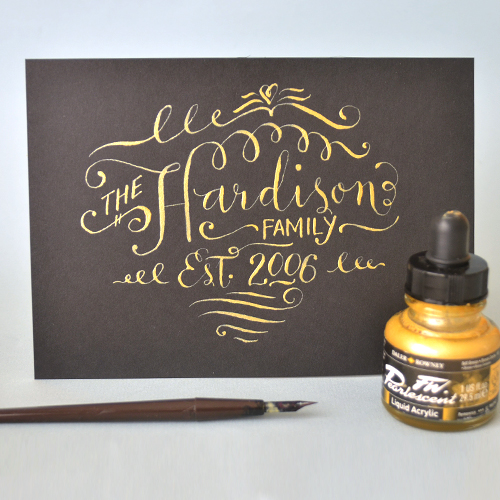 I've been meaning to get around to both for some time (like several months). I've got a couple more calligraphy/lettering projects to finish this weekend. I can't wait to show those to you, too! I've mostly been doing digital lettering these days, so it was fun to bust out the old pen & ink.
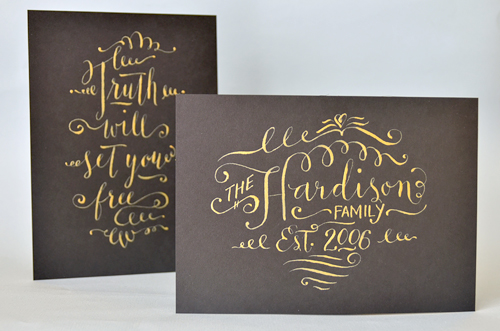 Speaking of calligraphy, who's up for a class? For those of you who are local, I'm thinking about doing a class on the 17th of September from 1-3pm. Registration is limited & will go live next week. You'll want to stay tuned. If you're not local & looking to get in on all of our calligraphy fun, don't despair! We will be filming the class in preparation for the online class I've been promising for nearly a year!


 Third: I'm currently enjoying my new favorite addiction: black licorice out of Finland. The lovely lady of
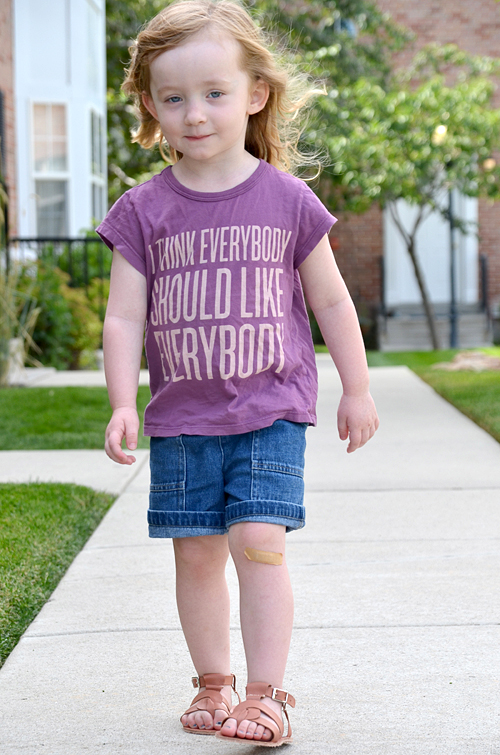
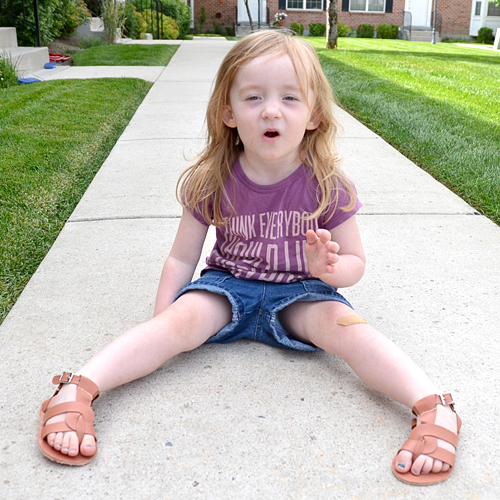
 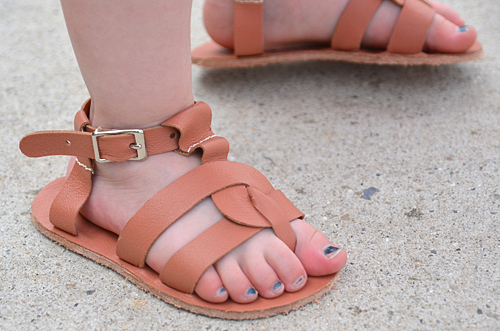 I got the buckles for 79¢ each and everything else I had on hand. Making the pattern for her was a bit tricky. First, I fleshed out what the pattern would look like on paper; then I took lightweight cotton, draped it over her foot & drew lines where I wanted the straps to go. From there I scanned it in, vectorized my drawing then printed out the pattern pieces. It was another 2 or three revisions before I figured out the fit. Even then, the fit isn't flawless. It's good, but not perfect. I sort of had a squirmy model.
 I used
 Overall this project took me 2 weeks on & off. Most of that time was spent trying to get the correct fit. Once I got the pattern nailed down, it took about 2-3 hours to make the entire shoe. It's not much more intense than binding a book, in my opinion. I used a lot of the same techniques, too.
 I love these little shoes on her & she's pretty cool with them, too. I was so afraid she wouldn't like them! Now hopefully I can make a pair for me before the snow hits the ground.
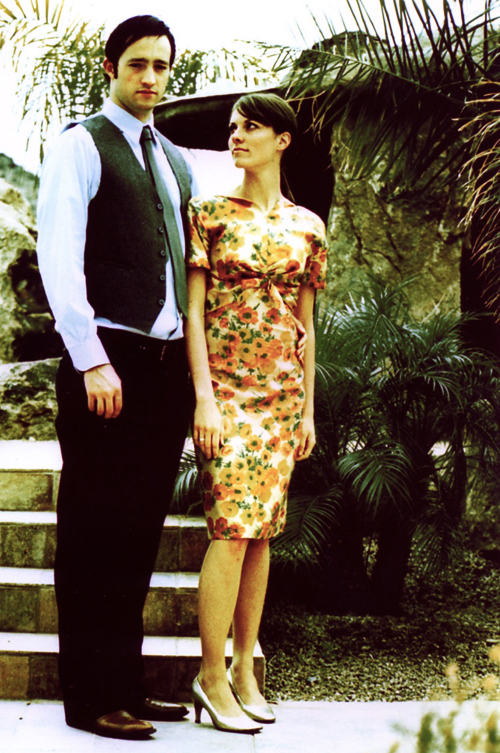
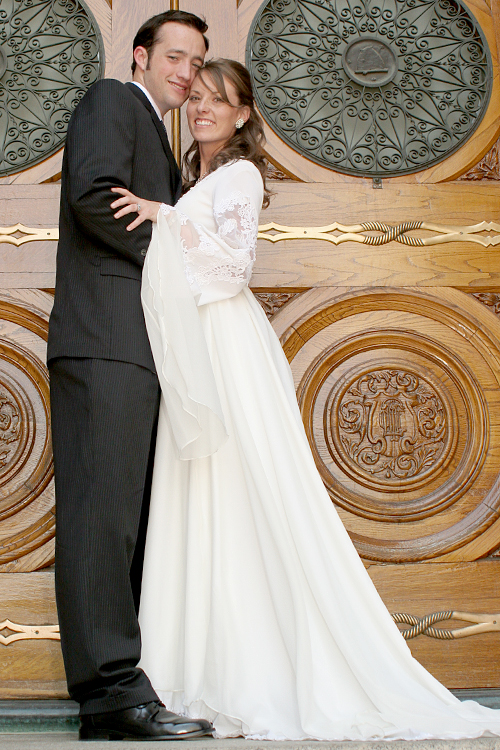
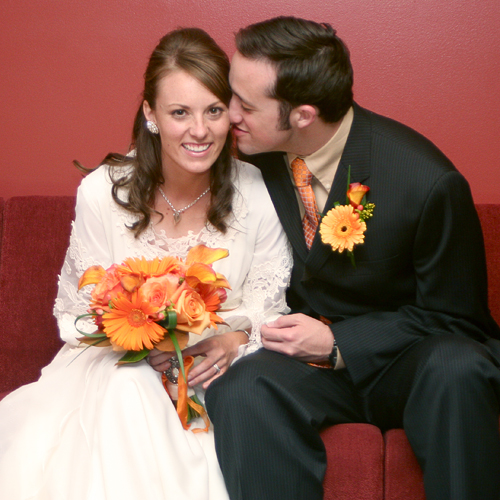
 We had known each other for 4 months before we went on our first date, but after that everything flew by pretty quickly. We said I love you after a month, we talked marriage at three, he proposed at four, he went on a two & a half month internship in Arkansas at five & four days after he got back, we were hitched. It was all just under a year of meeting each other.
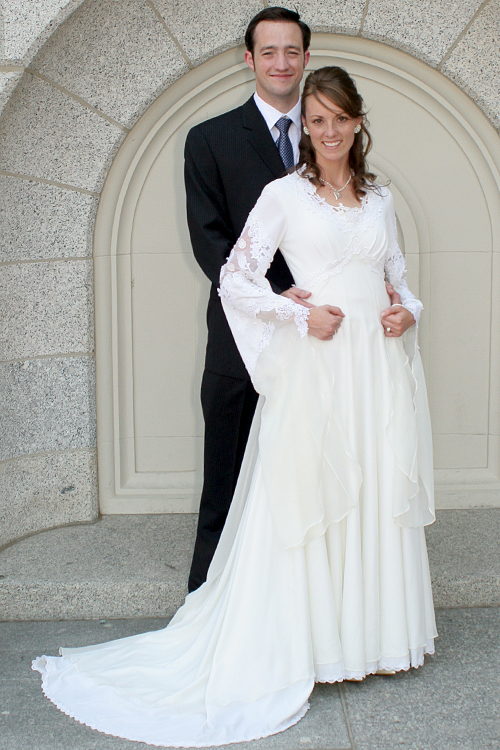 It didn't feel that fast because we are perfect for each other. Have you seen the Adjustment Bureau? We watched it last weekend (loved that movie, btw) & that's what our courtship felt like. We were just meant to be together.
 I was wearing this:





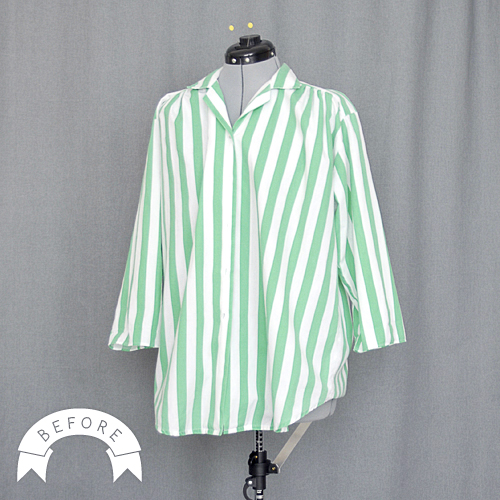 Now that I've been conditionally converted to the crop top I am seeing them pop up in shops like
  So with all that said, here's what I did with the striped shirt:

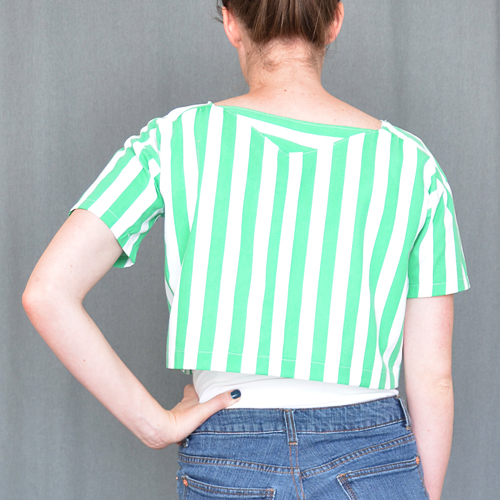 It took me a while to see it, but I'm really excited about how it turned out. Just a recap of what I did:
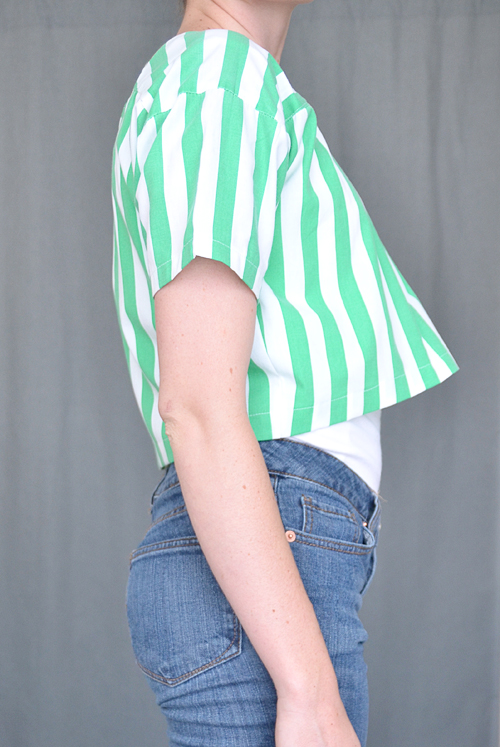 I styled this crop with high(er) wasted jeans & a tucked in undershirt – I'd consider styling crop tops like you would style a trapeze coat, with fitted items underneath. The top is really bold, so I only went for a bold pair of shoes & no jewelry. I like the simple, yet bold statement. I am a little hesitant about the bold stripes on this top, so I'm thinking I'll be trying out Rit Dye's color fade to see if I can get it to a more muted tone. The muted tone would also work better transitioning into Fall.
 You wanted to see a picture of my butt today, didn't you?
 Penelope & I went to the zoo today with my sister & nephew. I didn't want to make the same mistake of wearing pants
 I wore this yesterday. It was perfect for lounging around the house & for a bridal shower. Here I'm mixing in the high & low.

 (I'm trying to be smiley, but LBH, I'm in a bad mood)
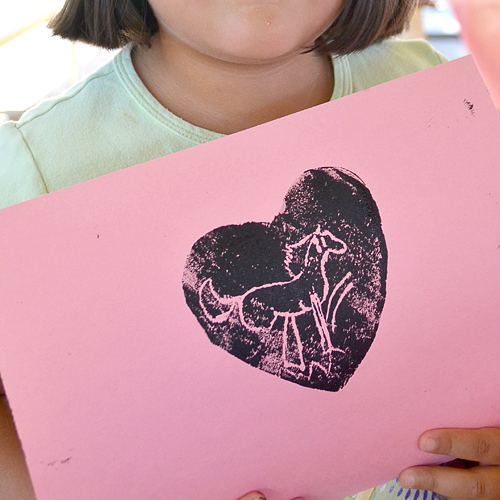
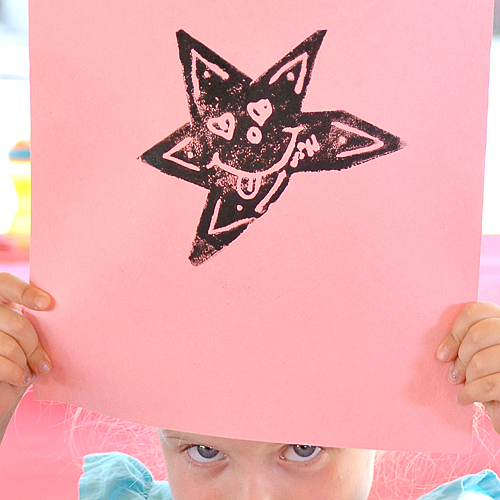
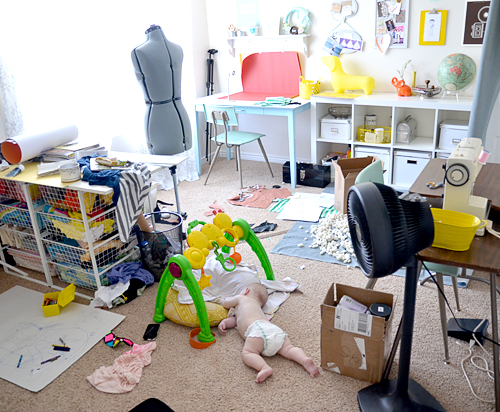 I like posting these kinds of pictures (above) every once in a while. Come on, how many people actually keep their studios clean & magazine ready?? I sure don't. I'm cooking up 4 projects simultaneously, so there's more crud around the room than usual. Let's keep it real around here; I'm a messy, messy person & I clean up pretty much only when I know visitors are coming. Do you do that? Chris doesn't. He's naturally super clean & organized. I'm going to brag: just last night he mopped the floors & did all the dishes while I was at my cousin's bridal shower. I hadn't touched the dishes since we got back from Phoenix last Thursday. That's what
 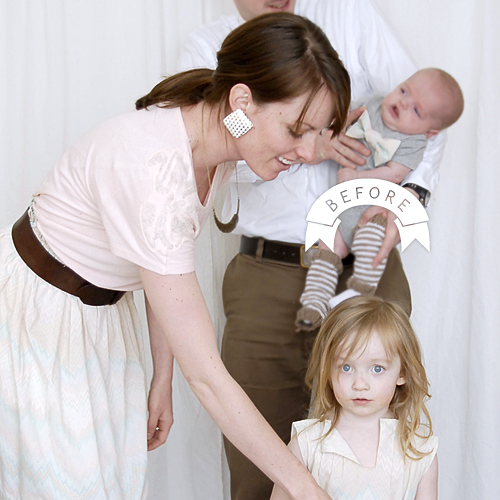 I loved how simple this jersey top was. I got it at H&M in New York for $10. I also loved the beading on the shoulders. I deconstructed the beading (with the help of Jill - that part was rather time-consuming) and attached it to the bottom of Penelope's new skirt.
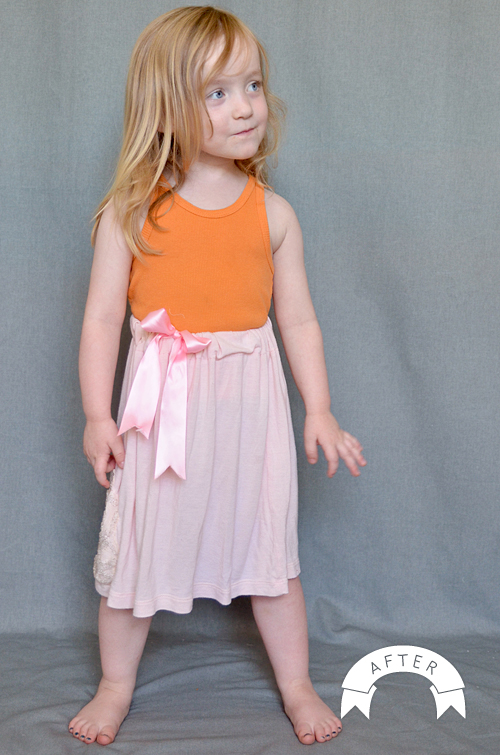
 Et voila! I did this refashion in under 20 minutes (minus the beading) using my
 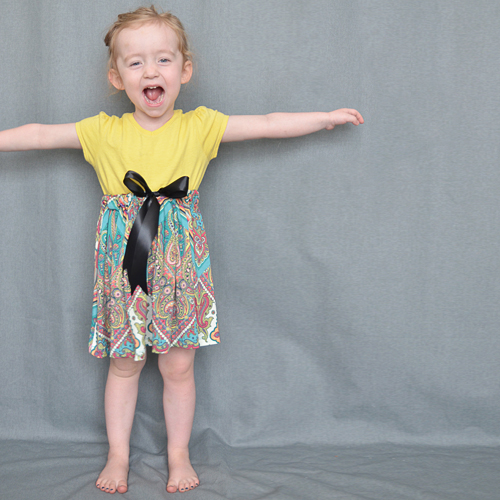 My original idea was to thread the casing of the skirt with pure ribbon & use a bow as a way to tighten it around Penelope's waist. As I fitted it to Penelope I soon realized that she needed something stretchy in order to wear it, so this idea was birthed in about 10 minutes. Click the "Read more" link below to find out how you can do it. This skirt takes a mere 15-20 minutes to do & requires minimal sewing or expertise. I do hope you'll give it a try!
The above clip was shot just after our little photo shoot. I made her sing for me & she was clearly annoyed with my constant pestering so the clip ends in her signature, "Hmph!" That little lady cracks me up!
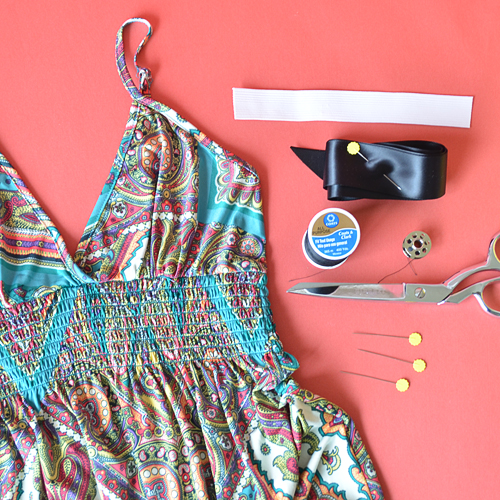
 Cut top part of the skirt or top off, leaving the desired length plus about 2 inches. I just estimated this part.
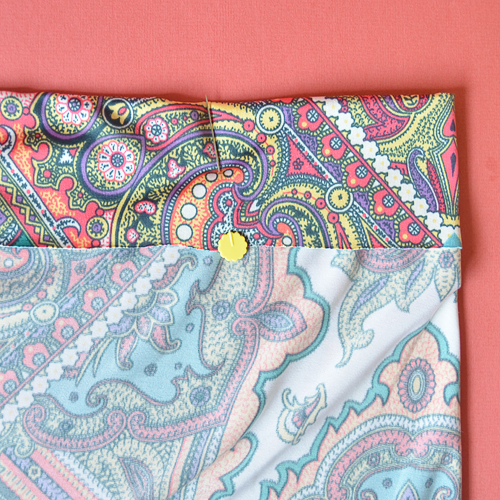 Turn inside out & fold over raw edge about 1 1/2 inches & secure with pins just about every 6-8 inches.
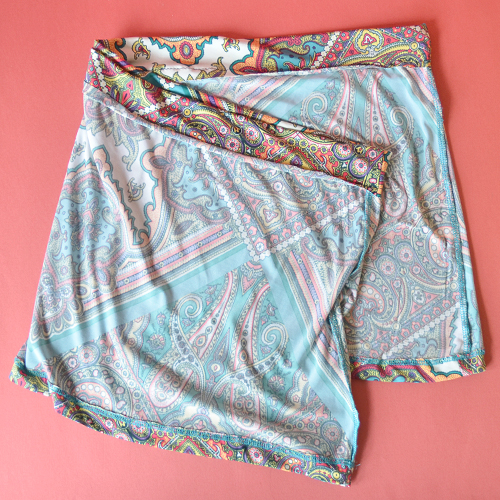 Sew the fold closed using your widest stitch. Be sure not to push or pull fabric through, or you’ll get puckering. Thankfully, the way the waistband gathers, if there so happens to be some puckering, it's no big deal.
 Cut ribbon in half and pin shiny side to the elastic. Sew with a 1/4 inch seam allowance.
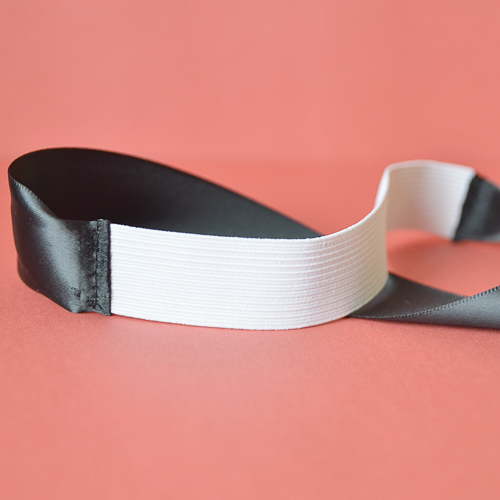 Fold ribbon over & topstitch ribbon into place to secure the ribbon to the elastic.
 Cut two holes in the middle of the front casing about 1 inch high & 1 inch apart. There’s no need to finish the edges if you’re working with jersey or knit fabric.
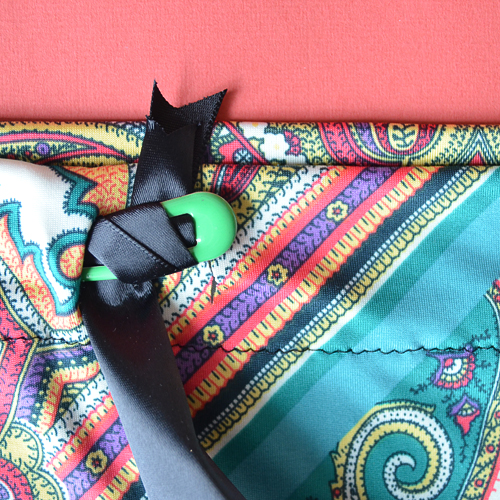 Wrap the end of the ribbon around a hair clip or through a safety pin & feed through the casing. I can never seem to find safety pins when I'm on the hunt for them, so I used a hair clip instead. Honestly, I'm going to go with the hair clip in the future. It's MUCH easier to feed through! I hate feeding things through casings, but the slickery hair clip fed through quickly & without making my hands hurt like crazy. I love discovering time savers on accident.
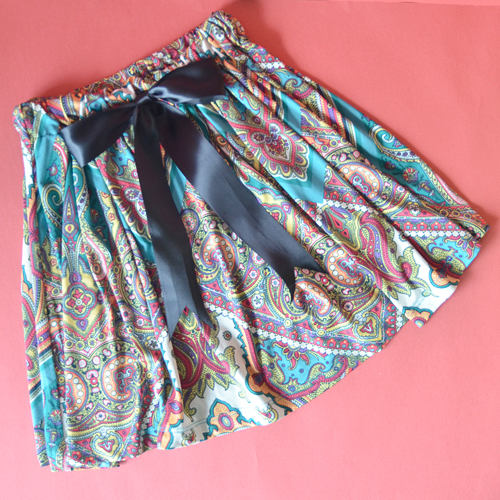 Adjust the gathering & space it evenly. Tie a bow with a double knot or secure it into place by stitching the bow together. ENJOY! This tutorial was made with small girls in mind, but it doesn’t mean that you couldn’t do this on a grown-up scale!
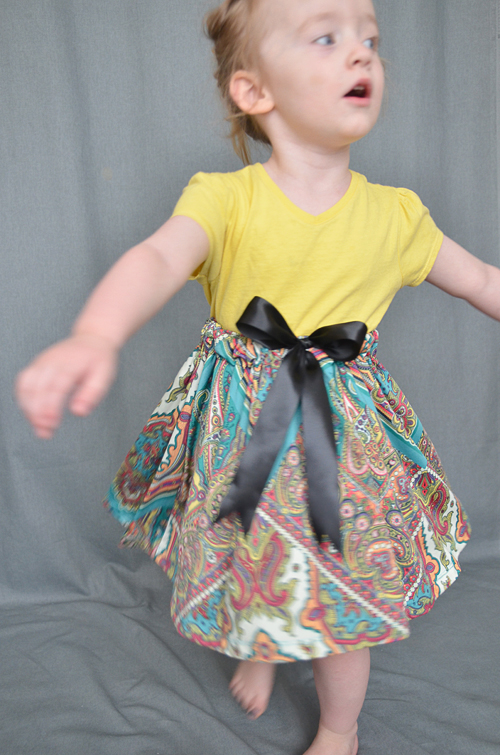
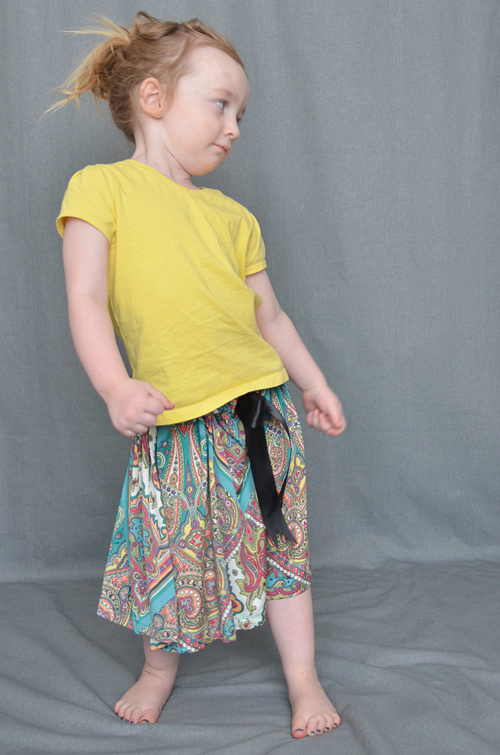 At first, I styled this with her shirt tucked out & the skirt at her hips. It's cute, but I think the high-waisted option looks more put together & age appropriate. Plus I like how it showcases her little bow more.
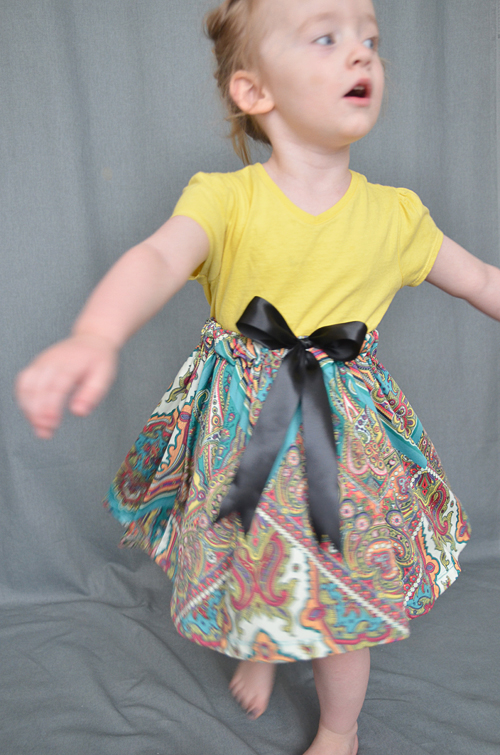 She was so cute to watch dancing while I was snapping away. I love this little girl.
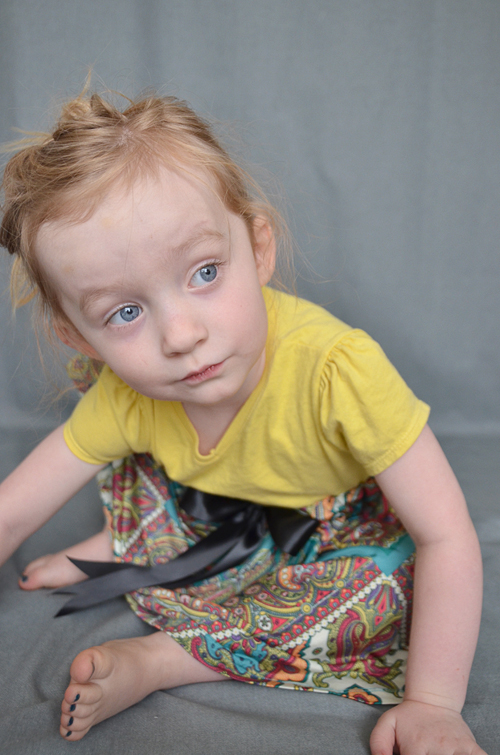 Isn't she just beautiful!? Like I mentioned before, this tutorial is easily scalable to a grown-up size. Click the link below for the printable version of this tutorial. I’d love to see how you make this tutorial yours! Email me pics or link to your pics in the comments.

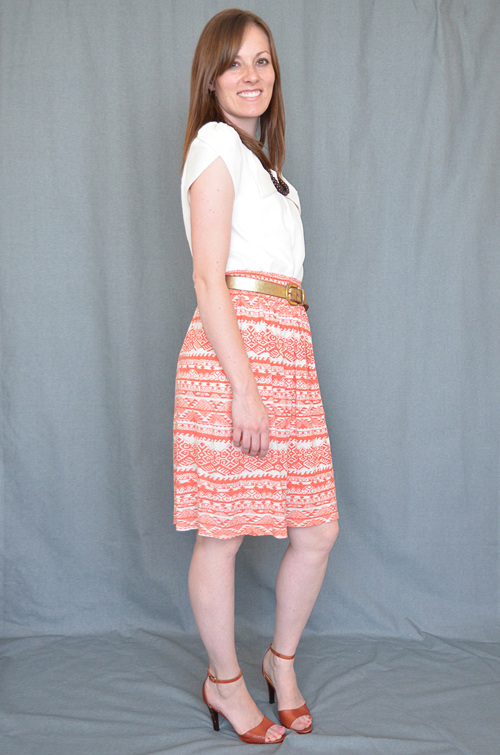
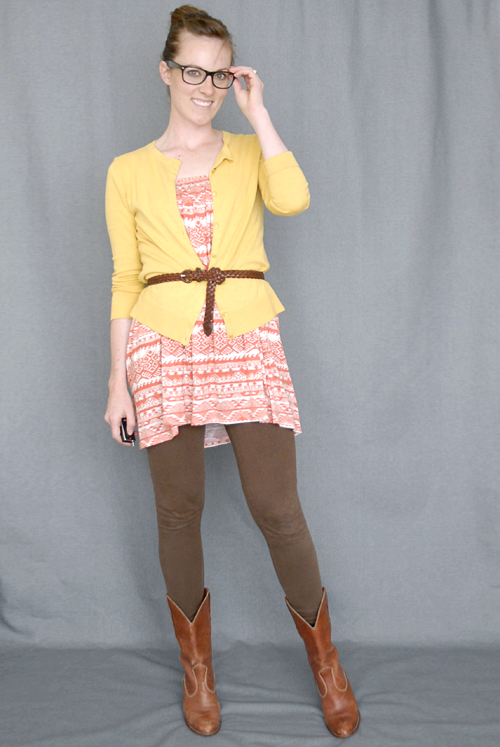
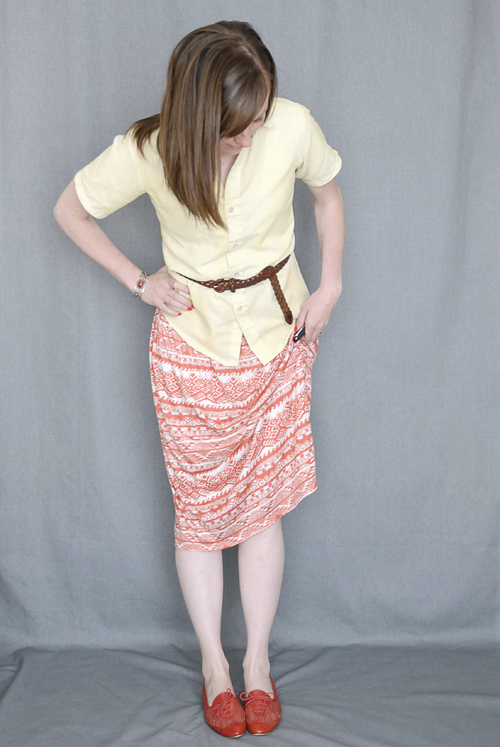


 While we were in Phoenix, we went swimming, killed a scorpion, went shopping, watched movies, ate lunch with friends, watched bob's burgers and helped organize my youngest sister-in-law's bedroom. Felix spent most of his time in the arms of an aunt, uncle or grandparent and Penelope spent most of her time bossing around Molly the dog. It was perfect.

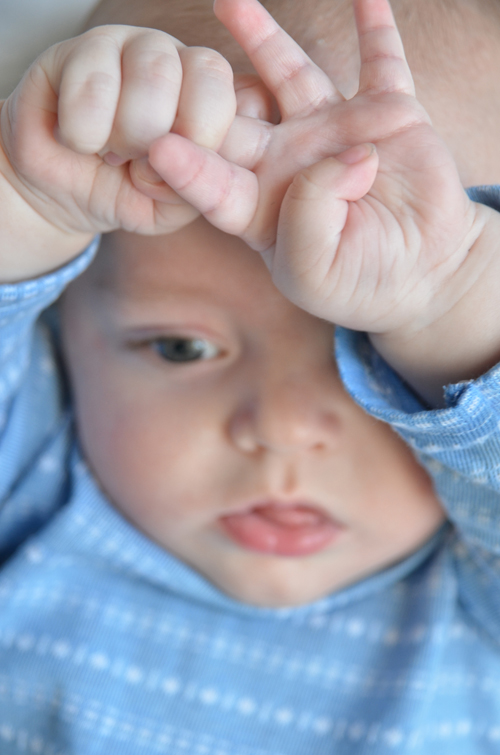 We got back to a clean house (which we have now destroyed, sorry Chris!) and
  With all of my enthusiasm, I took this opportunity to shoot some pictures of the nearly 5 month old Felix. He's getting so big & animated now, I just love it. During our vacation, he discovered his hands & started
 Penelope wore her '10 Easter outfit at church on Sunday. It doesn't go to her knees anymore. In fact, it barely covers her bum.
Me:




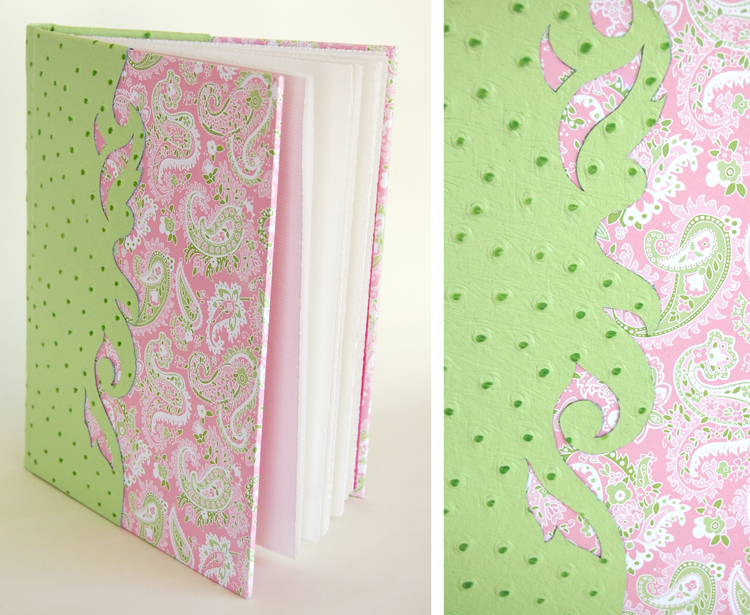


 I made & blogged about these booties before Chris bought me my own domain, so you won't see them on any posts here on melissaesplin.com. I made these back in the summer of '07 for a friend of mine who has a little girl just 6 months older than Penelope. I used
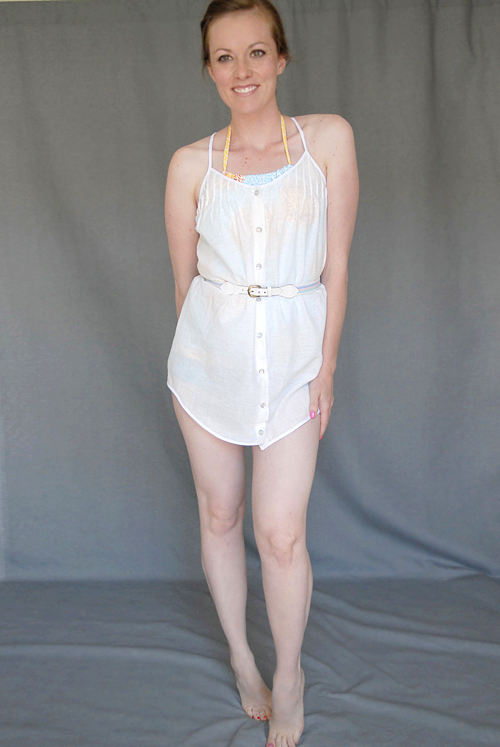
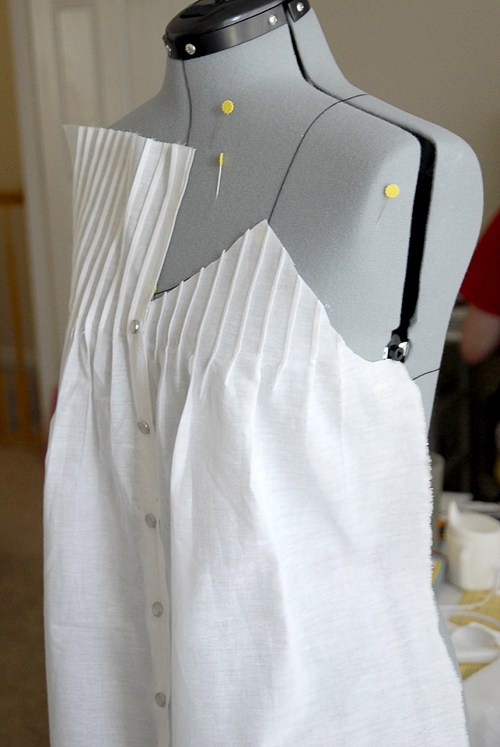 This thing took me forever to construct, but I learned a LOT along the way. I drafted this coverup from scratch using sketches, pins & my dress form. I'm really happy with how it turned out, I think I need to dye it an ombre really soon here. Anyone want to have a dyeing party next week? Seriously, next Tuesday night come over to my house with a couple of things to dye & we'll go to town. Let me know if you're in.
Above is a little during construction shot. You can see, I started out with straight lines that I cut to the shape I wanted.
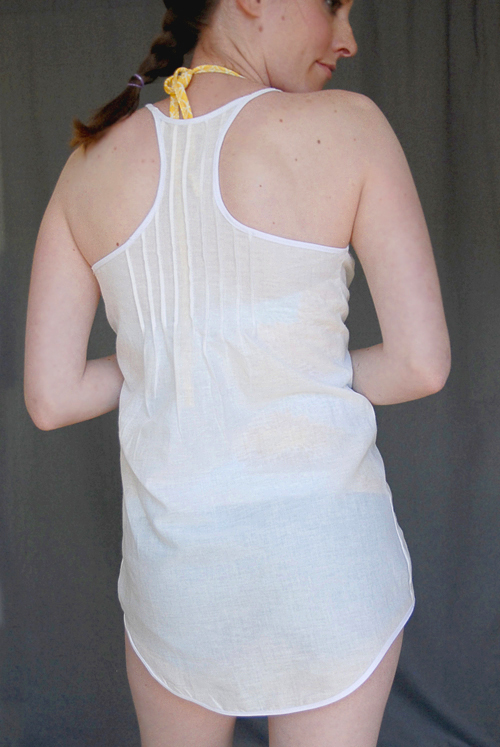

 I figured out a system to get uniform pintucks without spending too much time on them. That was pretty tedious, but getting the curves on the arm, racerback & necklines took forever. The curve on the bottom took even longer.
The coverup started out 6 inches longer than it ended up. I kept cutting & cutting & cutting in order to get the perfect curve. At the very end I figured out the best way to get a uniform curve all the way along the bottom. Too bad I discovered it 6 inches too late. It's okay though. It's a cover up. It doesn't really need to cover much.
I added pearl snaps to the front which were sort of a pain to put in. My thumbs & fore fingers were throbbing afterward, but at least I didn't have to sew buttons & button holes. I hate sewing buttons.
I was going to line the inside of the cover-up in order to finish the edges & do a curved hem, but by the time I got the perfect curve along the end, I decided to go with biased tape. It was by far the easiest finishing option. I've always hated putting on biased tape, but after reading Diana's tutorial for sewing biased tape the
  These suits are designed & manufactured in the U.S. with great attention to quality & detail. My incredibly talented friend,
  Hands down, this is the best-fitting suit I've owned since I spent all of my allowance money on a teal striped suit from Gap when I was 9. I love that LR has suits for every female figure from flat to curvaceous to pregnant. Just this year they've introduced a girl's line AND a men's line! The girl's line offers a range of different tops, bikini bottoms, rash guards and shorts (I bought shorts for Felix!). The men's line is simple and ingenius; they offer a range of lengths from board shorts to euro trousers. Ever since our excursion to Brazil several years ago, I've been sold on short shorts for men. Chris has awesome legs, so I like it when he shows them off.

 Chris's
  Their separates are available for $30-$40 per piece which can be a splurge at $60 per suit, but they're well worth it for the quality, style & original prints! If you're an occasional swimmer like me, they're the suits that last a few swim seasons. Currently they have some of last year's swim pieces on sale in the $10-$20 range, which is a steal. My honest advice: even if you're not going the tankini route this summer, be sure to stock up on their bottoms. You'll be glad you did.