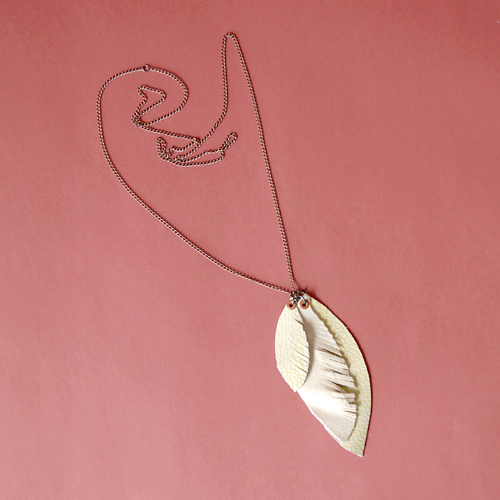

• F R I N G E D • L E A T H E R • N E C K L A C E •
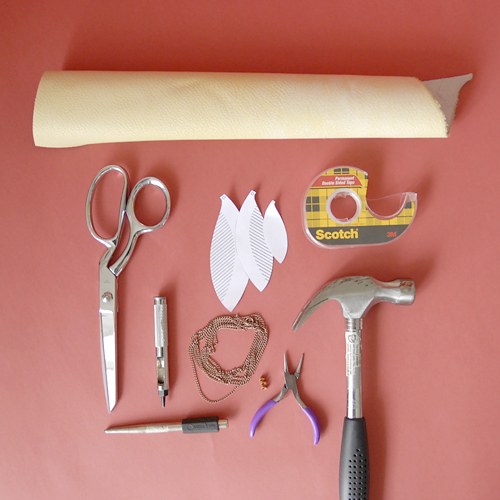
• S U P P L I E S •
- hammer
- scissors
- hole punch
- 30” chain
- 3 rivets
- rivet setter
- 1-2 oz leather/felt
- 4 jump rings
- pliers
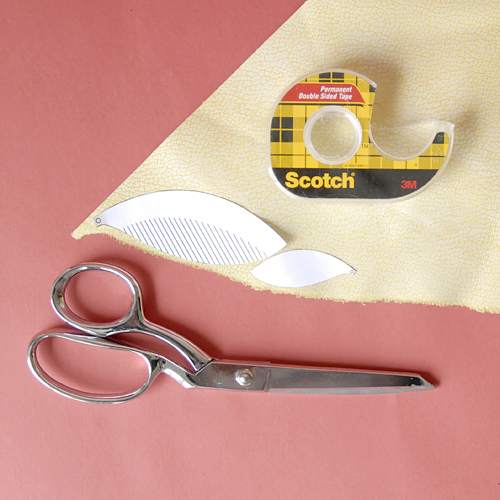 Cut out pattern pieces & tape onto leather. Carefully cut each feather from the leather.
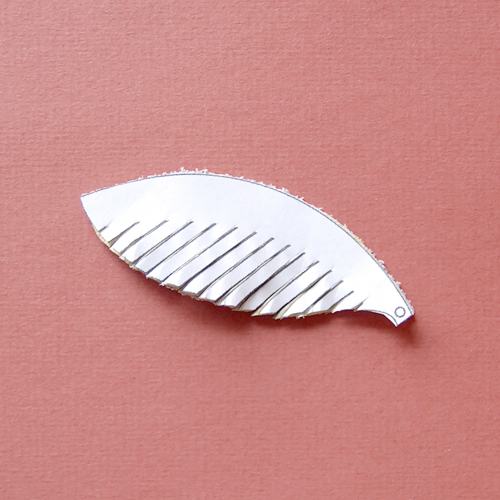 While pattern piece is still attached to leather, cut the fringe & punch your holes.
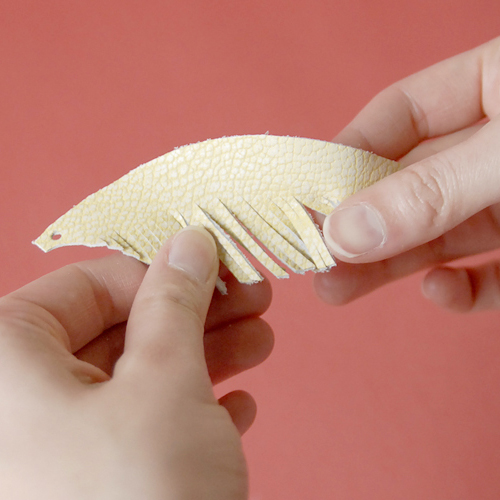 Roll the fringe between your fingers to give the fringe more dimension & texture.
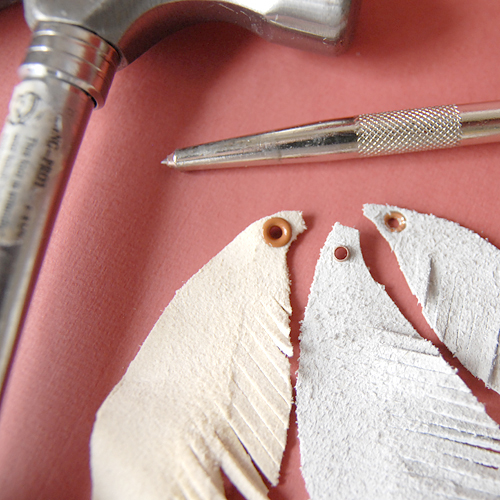 Attach coordinating rivets by inserting each through the top hole & punching the back flat with your rivet setter & hammer.
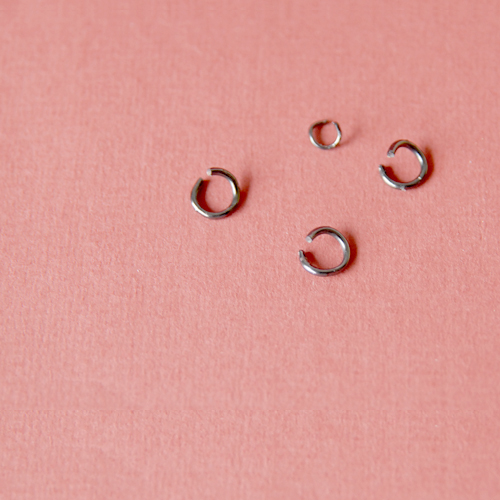 Open jump rings. Attach jump rings to each feather & close the jump ring. Attach feathers to the fourth jump ring in order largest to smallest.
 Connect the two ends of the necklace chain on to the fourth jump ring as well. Close & wear!
• O P T I O N A L •
- Hot glue leather pattern pieces to a headband or a hair clip for a rockin’ hair accessory!
- Mix leather feathers with real feathers on your necklace.
- Add a little flair to a leather winter jacket by attaching coordinating fringed feathers to the lapel.
- If you want a shorter necklace, attach a clasp to the end of the chain to attach to the fourth jump ring.
