
Jessica here of
Allora Handmade where I blog about my crazy happy (mostly) life as a mom and handmade business owner trying to keep it all together. (I'll let you in on a little secret. I don't have it all together. Promise.) Moving on...
When Melissa asked me to post about my favorite DIY moment I completely drew a blank. Between working on
my shop and making sure my kids have something to eat three times a day, there is little time for DIY around here. Unless you count Mac N’ Cheese. But I’m pretty sure that doesn’t count. Besides that, I happen to be married to one of the best DIY-ers I’ve ever met. Naturally, any project I dream up or even begin is more often than not made bigger and better by the Mr. I think I’m pretty lucky to be married to the handyman/graphic designer/interior designer pro, but when I look around at all the projects in my house there are very few (as in zero, ahem.) that I can call my own. BUT, I think we make a pretty awesome team.
Since we have moved 7 times in the 5 years we’ve been married (can you imagine?), one of the most important DIY projects we do together is making sure our house feels like a home. Though it's tempting to never settle in, we have put a lot of effort into every place we’ve ever lived, regardless of how long we were staying. Our taste and our skills have evolved with each new home, and I must say, our current home is definitely my favorite.
[caption id="attachment_3562" align="aligncenter" width="500" caption="the view from our front door"]

[/caption]
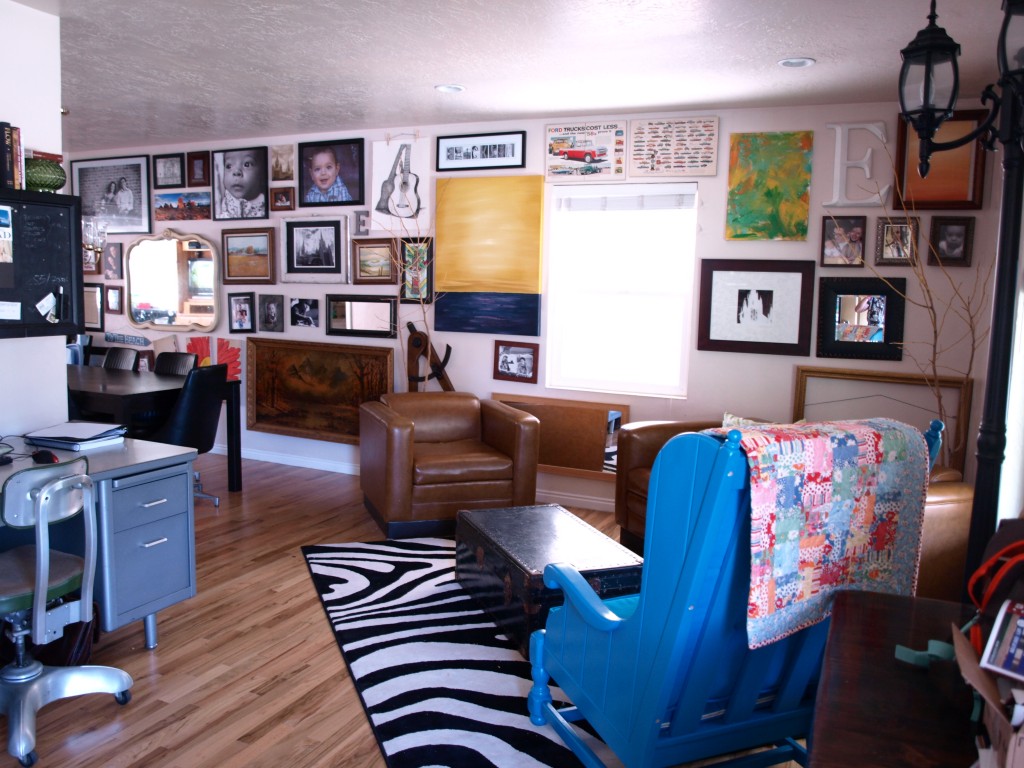
Our style is pretty eclectic, but has to be 1 and 2 year old friendly. We love bright colors and pictures (obviously) as well as thrifted and vintage items. The Zebra rug is quite a statement, but I love it. Totally unexpected when you walk in the front door. The bright blue chair is my husband's most recent project. It's crazy wild, but my boys can't get enough of it. Really, everyone who comes to our door feels compelled to step in and take a look around.
[caption id="attachment_3564" align="aligncenter" width="500" caption="yes, i know the chandelier needs replacing..."]

[/caption]
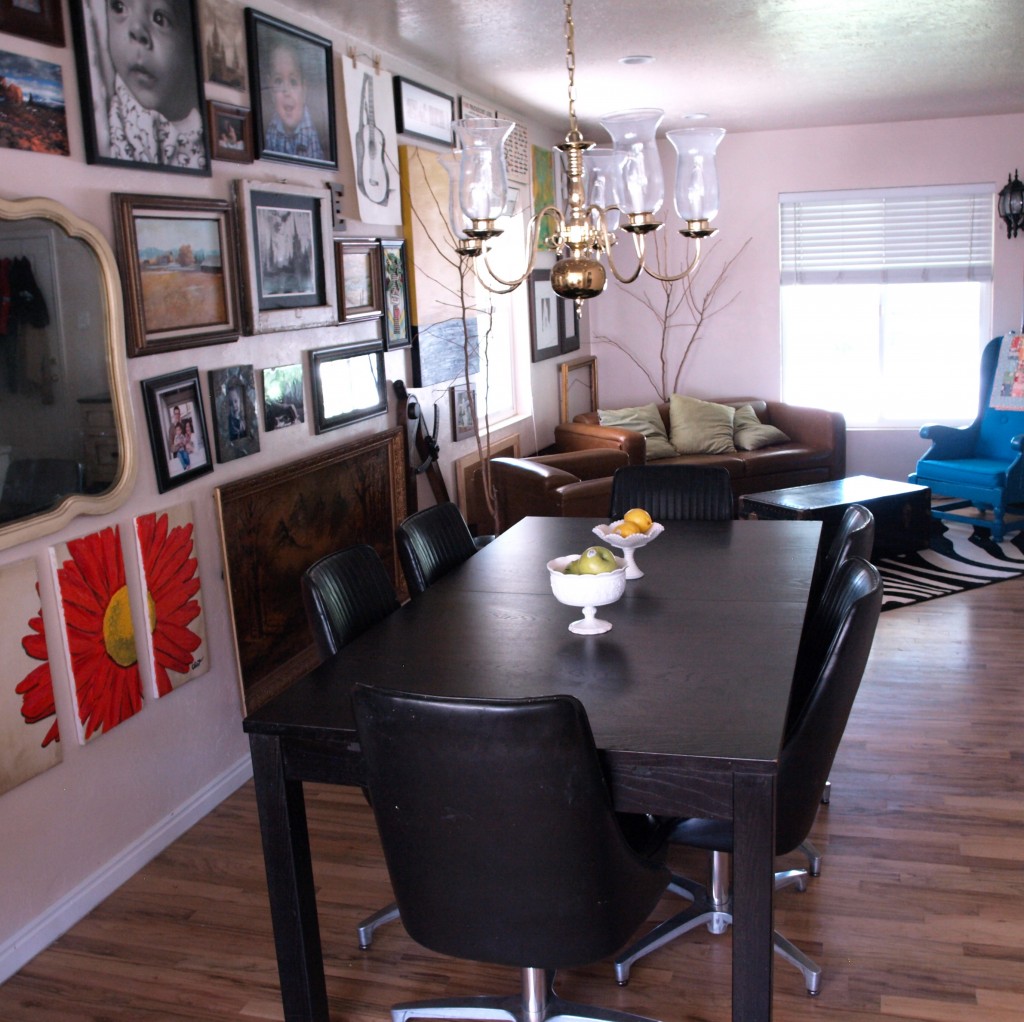
In almost every home we've lived in, we've incorporated some sort of picture wall, but this one is different from the rest and has a little more flair to it. Instead of just pictures, we've added in some thrifted art, some personal art (even a few done by the boys!), vintage mirrors, etc. We love the way all of the frames look together - all mis-matched and gallery like. To recreate this look, start hunting around for some cool art with colors you like, some thrifted frames, and blow up some of your favorite photos. If you're obsessive like us, measure all of your frames and draw out a map of where everything will go before trying to hang anything up. Keep in mind, it doesn't have to be perfect! At our house most of the time the frames are a little cockeyed and full of little boy fingerprints.
[caption id="attachment_3563" align="aligncenter" width="500" caption="treasures are kept high and out of reach"]

[/caption]
The greatest part about all of this? Most of it was free or super cheap. Not kidding. Those awesome swivel dining chairs? Free. The blue chair? Maybe $20 including paint and fabric. The vintage metal desk? Free. The leather sofa and chair? $50. The big vintage mirror? $10. Most of the frames were from a thrift store and all of the found items as well. Believe me, if we can create a home out of a house and a few bucks, anyone can! And while I never look forward to moving, I am excited to share many more DIY moments with my Mr.  Jessica here of Allora Handmade where I blog about my crazy happy (mostly) life as a mom and handmade business owner trying to keep it all together. (I'll let you in on a little secret. I don't have it all together. Promise.) Moving on...
When Melissa asked me to post about my favorite DIY moment I completely drew a blank. Between working on my shop and making sure my kids have something to eat three times a day, there is little time for DIY around here. Unless you count Mac N’ Cheese. But I’m pretty sure that doesn’t count. Besides that, I happen to be married to one of the best DIY-ers I’ve ever met. Naturally, any project I dream up or even begin is more often than not made bigger and better by the Mr. I think I’m pretty lucky to be married to the handyman/graphic designer/interior designer pro, but when I look around at all the projects in my house there are very few (as in zero, ahem.) that I can call my own. BUT, I think we make a pretty awesome team.
Since we have moved 7 times in the 5 years we’ve been married (can you imagine?), one of the most important DIY projects we do together is making sure our house feels like a home. Though it's tempting to never settle in, we have put a lot of effort into every place we’ve ever lived, regardless of how long we were staying. Our taste and our skills have evolved with each new home, and I must say, our current home is definitely my favorite.
[caption id="attachment_3562" align="aligncenter" width="500" caption="the view from our front door"]
 [/caption]
Our style is pretty eclectic, but has to be 1 and 2 year old friendly. We love bright colors and pictures (obviously) as well as thrifted and vintage items. The Zebra rug is quite a statement, but I love it. Totally unexpected when you walk in the front door. The bright blue chair is my husband's most recent project. It's crazy wild, but my boys can't get enough of it. Really, everyone who comes to our door feels compelled to step in and take a look around.
[caption id="attachment_3564" align="aligncenter" width="500" caption="yes, i know the chandelier needs replacing..."]
 [/caption]
In almost every home we've lived in, we've incorporated some sort of picture wall, but this one is different from the rest and has a little more flair to it. Instead of just pictures, we've added in some thrifted art, some personal art (even a few done by the boys!), vintage mirrors, etc. We love the way all of the frames look together - all mis-matched and gallery like. To recreate this look, start hunting around for some cool art with colors you like, some thrifted frames, and blow up some of your favorite photos. If you're obsessive like us, measure all of your frames and draw out a map of where everything will go before trying to hang anything up. Keep in mind, it doesn't have to be perfect! At our house most of the time the frames are a little cockeyed and full of little boy fingerprints.
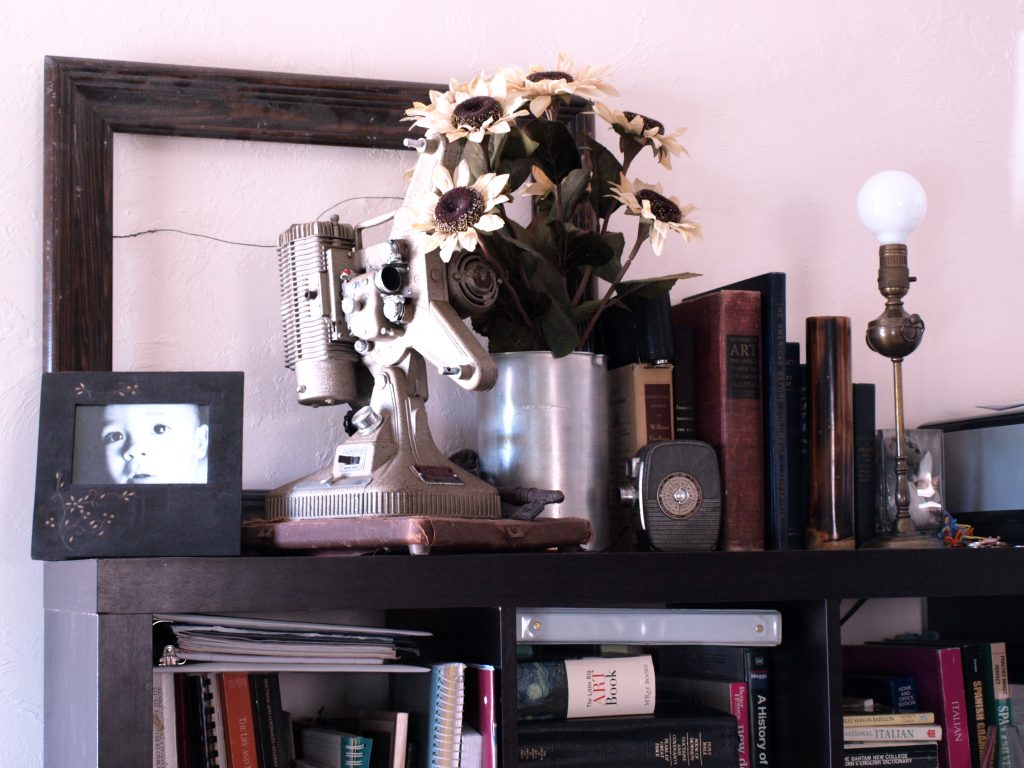
[caption id="attachment_3563" align="aligncenter" width="500" caption="treasures are kept high and out of reach"]
 [/caption]
The greatest part about all of this? Most of it was free or super cheap. Not kidding. Those awesome swivel dining chairs? Free. The blue chair? Maybe $20 including paint and fabric. The vintage metal desk? Free. The leather sofa and chair? $50. The big vintage mirror? $10. Most of the frames were from a thrift store and all of the found items as well. Believe me, if we can create a home out of a house and a few bucks, anyone can! And while I never look forward to moving, I am excited to share many more DIY moments with my Mr.