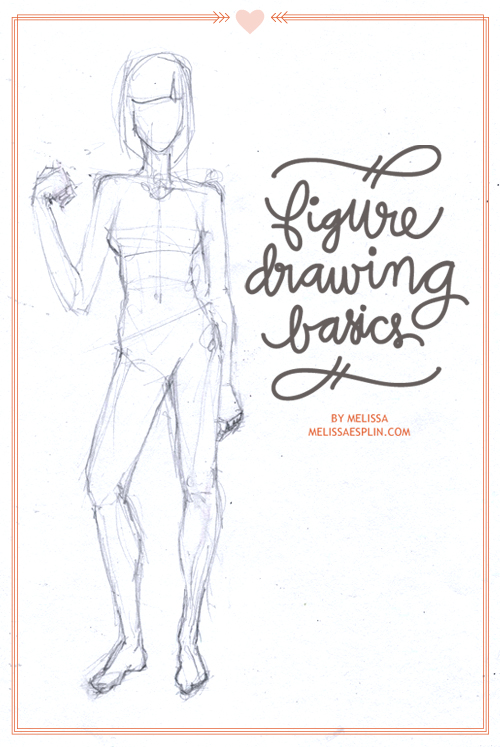
 That made me think that she might not be the only one wanting to know how. Or hope at least. I'm excited to share with you my method for figure drawing. This method is a bit more on the traditional side, what I'm showing you is sort of a caricature of what I learned in figure drawing in college. With these instructions I hope you'll be able to translate this into your own style fashion figure drawings. If you'd like to learn additional information on how to draw the body, I'd suggest Atlas of Human Anatomy for the Artist. It's what we studied from at BYU, so it's fairly conservative, but it's still an anatomy book.
Now let's get started!
• S K E T C H I N G • T H E • F E M A L E • F I G U R E •

• T O O L S •
- pencil
- eraser
- paper
- a model or mirror

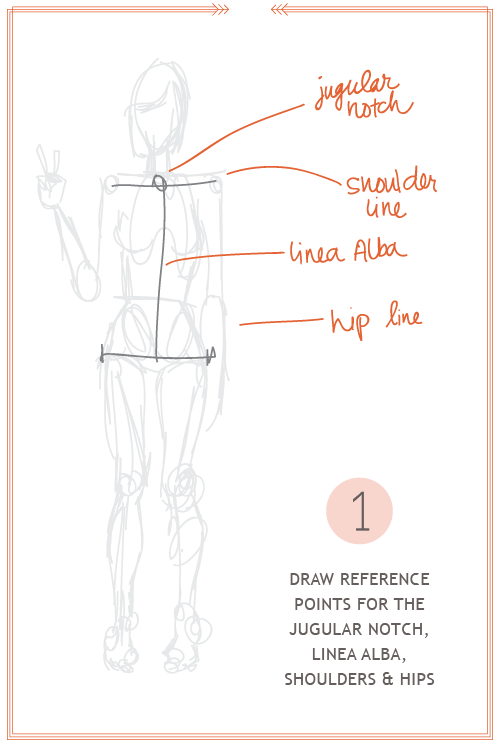
Now that you have the angles down, sketch in all of the joints with lines & circles. Use full circles for parts that face straight on & ovals for parts that are 3/4 or profile. The line of the hip to the knee goes from the outside of the hip to the inside of the knee. Same with the shin. The shin makes sort of a lazy S shape.

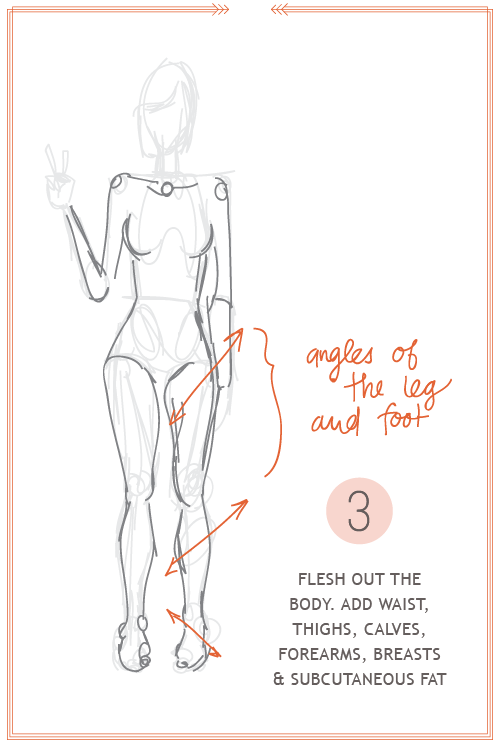
Now that the figure is starting to take more shape, connect the circles. Literally flesh out the form with the contours of fat & muscle. Take note that the angles in the leg with the fat & muscle is very similar to your previous skeletal rendering. Erase the circles & lines from step 2.

Remember in art class in 7th grade how you were taught to start drawing the figure with the head & make the body 7-8 heads tall? Forget that. At least the starting with the head part. Now in step 4, you'll want to draw the neck, it's height and width is typically about 1/4th the breadth of the shoulder. The head is more of an oval-bottomed square than an exact oval. Draw the head. You can add hair & facial features if you'd like. Next you'll attack the hands.
I leave the hands for last because they're pretty tricky. Sometimes I'll leave them as circles or mitts, but if I want to do something different, it's in these last steps that I add them. The palm is a rounded pentagon with fries coming out of it. (maybe I'm hungry?) Again, if you're serious about sketching the body, this is something that you'll want to study & practice. Flesh out the feet by just adding their basic shape. I usually leave finishing them for last as they're sort of tricky & I usually draw shoes on them anyway.
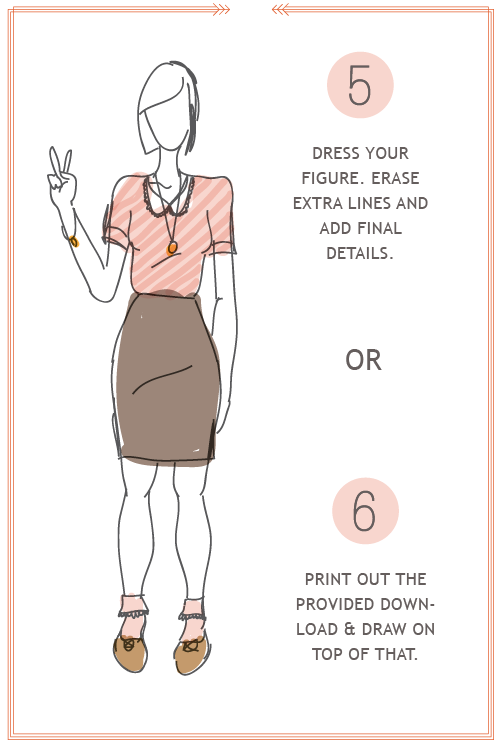
 Now your drawing is ready to accessorize. Draw clothing on top of your figure & erase the under-drawing.
When it comes to the fashion sketches that I include with my refashions, I typically hurry to document my idea that I wing it & don't do the whole under-drawing. I also often draw with a pen - so no erasing, either. I prefer to draw on paper with a pen or pencil over sketching my ideas with my Wacom. Maybe because I like the organic feel of paper & pen(cil) or maybe because I'm not as good with the Wacom as I could be!
As step 6 suggests, you can also download my drawing. I've included a front & a back for your convenience in planning refashions, sewing projects, etc! Click the button below to download.
This tutorial/freebie is free for personal use and should not be distributed/republished without my consent. Altering the file NOT ALLOWED. If you would like to use this tutorial for commercial purposes, please email me. Thanks!
