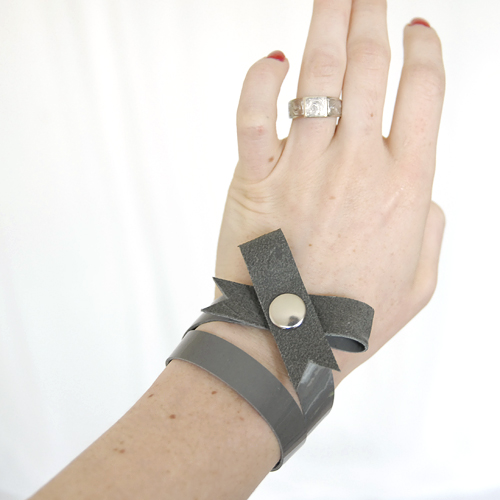
• D O U B L E D - U P - B O W - B R A C E L E T •
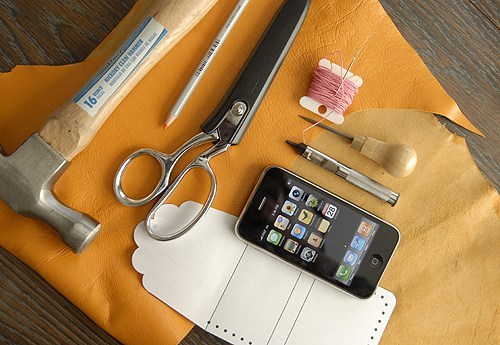
• S U P P L I E S •
- hammer
- scissors
- leather whole punch
- 1-3 oz. leather*
- snaps
- snap setter
- measuring tape
- pen or marker
• D I R E C T I O N S •
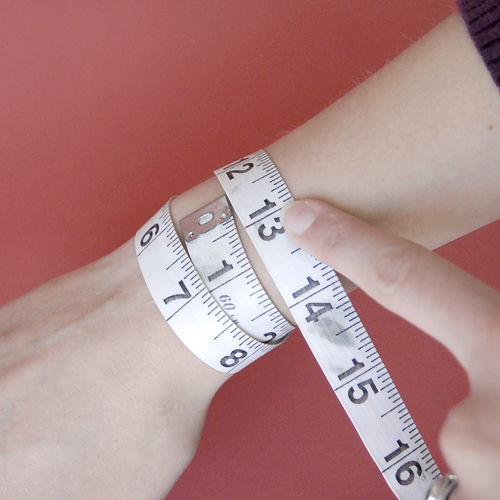
Wrap the measuring tape around your wrist twice & mark measurement. Cut out your leather strip to be:½ inch x (wrist measurement + 7 ½ inches)
One size fits most measurements: ½ x 20½ inches.
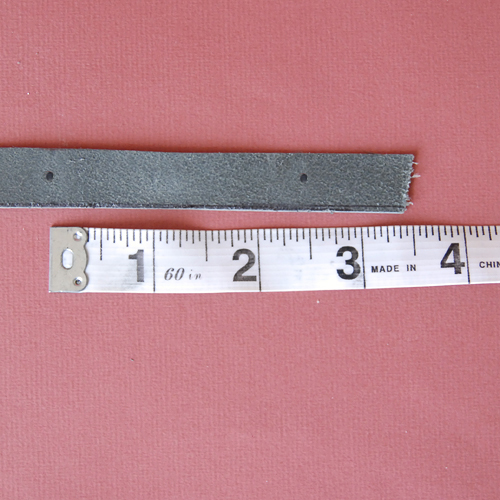 After you've cut your strip, mark discreet dotS 1 inch & 3 ½ inches from each end of the strip. Punch holes with your hole punch.
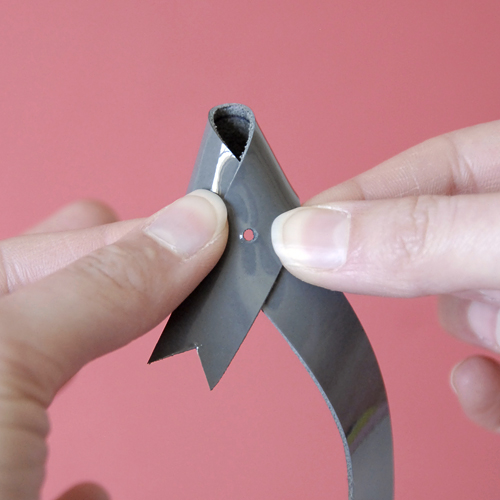 Variation 1: cross over strip so right sides are facing up (see above picture) line up the holes & set the snaps.
Variation 2: fold the strip so the right sides are facing each other. line up the holes & set snaps.
Variation 3: ignore the 1 inch hole & set snaps in the 3½ inch holes. Set snaps.
Be sure to line up your snaps before setting them as to not set your snaps in backwards. Once you've set your snaps, trim the ends with a little 45º angle notches.
 Voila! Sport them on your wrist with pride! I think I'm most partial to variations 2 & 3. what about you? Click the download button below for the printable tutorial.
This tutorial is free for personal use and should not be distributed/republished without my consent. Altering the file NOT ALLOWED. If you would like to use this tutorial for commercial purposes, please email me. Thanks!
