A couple of you have emailed me about the hanging system I used for the
Seesaw calendar I hung last Friday. I thought I'd show you how I did it. It's super simple, cheap & easy for hanging those cool prints that you don't have the time/money to frame (just yet). Here's how it goes:
 SUPPLIES:
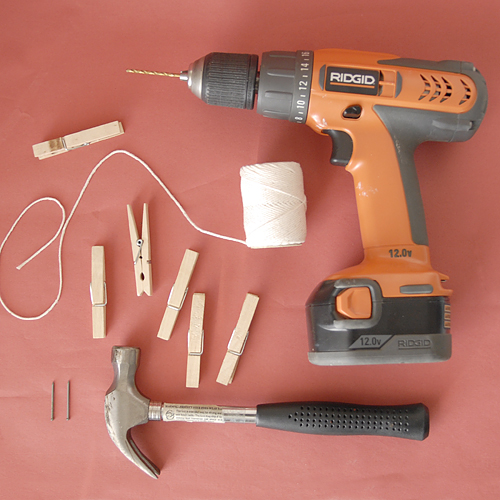
- clothespins
- coarse string/jute twine
- drill
- 2 finishing nails
- hammer

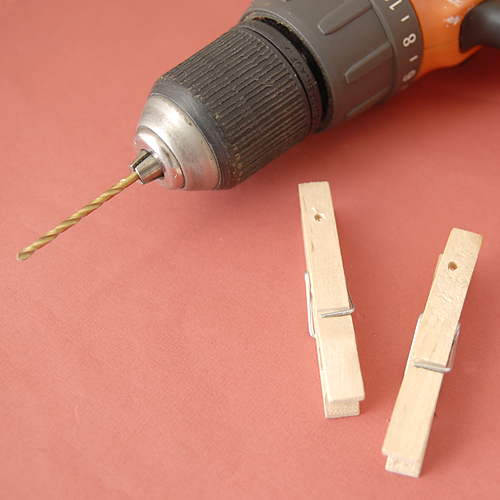
Take two clothespins (end-pins) and drill holes in the top of each end using a bit just slightly larger than your nailhead. Test your nail with the holes afterwards if you need to make the hole larger.

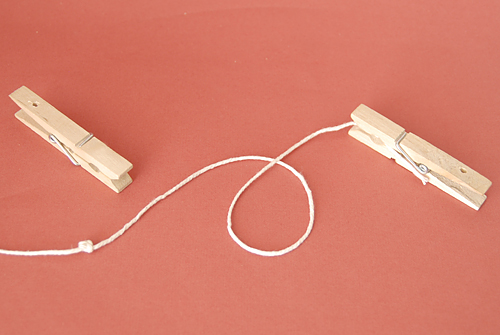
Measure your string about 6 inches longer than the width of your desired clothesline & tie giant knots at each end. Trim off extra string & sandwich knots inside each of the end-pins.

Hammer your two nails into the wall at the appropriate distance, making sure your nails are level with each other.

Slide the two end pins onto the nails & adjust the string tension. You want it to be tight and your endpins parallel to the ground. Hang your artwork on the string using the remaining clothespins & enjoy.

For your DIY-ing convenience, the tutorial is available for download by clicking the button below.
 This tutorial is free for personal use and should not be distributed/republished without my consent. If you would like to use this for commercial purposes, please email me. Thank
 SUPPLIES:
 Take two clothespins (end-pins) and drill holes in the top of each end using a bit just slightly larger than your nailhead. Test your nail with the holes afterwards if you need to make the hole larger.
 Measure your string about 6 inches longer than the width of your desired clothesline & tie giant knots at each end. Trim off extra string & sandwich knots inside each of the end-pins.
 Hammer your two nails into the wall at the appropriate distance, making sure your nails are level with each other.
 Slide the two end pins onto the nails & adjust the string tension. You want it to be tight and your endpins parallel to the ground. Hang your artwork on the string using the remaining clothespins & enjoy.
 For your DIY-ing convenience, the tutorial is available for download by clicking the button below.
 This tutorial is free for personal use and should not be distributed/republished without my consent. If you would like to use this for commercial purposes, please email me. Thank