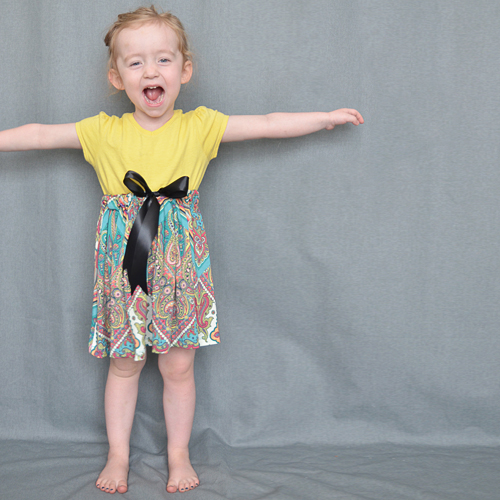
 My original idea was to thread the casing of the skirt with pure ribbon & use a bow as a way to tighten it around Penelope's waist. As I fitted it to Penelope I soon realized that she needed something stretchy in order to wear it, so this idea was birthed in about 10 minutes. Click the "Read more" link below to find out how you can do it. This skirt takes a mere 15-20 minutes to do & requires minimal sewing or expertise. I do hope you'll give it a try!
The above clip was shot just after our little photo shoot. I made her sing for me & she was clearly annoyed with my constant pestering so the clip ends in her signature, "Hmph!" That little lady cracks me up!
• A D J U S T A B L E • B O W • S K I R T • T U T O R I A L •
• S U P P L I E S •
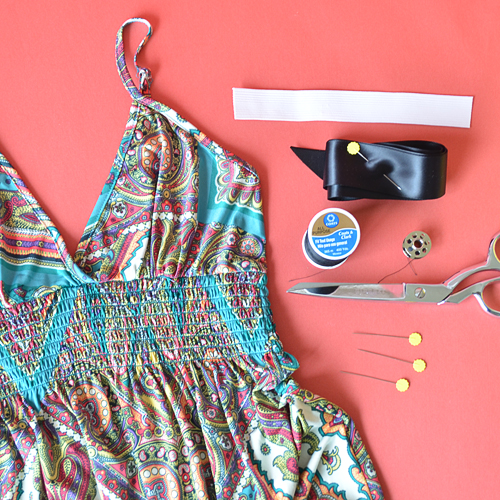
- sewing machine
- matching thread
- old t-shirt or dress
- scissors
- 6-8 inch elastic
- wide ribbon
- pins
 Cut top part of the skirt or top off, leaving the desired length plus about 2 inches. I just estimated this part.
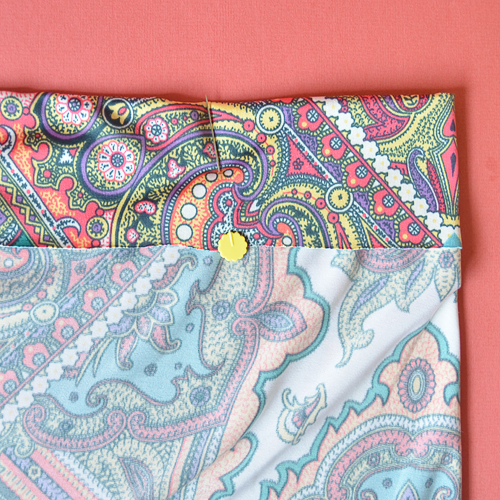 Turn inside out & fold over raw edge about 1 1/2 inches & secure with pins just about every 6-8 inches.
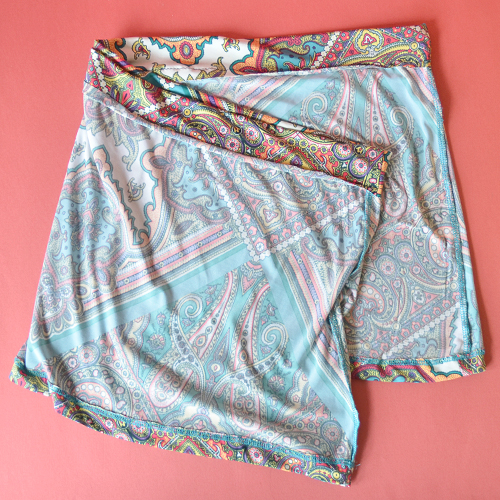 Sew the fold closed using your widest stitch. Be sure not to push or pull fabric through, or you’ll get puckering. Thankfully, the way the waistband gathers, if there so happens to be some puckering, it's no big deal.
 Cut ribbon in half and pin shiny side to the elastic. Sew with a 1/4 inch seam allowance.
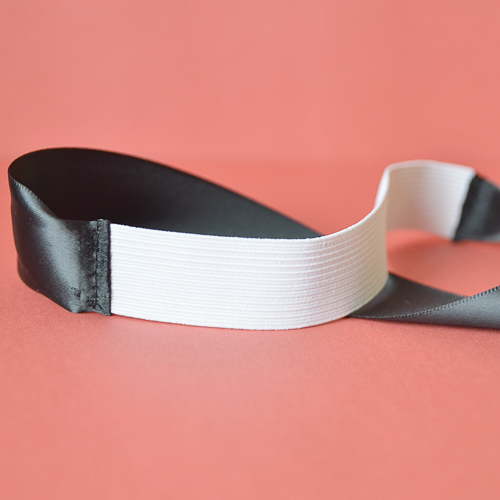 Fold ribbon over & topstitch ribbon into place to secure the ribbon to the elastic.
 Cut two holes in the middle of the front casing about 1 inch high & 1 inch apart. There’s no need to finish the edges if you’re working with jersey or knit fabric.
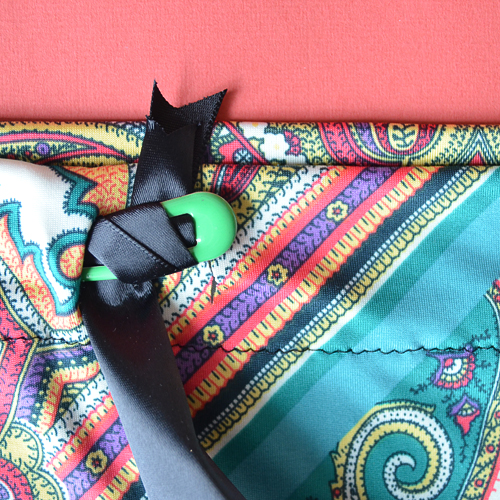 Wrap the end of the ribbon around a hair clip or through a safety pin & feed through the casing. I can never seem to find safety pins when I'm on the hunt for them, so I used a hair clip instead. Honestly, I'm going to go with the hair clip in the future. It's MUCH easier to feed through! I hate feeding things through casings, but the slickery hair clip fed through quickly & without making my hands hurt like crazy. I love discovering time savers on accident.
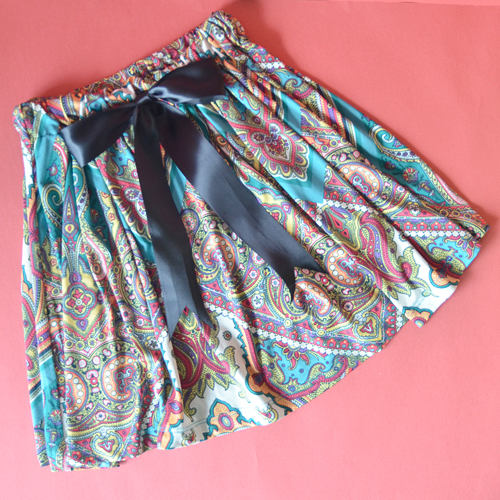 Adjust the gathering & space it evenly. Tie a bow with a double knot or secure it into place by stitching the bow together. ENJOY! This tutorial was made with small girls in mind, but it doesn’t mean that you couldn’t do this on a grown-up scale!
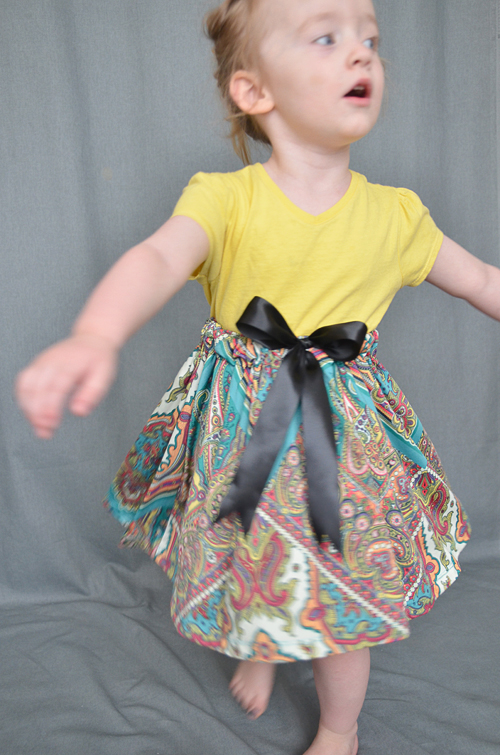
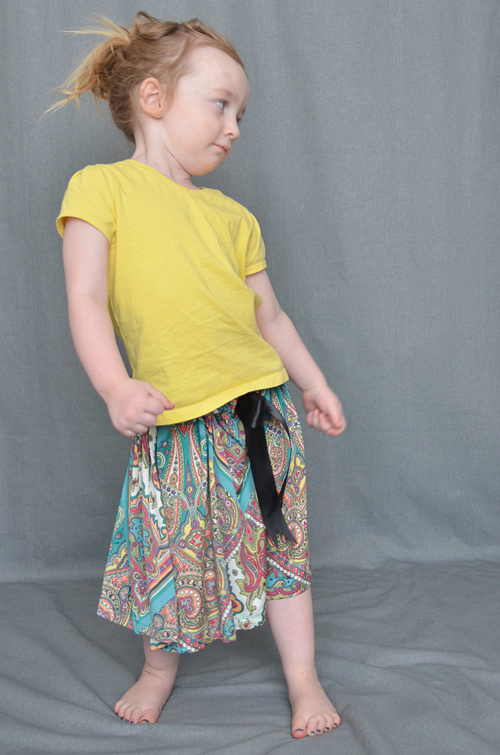 At first, I styled this with her shirt tucked out & the skirt at her hips. It's cute, but I think the high-waisted option looks more put together & age appropriate. Plus I like how it showcases her little bow more.
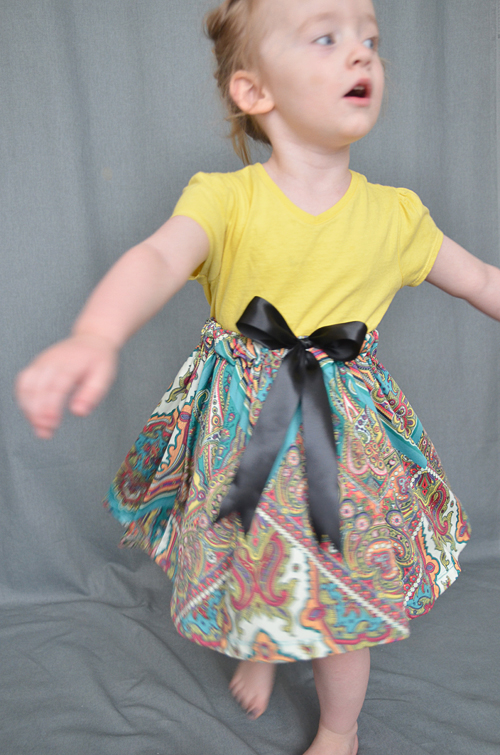 She was so cute to watch dancing while I was snapping away. I love this little girl.
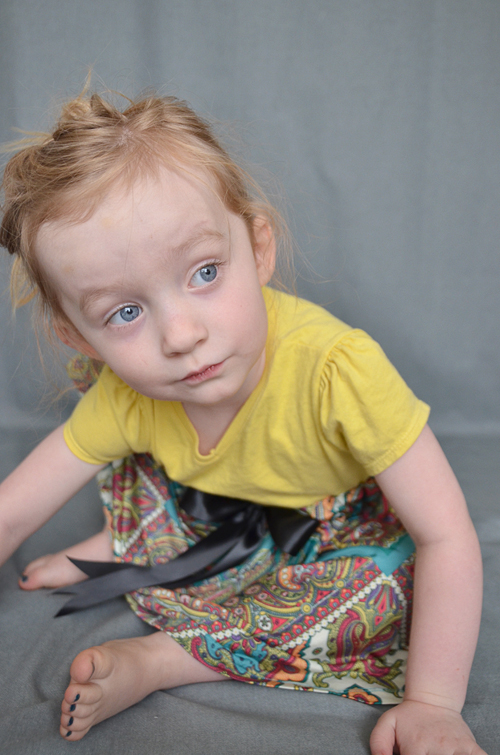 Isn't she just beautiful!? Like I mentioned before, this tutorial is easily scalable to a grown-up size. Click the link below for the printable version of this tutorial. I’d love to see how you make this tutorial yours! Email me pics or link to your pics in the comments.
This tutorial is free for personal use and should not be distributed/republished without my consent. Altering the file NOT ALLOWED. If you would like to use this tutorial for commercial purposes, please email me. Thanks!
