• • • • •
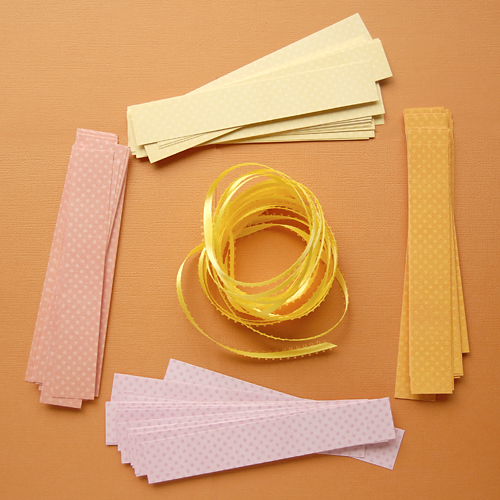
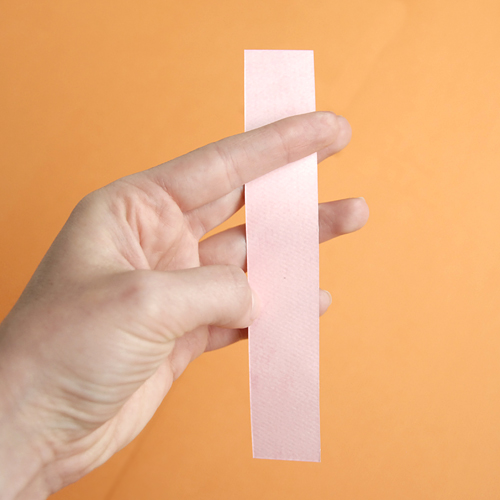
Materials: Sewing Machine Coordinating thread Ribbon: desired length + 16-20 in. Quality Paper: cut to 1 x 6 in. strips
Set up your paper strips next to your machine, decorative side down. Insert your ribbon into the machine with am 8-10 in. tail and place your first strip under the presser foot. Sew a straight, long stitch across the paper & ribbon.
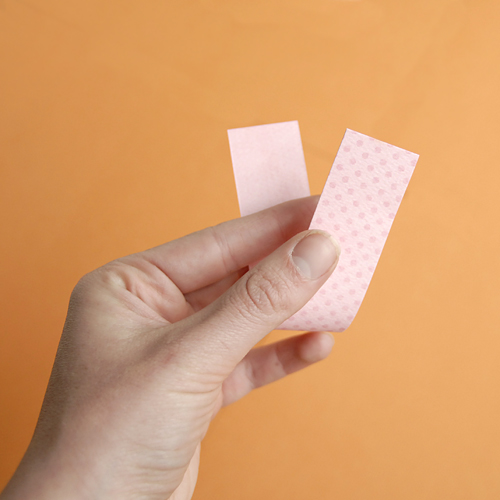
Once you’re finished with the first end of the paper strip, curl (no creases) the paper up to show the decorative side and slip the edge in front of presser foot & sew to ribbon.
Repeat steps 2 & 3. If you’re uncomfortable with adding paper as you sew, you can pin paper to the ribbon prior to sewing.
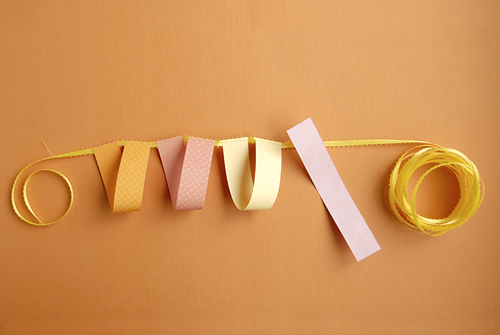
Keep adding loops until you’ve reached your desired length, making sure that you have at least 8 inches of extra ribbon at each end. Use ends to affix garland to walls, ceilings, window treatments, trees, etc. Hang garland ribbon-side out. Enjoy! Click the button below to download the printer-friendly PDF version.
This tutorial is free for personal use and should not be distributed without my consent. If you would like to use this commercially, please email me. Thanks!


