MelissaEsplin.com

Happy Halloween!

October 31, 2009
Penelope the Clown Happy Halloween, Everybody! Last night we celebrated with the family with Navajo tacos, salad, cookies and lots and lots of Nutella. We had a great time hanging out with family. I am so excited to share Penelope's costume with you guys! _dsc0293 I have this weird relationship to costumes. I never sew them and I don't like to go out and buy them. Lame, right? My mother came to the rescue this year with this sweet clown costume. She made it by hand, no pattern, for me or my older sister when we were little bitties. NO PATTERN. Isn't my mom incredible? Penelope the Clown 3 Penelope & The Train Conductor Penelope sure had a great time playing with her cousin. He was a super cute train conductor. What a good old fashioned costume. Love it. Hope Y'all have  a fantastic Halloween & daylight savings weekend! _dsc0337

Penelope's Autumn Shirt Dress

October 27, 2009
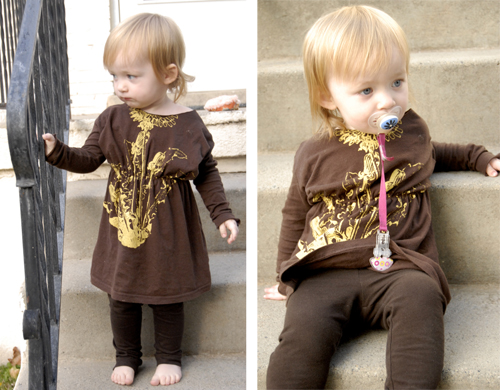
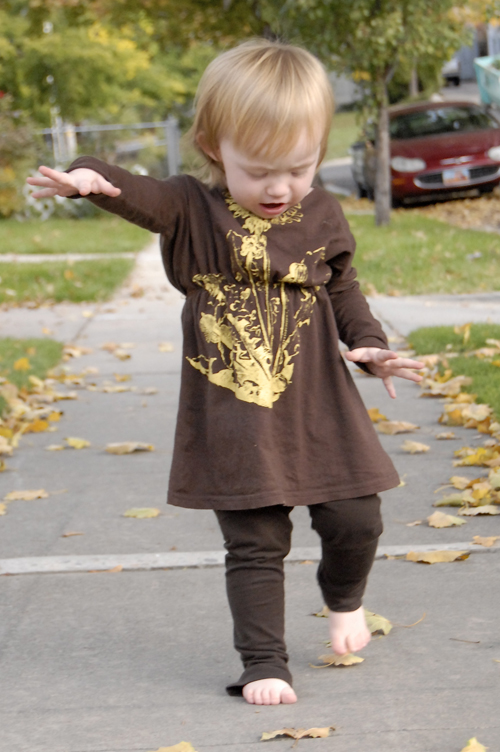
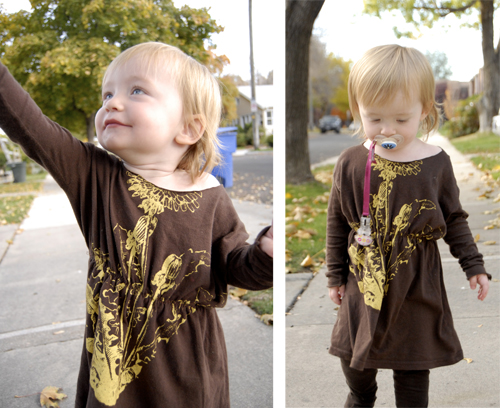
While browsing the internet I came across an absolutely adorable online children's clothing boutique. I can't remember how I found it, or where to find it, but the sweet outfit stuck in my mind. I can't really describe it, which is truly a travesty. Penelope's Shirt Dress I was thinking of buying another DownEast Basic from work to make the outfit, but then Chris wisely reminded me that I have PLENTY of abandoned long-sleeve shirts that I could put to good use. He was right. Buying a new shirt would've completely defeated the purpose of my current "make do & mend" mantra. Penelope's little dandelion shift I was far too impatient to take a before photo because I started the project 20 minutes before showtime (aka church). Luckily, I did manage to find a picture of me wearing this shirt. Unluckily, the photo is absolutely terrible. U-G-L-Y. If your curiosity is just killing you, click here to see it. It's too awful to post the full image on here, but not embarrassing enough to keep to myself. Sweet Penelope in her dandelion shirt dress I'll certainly do things differently for next time, and there surely will be a next time. I was pretty sloppy with measurements, sewing and finishing, but it still turned out rather cute. It's amazing what you can get away with when your model is just the most adorable thing on the planet.
Little Penelope side-note: Last night Penelope's uncle, Nathan, taught her that smelling her feet was funny. Now she grabs her feet, gives them a thorough sniff and busts into the cutest belly laughs. It's truly the sweetest thing to behold and I can't thank Nathan enough for teaching that to her.

I Still Love You

October 22, 2009
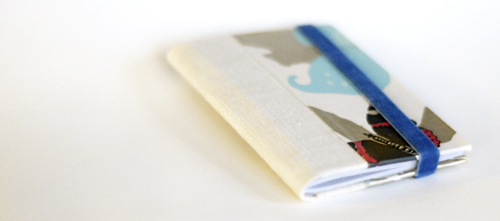
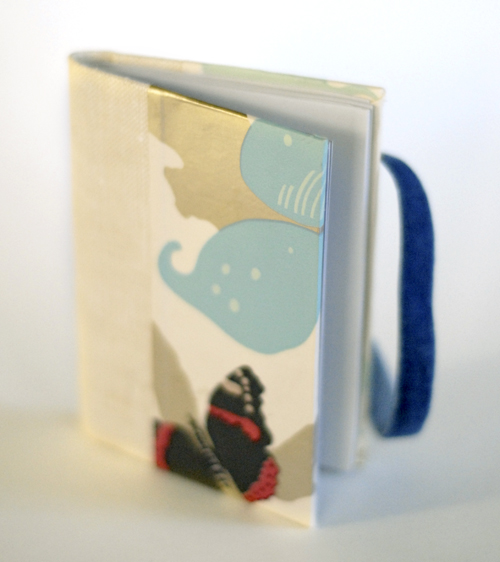
islygiveaway _dsc1380 It’s been FAR too long since I’ve done a giveaway on here. There’s no particular reason for this giveaway, I just wanted to tell everyone who comes here (either by accident or on purpose), “Thank You._dsc1381 I love blogging and feel like giving all of you e-hugs. So here’s a thank you giveaway. I’m giving a handmade mini notebook (seen above) to one lucky, random commenter. Please follow the guidelines below for entry:
  • Please comment on this post. Click on the this permalink or the title above to comment.
  • Any comment will do. If you can’t think of what to say, answer one of these questions: What is your favorite blog post? What would you like to see more of?
  • Comment before 12pm midnight MST Monday, October 26, 2009.
  • Please tell family and friends about it (not required, but very nice). Tweet, Facebook, text, or write a good old fashion letter to someone.
  • One comment per person only.

Chris's 'Urban Pack'

October 19, 2009
chris-fannypack It doesn't matter if you call it a mini satchel, utility belt or urban pack; it's still a fanny pack. Fanny packs are considered a little uncool these days, but I may have been persuaded otherwise. Chris wanted something to hold all of his junk (i.e. wallet, keys, phone, pocket knife) besides his pockets. He kept bugging me and bugging me about making him a fanny pack. He even got all the fabric and notions for the project. chris-fannypack1 I managed to avoid it for two weeks, but there was no way I could refuse to please the birthday boy during his birthday week. My initial lack of enthusiasm could have only been because of one of two things: either I didn't feel like sewing, or I was mad that I hadn't thought of the project first. For sure it was the latter of the two. chris-fannypack2 It only took me about an hour to sew it up. I kept it very simple. VERY. I just made one main zippered pocket and little external pockets on the back side of the pack. All it took was some webbing, canvas, lining material and a zipper to make Chris happy. He's such an easy man to please. Chris found a blog devoted solely to fanny packs and THIS PACK is what I'd like to recreate for myself. Maybe I'll make one for my birthday present to me.

Tail Feathers Design

October 14, 2009
tailfeathersthumbnails Did you know that feathers are all the rage? Peacock feathers, perhaps? When Chris and I went to Brazil over 2 years ago, I wanted to get some peacock feather earrings SO BADLY. Ultimately Chris said no, but I was too timid about the fashion to buy them anyway. Maybe someday I can be cool and sport a pair of feather earrings. I'll just draw peacock feathers in the mean time. tailfeathersetsybanner-summer2 tailfeathersetsybanner-fall1 I gave Tacie two colorways, one for fall/winter the other for spring/summer. I kept the design simple and I think it turned out just right. To see the logo in action, Check out Tacie's etsy shop at tailfeathersinc.etsy.com.

"Add This Button" Techie Guest Post

October 13, 2009
Melissa is in the process of scoring some extra Penelope time this evening by having me do her blogging for her. Apparently there's some interest in how to create the little "Add This Button" widget on the right-hand side of this blog, and since I made the widget . . . Step 1: Upload your image to the web. You can post it to Wordpress or put it on Flickr or whatever. You just need to get it up on the web and copy/paste the image's URL into your code. Right-click on your image and select "Copy Image Address" to copy the URL to your clipboard.  Then paste the image URL somewhere easy to find.  I use a mac, so I the like to paste my URLs into a mac sticky note in the Dashboard. Step 2: Find the page you want link to. Your button has to lead somewhere, so find the URL for the page you want to link to and copy/paste it a few lines below your image URL. Step 3: Create your widget code. Take the full URLs for the image and the page you're linking to and copy them into the following code snippets, making sure to copy over the bold text with the appropriate URLs. Button Code
<div align="center"><a href="http://PAGE-URL" ><img src="http://IMAGE-URL"/></a></div>
Text Box Code
<div align="center"> <textarea cols="19" rows="9"><a href="http://PAGE-URL"><img src="http://IMAGE-URL"></a> </textarea> </div>
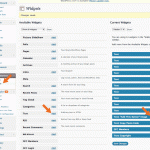
Step 4: Drop each code snippet into a Wordpress Text Widget. Go into the widget editor in Wordpress and add two new text widgets.  Put the button code in the first and the text box code in the second.  Make sure to click the "Done" button after editing each widget and then click "Save Changes".  If you don't click "Done" and "Save Changes" you won't see any results on your blog. [caption id="attachment_1878" align="aligncenter" width="500" caption="Click to Enlarge"]Wordpress Admin[/caption] Step 5: Tweak your layout. I can't give clear instructions on this, but you'll probably need to play with the spacing for your widgets. You'll notice in the text box code the <textarea cols="19" rows="9"> tag. The bigger the numbers, the larger the text box.  So if you need a slightly smaller text box to fit your blog, experiment with fewer columns or rows. You might try  <textarea cols="10" rows="5">. Just make sure that the code is easy to copy/paste for your users.  For instance, if the text box isn't big enough to fit all of your code, you may want to make it bigger or use a URL shortening website like Bit.ly to shrink your URLs down to size. Please post any questions or criticisms to the comments.  If you would like to see more HTML or CSS tutorials, just ask and I'll see what I can do.
Homemade Playtime for Penelope

October 9, 2009
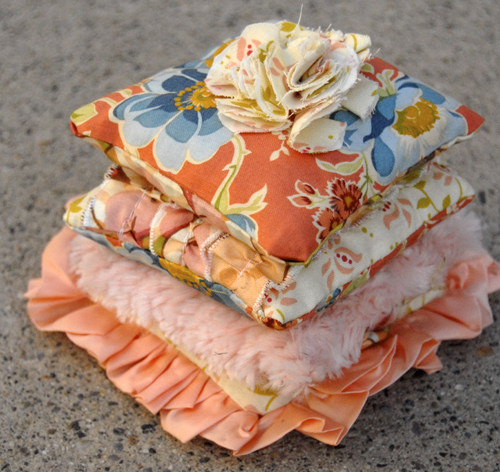
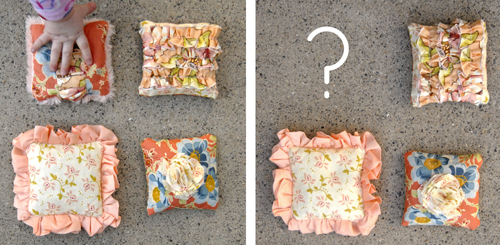
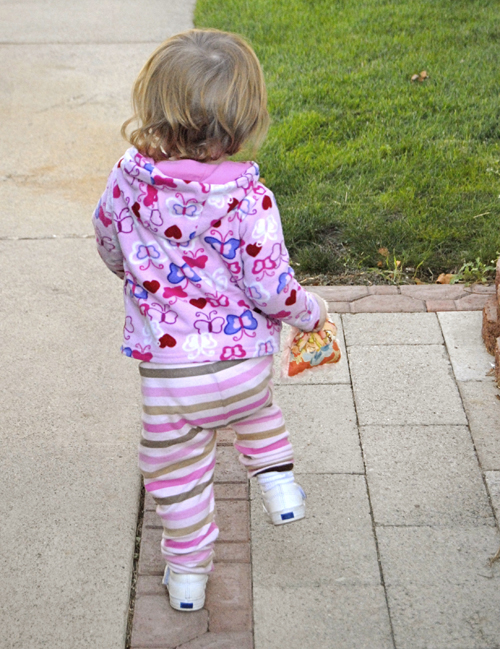
Girly Bean Bags Does anyone else despise obnoxious talking Elmo toys? You know, the toys that make the annoying sounds and always get tossed aside whenever a cardboard box is present? I really don't like those toys. I do like the ones that make real (not canned) noises when handled by exploring hands of little ones. It's possible that I like my peace and quiet. Two weeks ago, when my mother-in-law was in town, she suggested that I make Penelope some bean bags. I thought this idea was doubly radical* because my mom had just given me a 5 lb bag of white beans that were starting to look slightly aged. I also had remnant fabric from a few misc. projects including minky fabric from the quilt my mother made for Penelope. Happily, all of the fabric seemed to coordinate very well. Really. What doesn't look good with Heather Bailey fabric? Seriously. Heather Bailey is my hero. _dsc07861 I wanted to have a different texture on each bean bag to keep Penelope interested, but I don't think it would've mattered, because she loves them so much anyway. Penelope loves her beanbag I finished sewing the fourth bag at about midnight two nights ago and less than 10 minutes later, Penelope woke up. She did NOT want to sleep, she wanted to play. I think she knew I had just made her a new toy. Her face lit up when she saw the new bean bags and she giggled and clapped when Christopher started juggling them. It felt SO good to make her something she likes so much. She likes them so much I had a very hard time getting all four bags in one spot to take photos. Penelope kept taking one and running away from me. Sneaky girl.
*Awesome is losing power. Radical needs to take over the world.

The Dating Scene

October 4, 2009
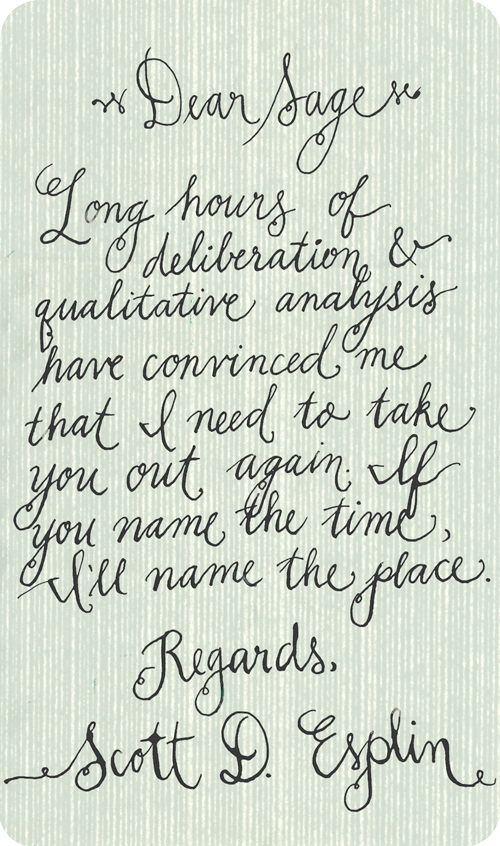
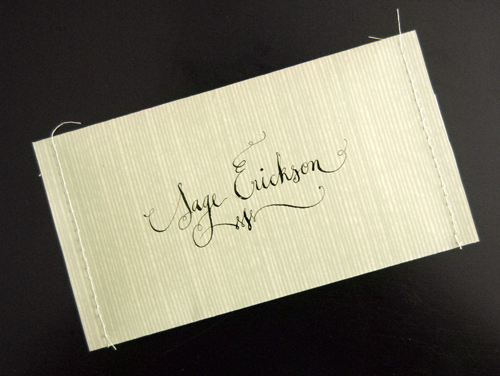
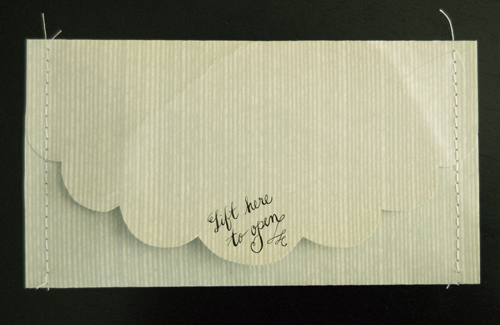
It's been three and a half years since I officially left the dating scene, and I can't say that I miss it all that much. Being married is the best thing that has ever happened to me, but every once in a while I'll think back on some of the highlights of the dating life. I got a call last week from my eligible brother-in-law asking for a favor. He wanted me to write a little "love note" for a girl that he wanted to ask out. I remember when Chris wrote me love notes when we were dating (he still does every once in a while) and boy that made me feel awesome. I was very excited to do this for Scottie, and he got pretty excited about it, too. Here's how it turned out: dear-sage Thankfully Chris and my mother-in-law were around to help with the verbage. Let's be serious, I'm not good at being concise. envelope front To top it all off I made a scalloped envelope and sewed up the ends. I just love how sewing paper adds funkiness and formality of it all. If only I had some wax to seal it with. . . envelope back Scottie drove 35 miles each way to pick up the note, but it worked. They went on a date last night. What did they do? Etched glass. My brother-in-law's a stud. I think he learned that from his older brother. ;)