MelissaEsplin.com

Simple Glass Etching Tutorial

March 31, 2009
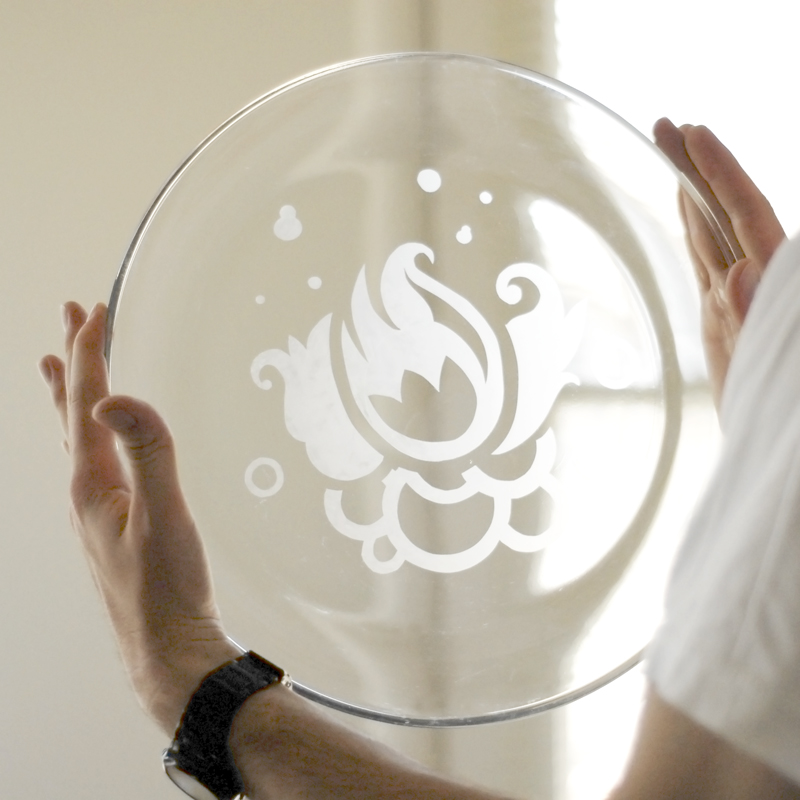
I know there are loads of tutorials around the internets showcasing etching glass, but thought I'd add my own point of view on the matter. I've had this large glass serving platter for 6 months or so, and don't really have much motivation to use it, mostly because it's plain and boring. Now it's a little more exciting, but in an oh-so-subtle way. Glass etching is also very practical for marking your glass serving ware for pot-lucks and parties. You're less likely to end up sans dishes when they have your name on them.

_dsc2870sm

Click here for the FREE printable glass etching tutorial! or read below for the step-by-step instructions.

Glass Etching Tutorial

Supplies:

  • Roll of Contact Paper
  • Glassware
  • Junk Brush
  • Bonefolder or credit card
  • X-Acto Knife
  • Pencil
  • Armour Etch Acid
  • RUBBER GLOVES!!!!

Clean your glassware and dry thoroughly. Apply contact paper to the outside of the glass. Smooth out bubbles with a bonefolder or credit card.

With a pencil or sharpie marker, make your marks. *If you don’t want to hand draw the image, print out the desired design on regular paper and tape image onto contact paper.

With an X-acto knife or scalpal, cut and remove contact paper for etching.

In a well ventilated room, generously apply armour etch acid with a junk brush. Wait 10-20 minutes for acid to etch the glass.

If you've applied a load of etching acid, you can scoop the excess back into the bottle for later. Rinse and wash glass, brush and your hands thoroughly with soap. Remove contact paper, dry and enjoy.

Many thanks to How About Orange and Apartment Therapy for featuring this tutorial!

To print out a template of the above design, click here.

French Poem Lithograph

March 27, 2009
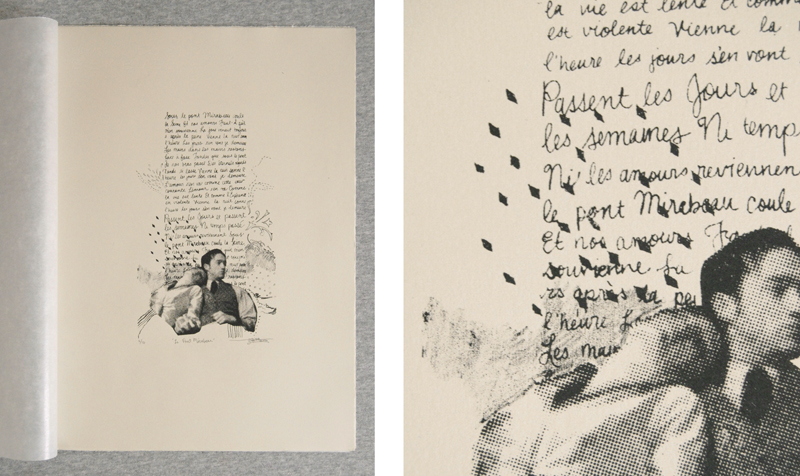
This week has been a whirlwind of a week. We're in the middle of preparing for an 800 mile move on Saturday and I've spent a glorious week blogging at Black Eiffel (Rachel is one of my heroes). I've got to celebrate that I've not had any major emotional breakdowns (only minor ones), and you! Thanks for stopping by! _dsc2924sm The poem in the background is Le Pont Mirabeau by Guillaume Appollinaire (a poem I had to memorize in junior high for a state french fair), and it's insanely beautiful to hear. I made this litho print back in my college days, when Chris and I were only dating. It's always hanging above or near our bed.  

Artists of Note Guest Post

March 27, 2009
davidhabben
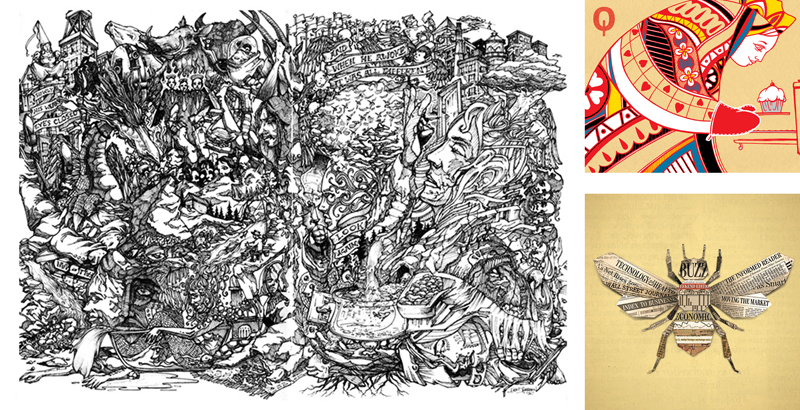
Pictured Above: Sketchbook Illustration, Core Knowledge Illustration (ink/digital), Wall Street Journal Illustration (digital)
I'm so excited to introduce you to some creative people I know. I feel like their work really speaks for itself, and hope you enjoy. . . To view the full post, click over to Black Eiffel.

Tie Your Shoes Guest Post

March 27, 2009
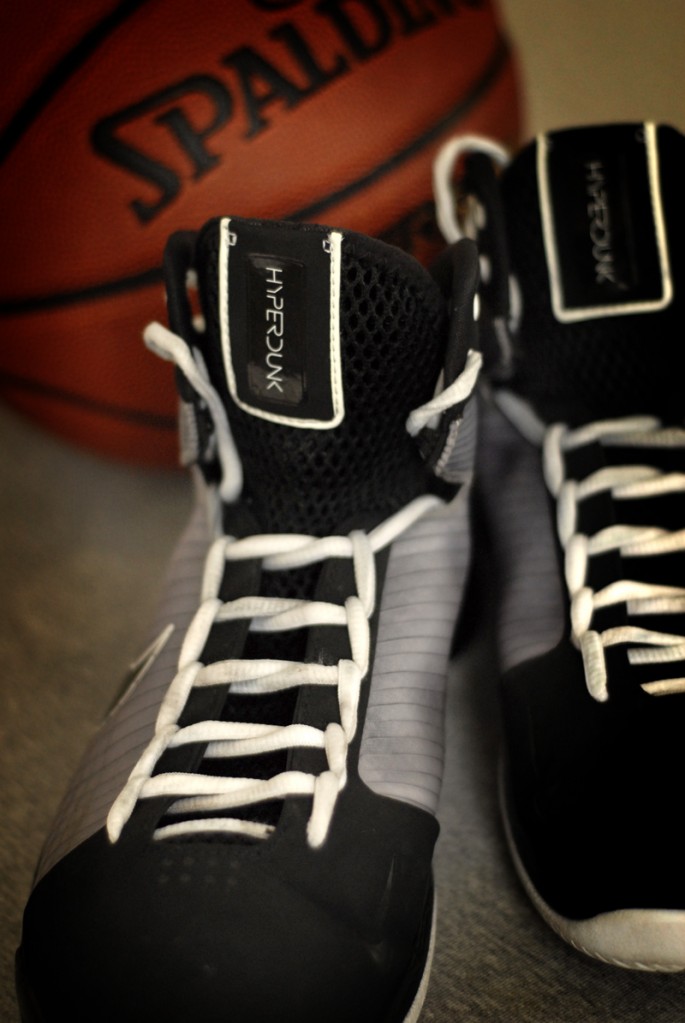
_dsc2847sm The husband introduced me to Ian's Shoelace Site a while ago, and I'm sure the cool train left a while ago with crazy lacing . . . Click over to view the full post at Black Eiffel.

Post & Presents Guest Post

March 26, 2009
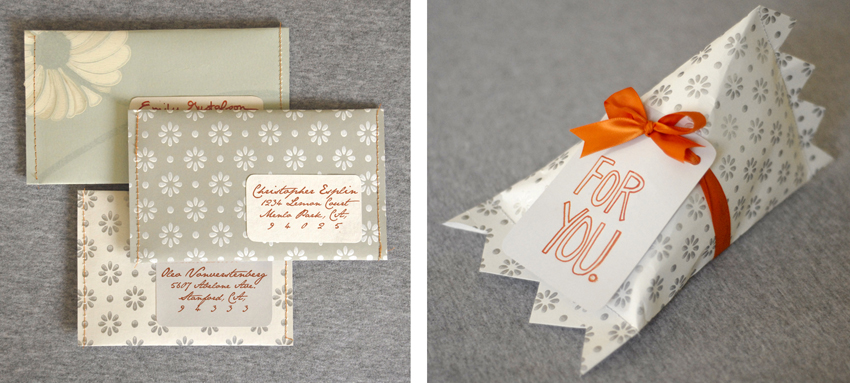
personalized post and presents In addition to always coming up short with stationery, it seems that I never have a gift box just the right size, and gift bags usually . . . Click over to Black Eiffel for the entire post.

For the tutorial on packaging your post and presents, click here.

I Heart Handmade Guest Post

March 26, 2009
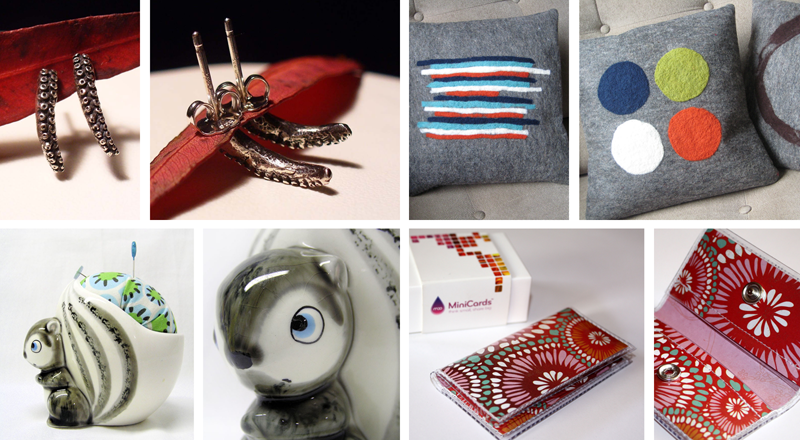
iheartetsy Listed below are some of my favorite items on Etsy. I can't emphasize how. . . Click over to Black Eiffel to read more! Want a piece of IS•LY? Click over to the etsy shoppe, there are plenty of unique handmade goodies there.

Fickle Face Mask Tutorial & Guest Post

March 24, 2009
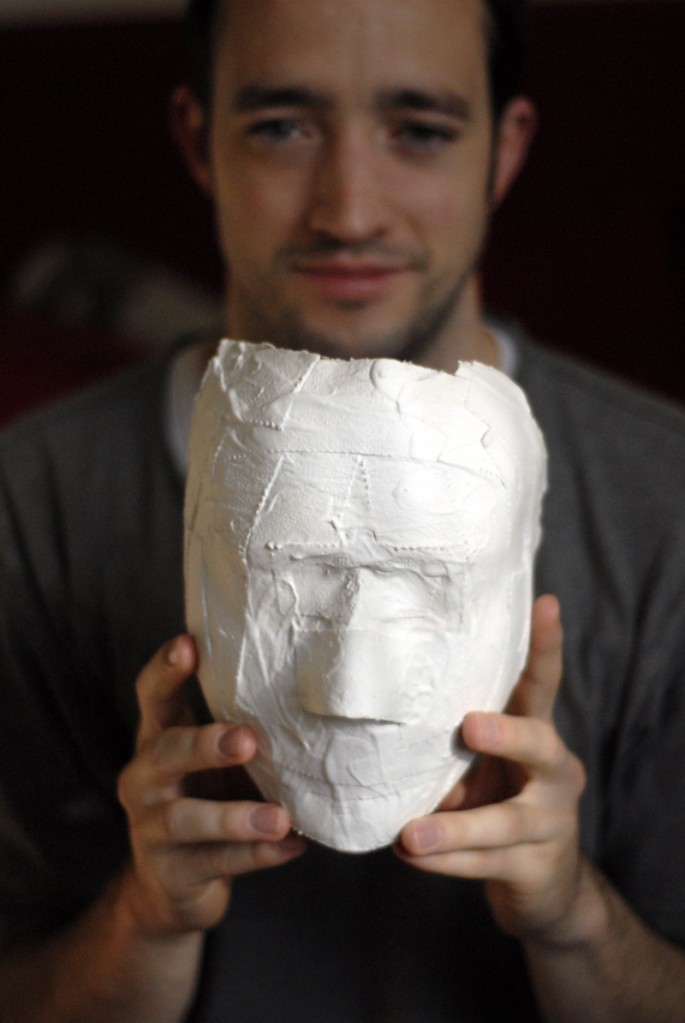
_dsc2661sm When my husband Chris asked me on our first date, he decided that we would do dinner and plaster face masks. Chris is unique. Making face masks is the antithesis of dinner and a movie, a super-memorable first date, and terribly difficult to do with eggs. . . Click here to view the full post at Black Eiffel.
Download the Fickle Face Masks tutorial here.

Big, Bold and Beautiful Guest Post

March 24, 2009

1234

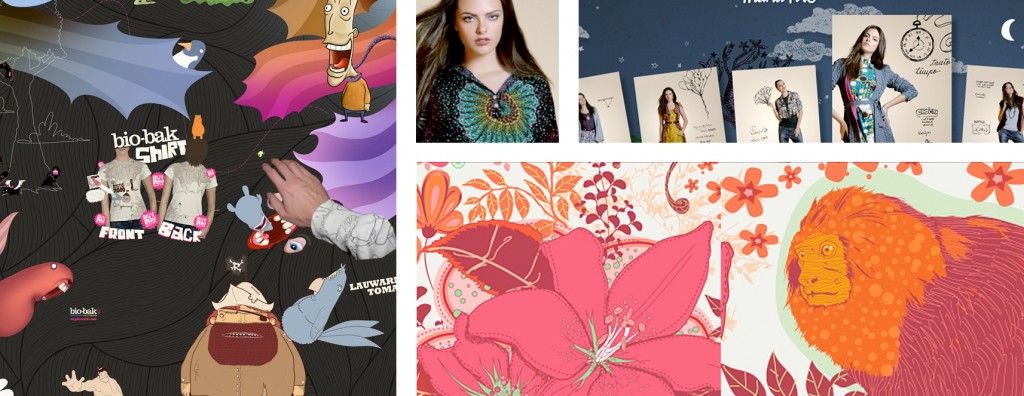
Explore a quirky, crazy world inside your computer screen at the Bio Bak website. This is the epitome of flash and illustration GENIUS.  The screen starts out small. . .

Click here to view the full guest post at Black Eiffel.

Big Changes and Little Details

March 23, 2009
picture-2 IS•LY just underwent a much-needed face lift recently and I have a lot to thank Chris for. I did all of the design work, but Chris made it happen. Goodness, it sure does help to have a web developer that's unconditionally in love with you. ;) Most of the effort (on Chris's behalf) was put into the sidebar buttons. You should check them out. Seriously. Chris spent a couple of hours researching and figuring out how to get the rollover to work, and last night he was successful. Looking to pimp out your blog? Here are some helpful links: Hex Color Combo Tester Favicon Tutorial Image Rollover Tutorial

Thank You, Black Eiffel!

March 23, 2009
picture-10 I've been looking forward to this week for ages! I'm guest blogging over at Black Eiffel this week. If you haven't had the pleasure of reading Rachel Jones's awesome blog, you should go there NOW. It's chock-full of awesome design, sweet products, inspiring films, and more! I've got 3 new tutorials for you this week, so check back often! See you around the internets.

It's THAT Time. Baby-Proofing Time.

March 19, 2009
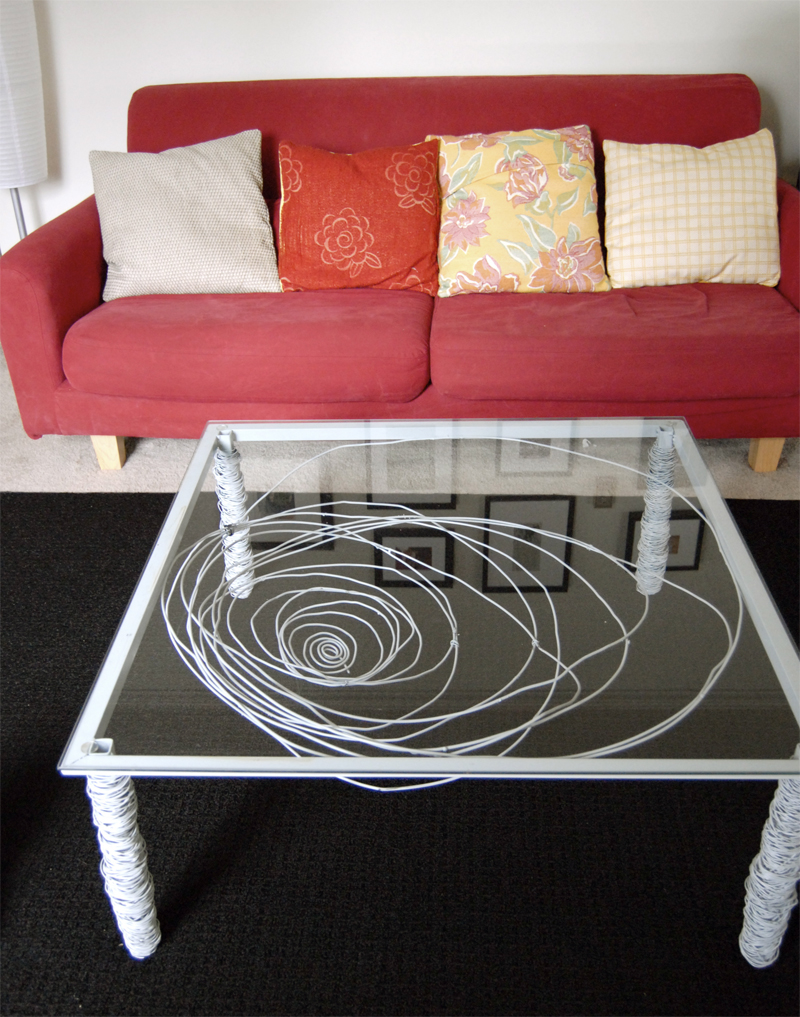
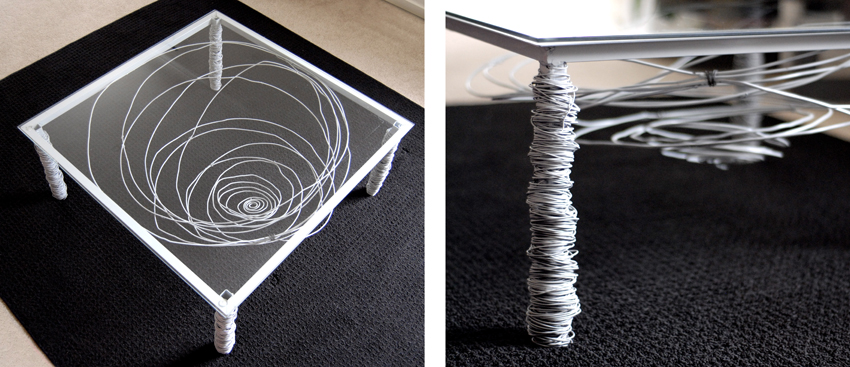
I've been in denial, I'm thinking, "Oh, Penelope's not like every baby, she's such a GOOOOOOD baby. She'd never destroy anything in the house or be silly enough to suck on plugs, or pull down furniture on top of herself!" No, no. This week she's into everything: pulling down large lamp shades, trying to pull the enormous 3'x6' banners off the wall, crawling on top of our receiver, pulling out plugs. She's just so stinking busy! I'm loving it(and hating it), I'm just so amazed how quick she is for a girl that scoots on her enormous belly. That said, we need to get rid of our not-so-baby-friendly items. I thought I'd ask you, oh wonderful internets(and friends on the internets), if you're interested in a one-of-a-kind coffee table? _dsc2623 I made this coffee table a couple of years ago in a sculpture class, the table is made from 100% steel and the top is 100% glass (BPA free, folks!) and measures 36"x36"x15". Yes, I welded at one point. MIG. It was loads of fun and at times scary. This piece is one of the few items in our house to document that part of my life. I have loved this piece of furniture, but I can't keep Penelope from destroying it much longer. And, in the chance that she tries to destroy it, I don't want it to win. _dsc2630 Isn't this a beautiful coffee table? If you're in the Peninsula/San Fran Bay area and you're interested, send me a line by either commenting on this post or emailing me at islyblog[at]gmail.com.

Coasters in a Snap!

March 17, 2009
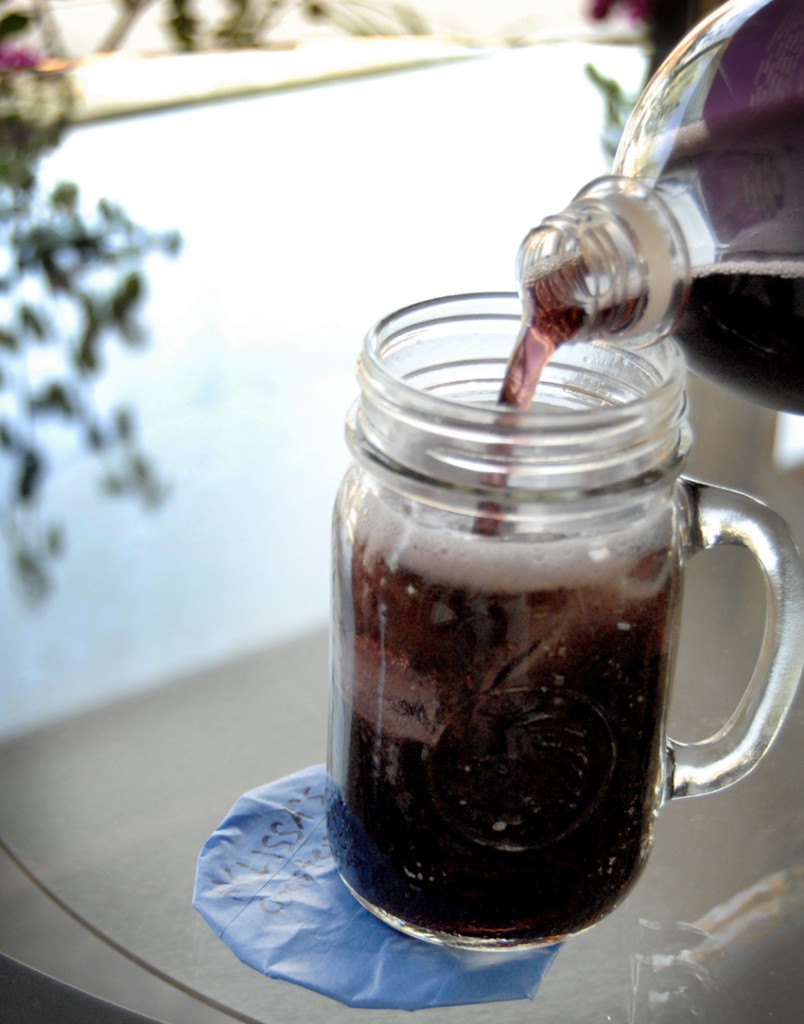
My sister-in-law made me a masking tape coaster. It's awesome, and it has my name on it. I've been seeing rainbow Japanese masking tape all over the internets and thought, wouldn't it be neat to make a coaster in every color and serve  orange soda and rainbow cake? _dsc2579 Then, tonight, since I left the tapey coaster at the in-laws (oops. blerg!) I decided to make some of my own. Disposable coasters from discarded (and absolutely adorable) wallpaper are a snap and super smart. I'm getting really excited to decorate for Penelope's first birthday party that's coming up!! picture-4 Also, instead of using regular cups for dinner, it was FAR more fun to use old food jars. All you need to do is drill a hole in the top of the jar, sand off the rough edges and you're ready to rock an roll without spilling your drink! I think this will work great when Penelope gets old enough to start using cups. The idea was inspired by Brides.com's article on daisy cutout mason jars. Aren't those daisy lids just adorable?!?

Taliesin West & Desert Botanical Gardens

March 11, 2009
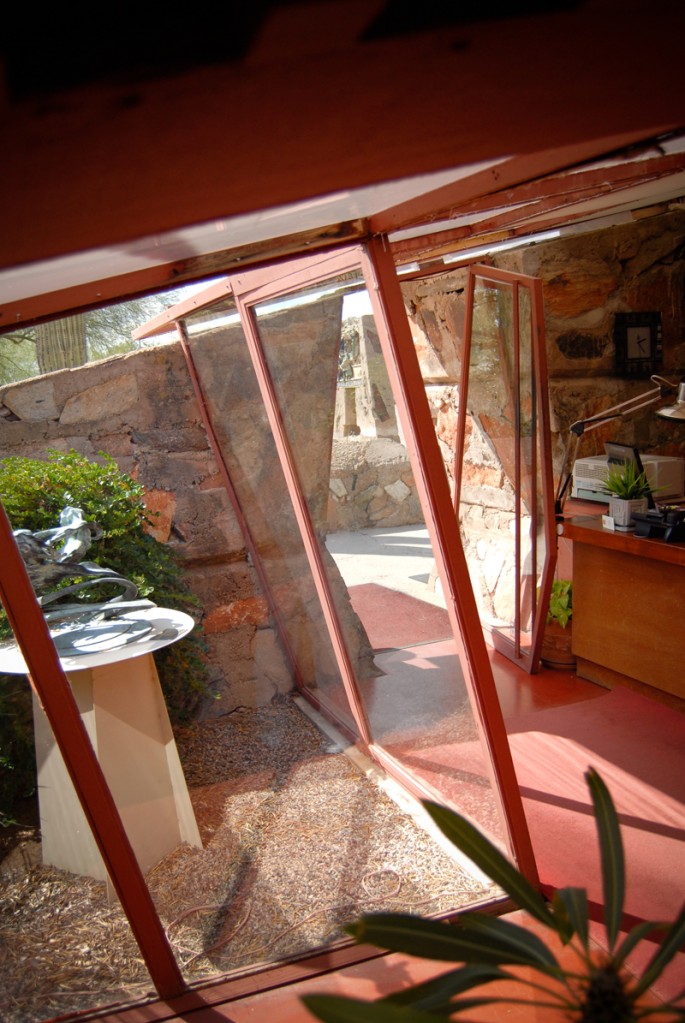
I've definitely shirked in my blogging the last few days, I've just been so busy vacationing with family and catching up with my sister-in-law [who I haven't seen in over a year and a half]. It's been fun! The last two days we've spent discovering some sweet spots around the Phoenix area. Monday, we went to Taliesin West, one of Frank Lloyd Wright's projects and the home of the Frank Lloyd Wright Foundation. _dsc2405-1sm It was so neat to be able to walk around where Wright lived and breathed and to sit in chairs he designed and used. I was very happy that we could truly experience the architecture, but incredibly bummed we couldn't take photos of the interiors. Poop. I made it a mental note to come back if there's ever a day when I get to build my own house. It was all so inspiring. _dsc2388-1sm

•     •     •     •     •     •     •     •     •     •     •     •     •     •     •     •     •     •     •     •     •

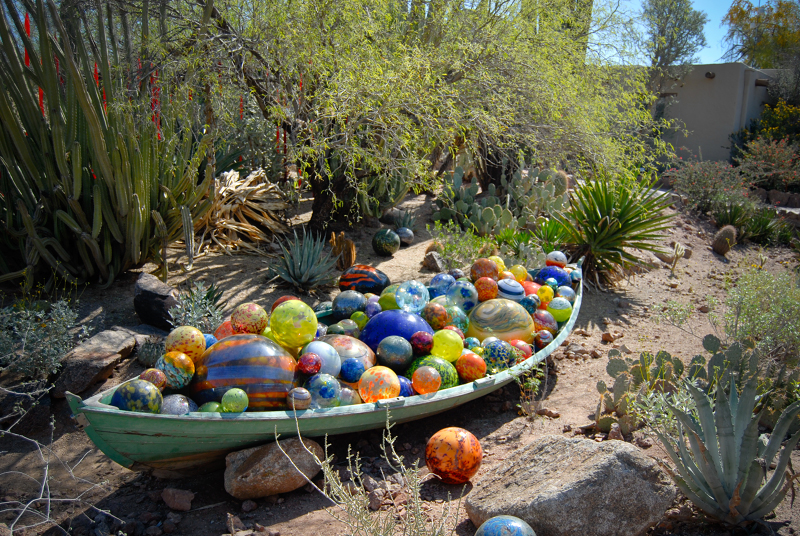
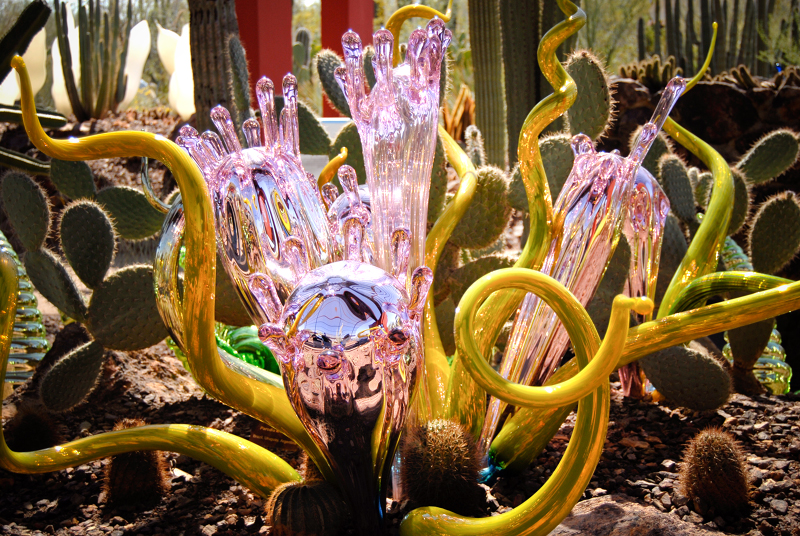
Then today, we hit up the Desert Botanical Gardens to visit the Chihuly exhibit. I guess I'm a woman obsessed. I've been to three exhibits of his, two of which have been in the last six months. This exhibit was beautifully integrated with the cactus landscape, which lent itself to a completely different feel than in a museum. _dsc2492-1sm It was loads of fun to walk around the gardens searching for any unusual pop of color. Penelope seemed to like it and the weather was so perfectly gorgeous for us. _dsc2551-1sm _dsc2572-1sm

Introducing Oleo Vonvurstenberg and Leather Baby Booties

March 6, 2009
Remember our little shadow friend that came to visit? Well, I decided to make him a reality, sans toothpick. I used smooth silk/linen fabric from fabmo (so soft for a little baby) for the body and velvet embroidery thread for the details. Velvet embroidery thread, while not cheap, is hands down my favorite to work with. It's just so yummy! Without any further ado, I'd like to introduce you to Oleo Vonvurstenberg. He's sweet, always happy to see you and loves curious little babies. Oleo Vonvurstenberg _dsc2094sm I also made a pair of regal baby booties in black. Leather. I just love this bitty booties pattern from Heather Bailey, it's so easy to hand sew and even easier on the sewing machine. _dsc1865sm

March Sweet & Savory

March 5, 2009
3 Cheers for Saint Patrick's Day and BANOFFEE!! My brother, Jake Scott, picked this recipe up while living in Ireland, it's an Irish and English favorite. Jake has modified the recipe over the years, so he's made this UK favorite one of his own. It's literally banana and toffee with a cookie crust. It's rich, it's over-the-top, and everyone seems to like it. My one suggestion is to keep the serving size small, because this might overpower a lesser sweet tooth. doublebanoffesm

Banoffee Pie

From the kitchen of Jake "the great" Scott Makes 12-16 servings Prep: 2 (incredibly low-key) hours  Chill: 1 14 ounces crunchy chocolate chip cookies 1/2 cup Butter, softened 2 -14 ounce cans of Sweetened Condensed Milk 3-4 Bananas 1 pint of heavy whipped cream 1/2 cup of confectioner’s sugar 1 teaspoon of vanilla (optional) 1 bar of chocolate Filling: Place two cans of sweetened condensed milk in a saucepan deeper than the height of the cans. Fill the sauce pan about 3/4 full of water. Cover and place over medium heat. Boil the sweetened condensed milk for 1 and 1/2 hours. Periodically add water to the saucepan to maintain the water between 1/2 and 3/4 full. The sweetened condensed milk will cook to a toffee state. Remove from heat. Pie: In a medium-sized mixing bowl, smash the cookies into pea-sized crumbs, and mix thoroughly with butter. Press mixture into the bottom of the 9x13 pan (or 2 standard pie pans) to form the cookie crust. Bake at 350ºF for 8 minutes. Cool. Whip cream and add confectioner’s sugar and vanilla. Remove the sweetened condensed milk cans from the saucepan and open. Be sure to place a tea towel over the top of the can opener while opening to prevent spills and/or burns. Pour most of the toffee over the cookie crust and spread evenly. Chill. Just before serving: slice bananas and distribute evenly over top of the toffee, spread whipped cream on top and serve. Garnish with grated chocolate and remaining toffee and bananas. Jake’s notes: I used the Chips Ahoy cookies that have chocolate and peanut butter chips. My notes: I opted out of adding the confectioner’s sugar and vanilla to the whipped cream, since the toffee filling is so sweet. I halved the recipe and it all fit perfectly into a standard pie pan. I also used the Peanut Chunky Chips Ahoy cookies, and it was delicious. •     •     •     •     •     •     •     •     •     •     •     •     •     •     •     •     •     •     •     •     • The savory (while a huge favorite) wasn't nearly as exciting to make as the Banoffee, but a great way to spruce up dinner vegetables. Nearly a year ago, I came across an article in Cook's Illustrated magazine that has revolutionized my dinner plate. Roasting vegetables brings out a richer flavor by caramelizing them and revitalizes fridge-old produce. dsc_1154
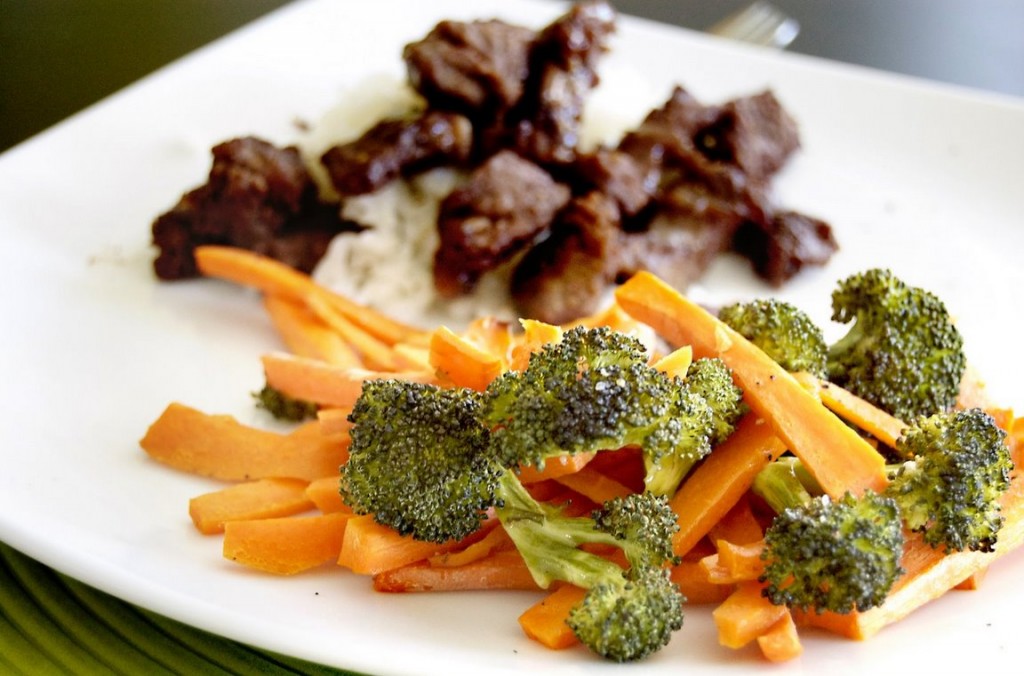
Roasted Veggies

4 servings Prep time: 5 min Cook time: 30 min 2 generous cups of vegetables, sliced or julienned* 1-2 tablespoons olive oil or butter garlic salt, to taste Preheat the oven to 425ºF. In a large bowl, toss vegetables with oil and garlic salt. Spread evenly on a cookie sheet and place in the middle rack of the oven. Cook for 30 minutes turning the vegetables every 10 minutes or so. Cook until slightly shriveled and browned. *green beans, broccoli, cauliflower, carrots and sunchokes are fabulous in the oven. Even Romaine hearts can be roasted!

Back to the Drawing Board

March 2, 2009
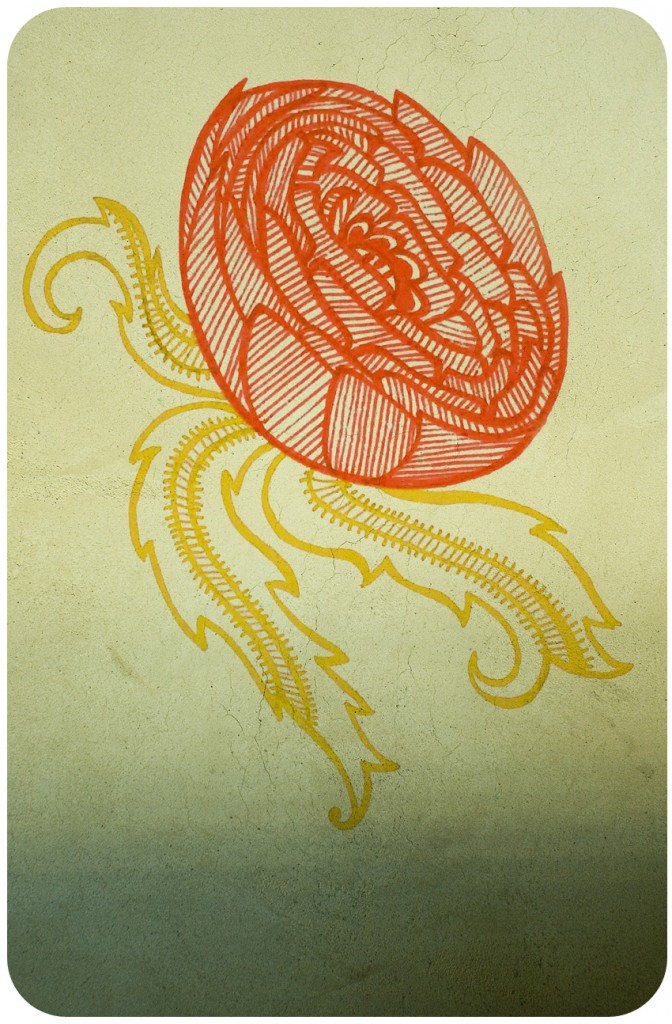
For a long while [nearly a year] I didn't sketch or draw anything. It was totally lame. Since the beginning of the year I've been sketching and have yet to post anything on my little Sunday meanderings [It's not often that I sketch on a day other than Sunday]. Two stories: I love poppies, and being inspired by the book 1000 Tiles: Two Thousand Years of Decorative Ceramics, I drew a little bitty of a poppy and photoshopped it onto a texture. I haven't quite decided how I feel about the background. Is it too contrived? Static? Opinions are appreciated: handdrawnpoppysmrnd Then, last night when Chris and I were so wired from watching Solitary 3.0, we noticed an egg-shaped figure on the wall. I couldn't photograph it because it was too dark. So this is what I drew in the dark at 2:00 this morning: walleggwithtoothpicksm The wall was a dark grey, the egg shape was black, the eyes were white and so was the toothpick/staff the egg guy was holding. It all took me back to my childhood looking at the clouds with my mom, figuring out what they looked like. I've got to do something with this little eggy guy, maybe I'll make a little plush.