Back in January wen I went thrift shopping with a bunch of awesome ALT ladies, I picked up a really rad bow-inspired belt. I’m not sure why I never included a pic of the belt here because it’s awesome. You can sort of see it in this outfit, but the lighting isn’t great. Anyway, that’s what spurred this cuff. Plus the fact that Chris & I bought a cow & a half worth of leather the other day. We bought a full hide of silky awesome black leather & a half hide of gorgeous grey patent leather. You’re going to be seeing a lot of leather crafts around here in the near future. Beware!
I’m very pleased with the end result of this little project. It’s a simple project that anyone half-decent with scissors could master. It’s another 15 minute craft. Also, I’m totally digging the hard/soft contrast of the button-stud & the bow. For the full outfit, click over to my fashion section.
Now without any further ado, here’s the tutorial.
• B O W C U F F T U T O R I A L •
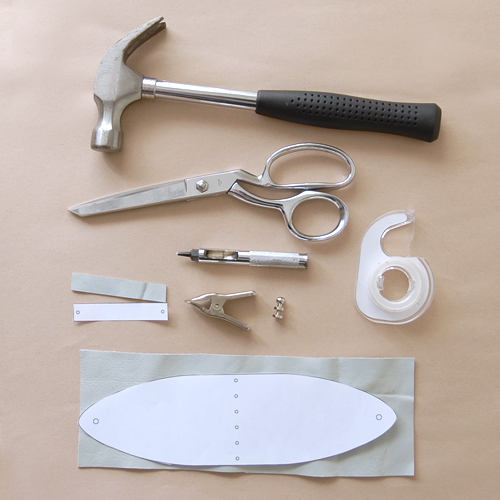
• S U P P L I E S •
- hammer
- sharp scissors
- hole punch 1/4 inch & 1/8 inch
- clamp or bulldog clip
- double-stick tape
- button-stud
- 1-2 ounce leather 10×3 inches
- leather needle (not pictured)
- waxed linen thread or artificial sinew (not pictured)
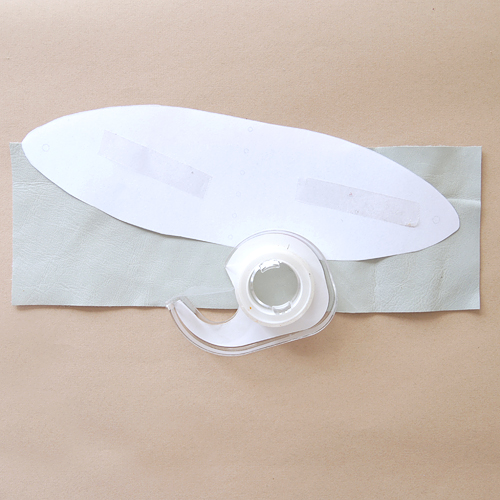
Cut out your pattern pieces, affix double-stick tape to the back & place on your leather. Cut out leather.
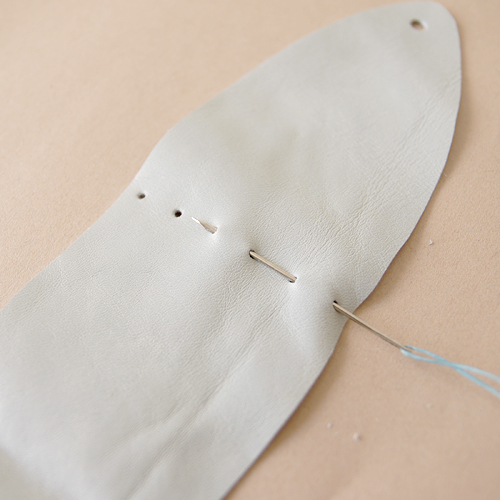
Punch holes in designated spots on pattern. If using a button stud, punch one of the end holes larger than the other.
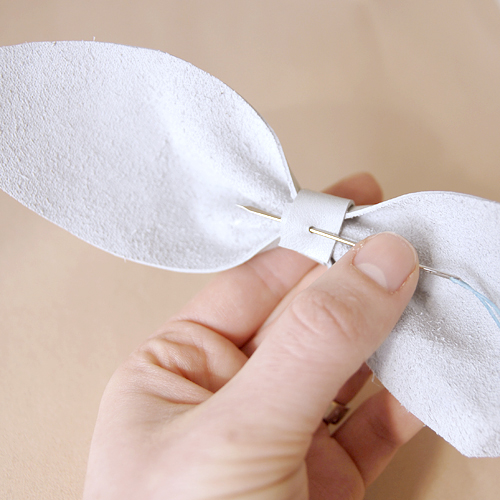
Sew through middle holes with needle & thread, starting from the front, weaving in & out.
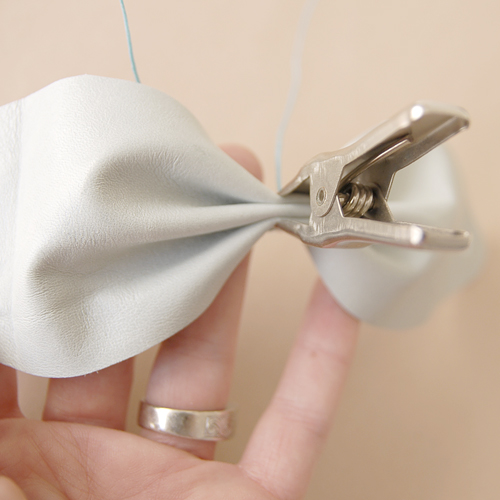
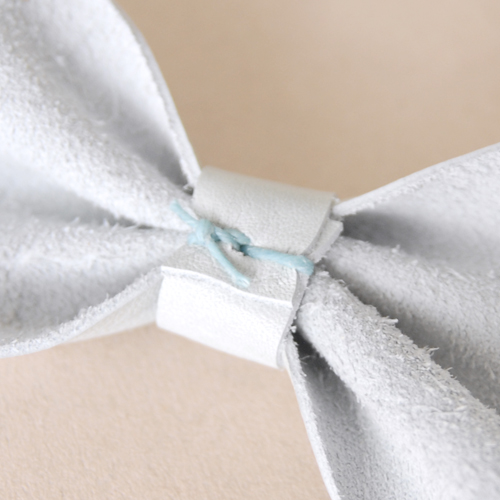
Pull thread together to create pleats & cinch together with your clamp. Tie a square knot on the back side.
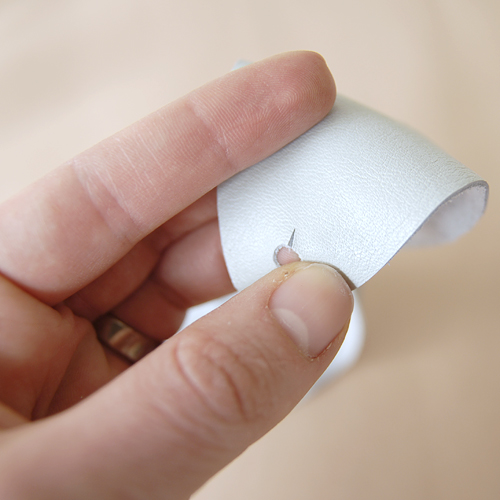
Wrap the smalls trap around the middle of the cuff, making the holes at the end match up. Insert needle from outside to inside.
Wrap the smalls trap around the middle of the cuff, making the holes at the end match up. Insert needle from outside to inside.
Cut a 1/4 inch slit in the larger hole to allow for the button stud. Affix the button stud to the other end. Button & wear.
I’m flaunting my left hand because I *FINALLY* found my wedding ring on Sunday. HOORAY!
• O P T I O N A L •
This project could easily be done with fabric or other vegan materials. Additionally, the button-stud is my attachment of choice, but snaps or decorative buttons could easily be used in its place. If you make one of these, I’d love to see how it turns out! Add your pics to the IS•LY flickr page.
Click the download button below for the printable pattern & tutorial.
This tutorial is free for personal use and should not be distributed/republished without my consent. Altering the file NOT ALLOWED. If you would like to use this tutorial for commercial purposes, please email me. Thanks!









[…] Get the directions here. […]
[…] Get the directions here. […]