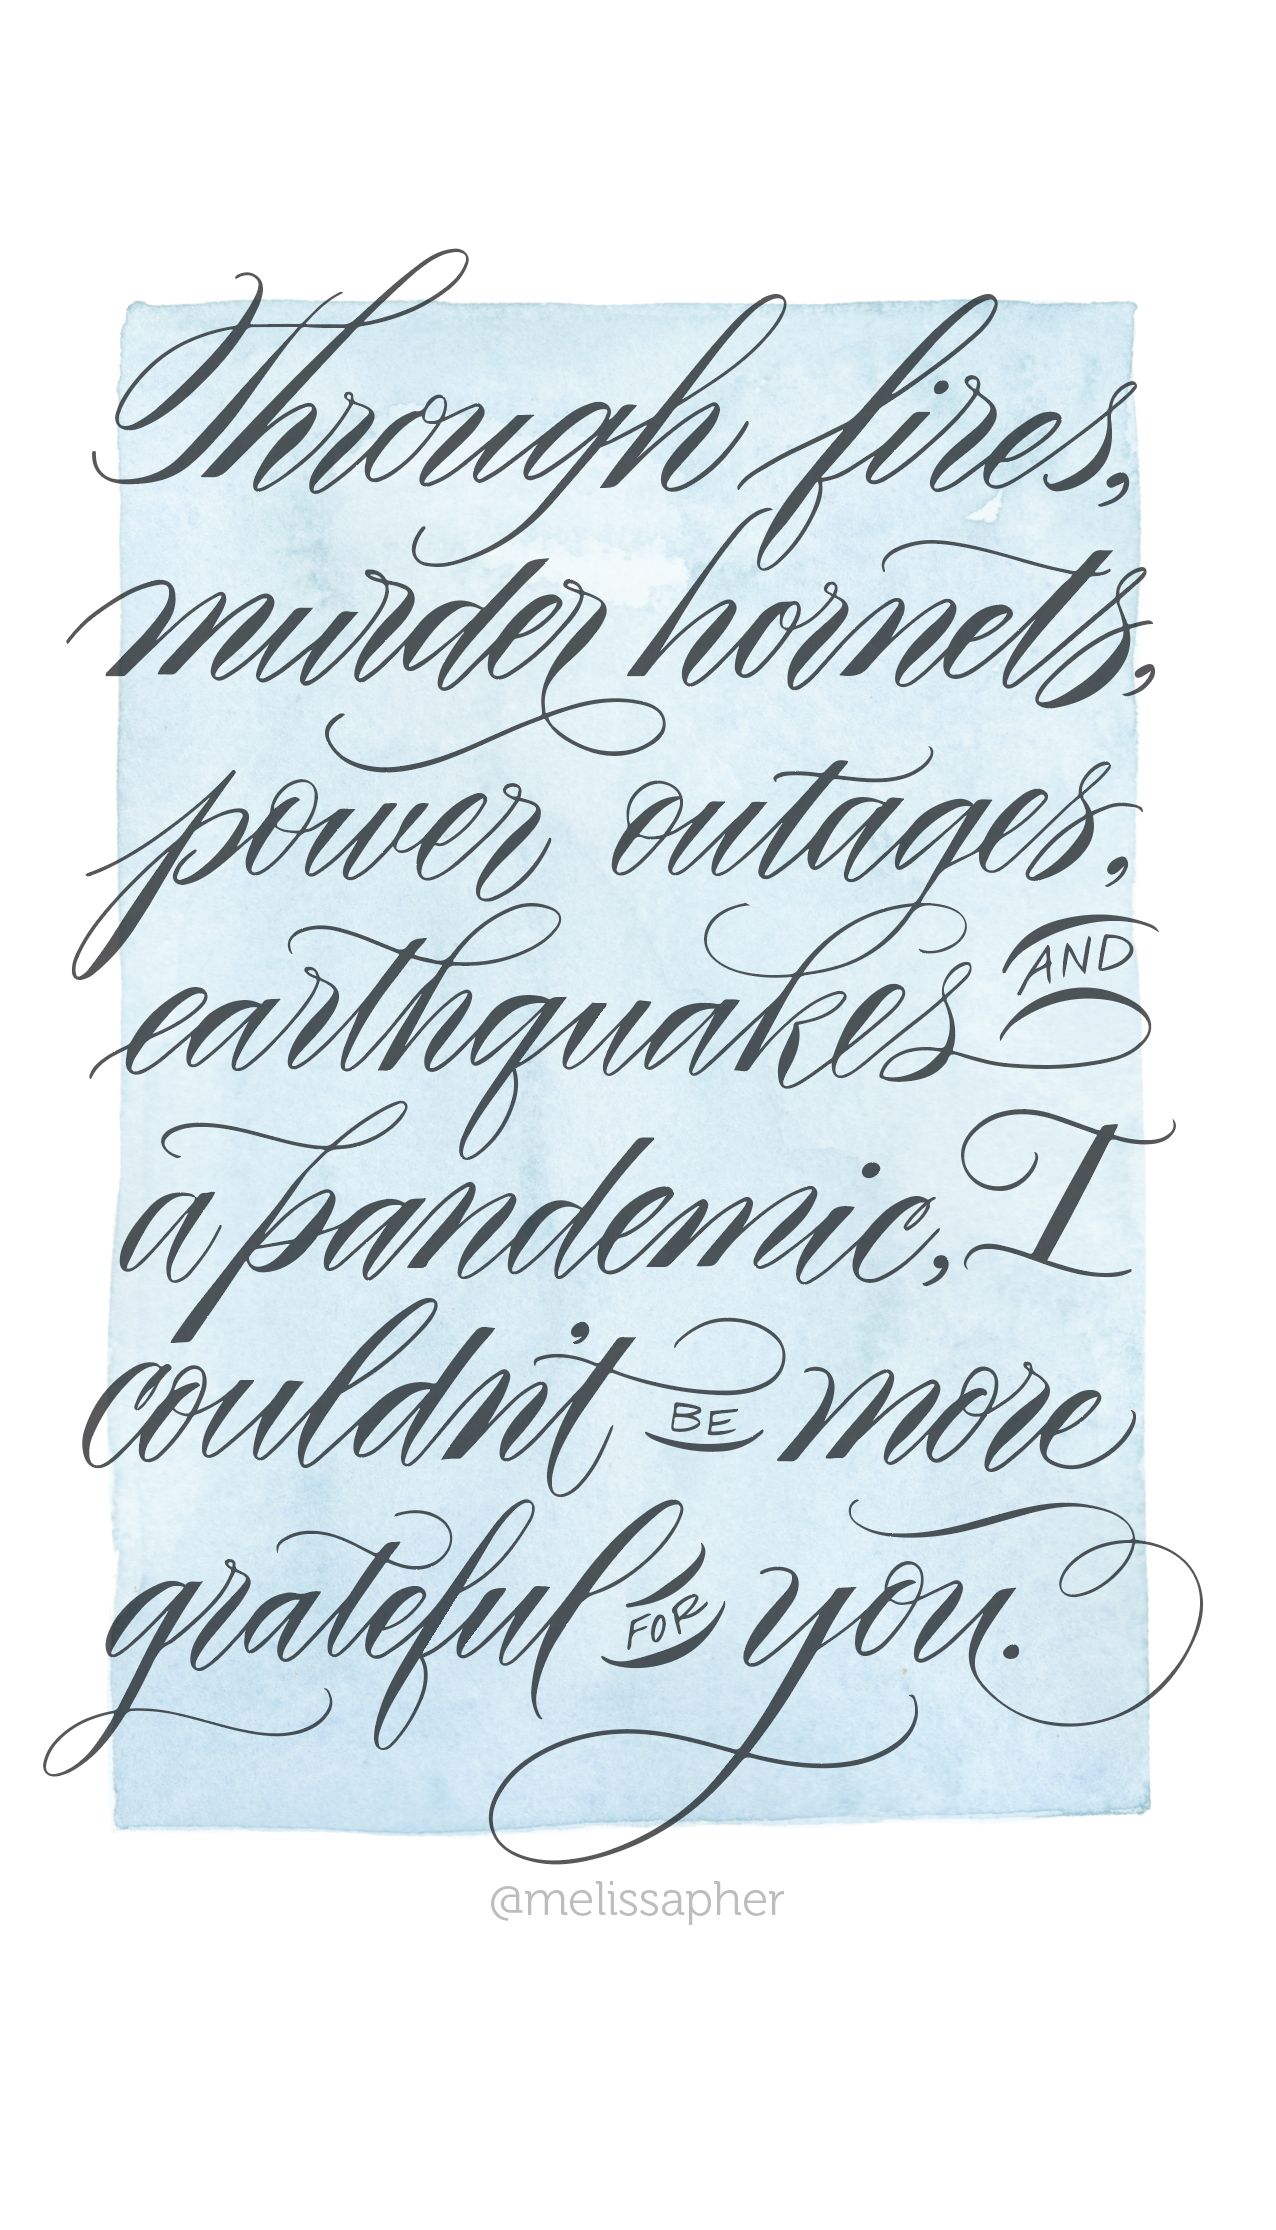
It's that time of year that I personally look forward to: sending and receiving letters in the mail. This year is even more important because of so many family and friends we haven't been able to see this year.
I've teamed up with
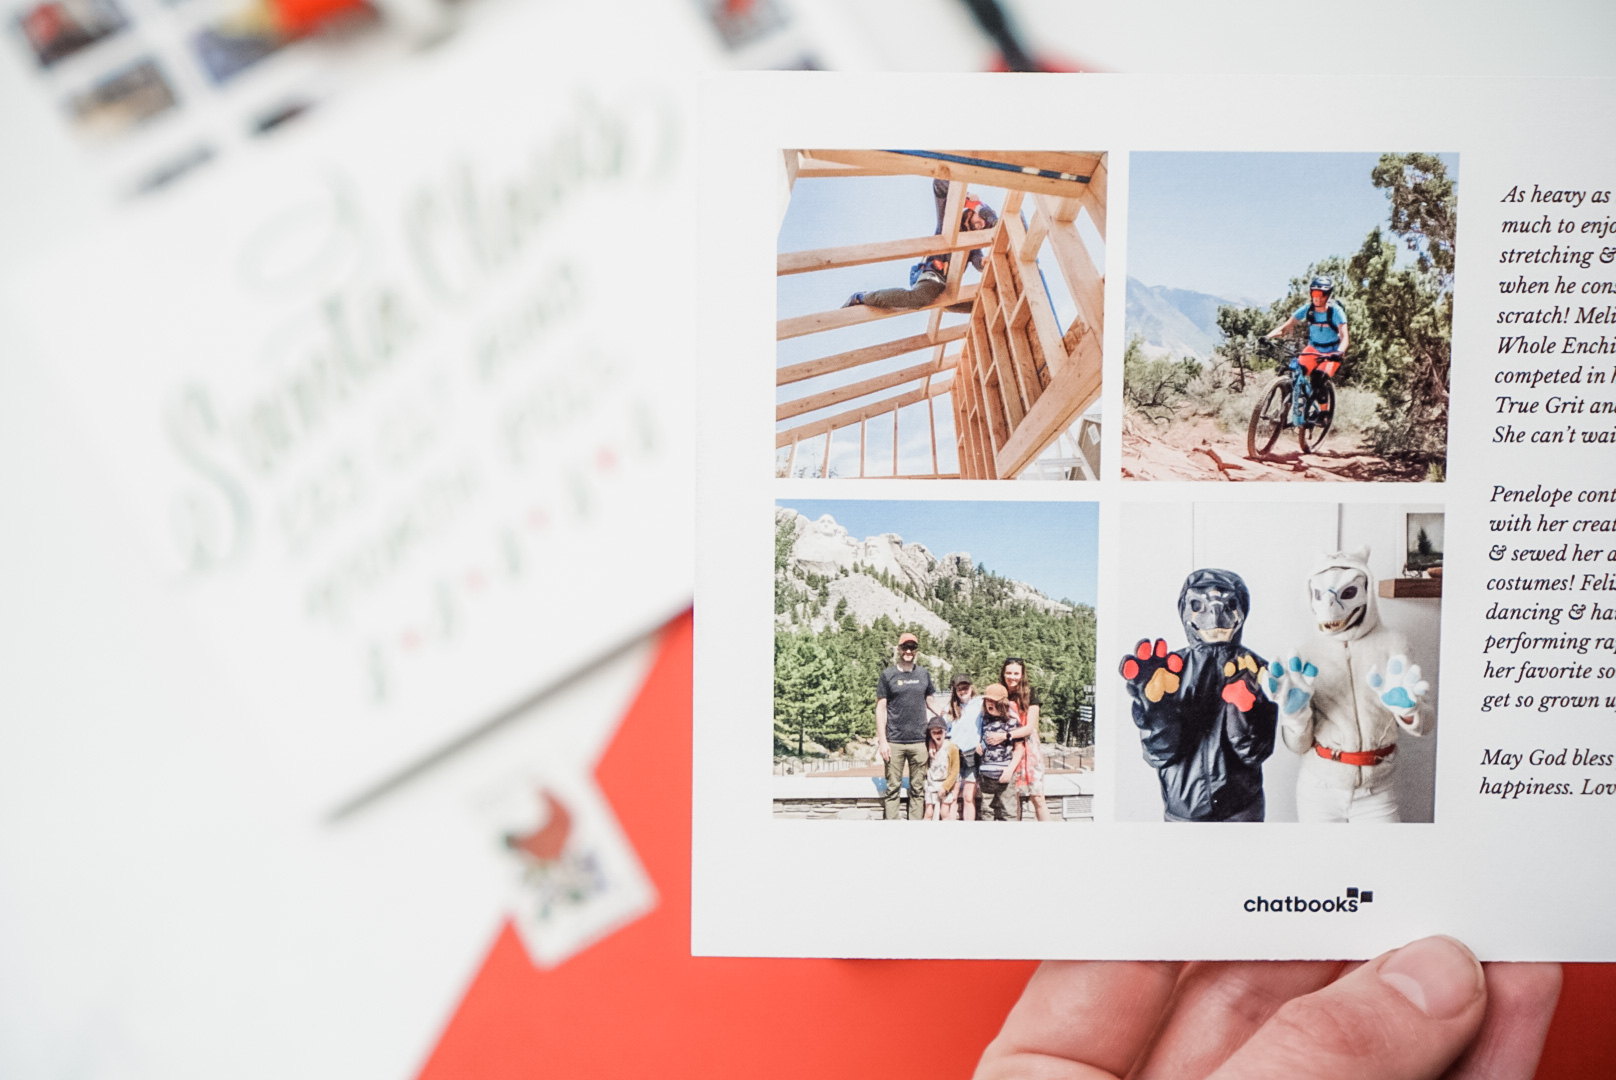
Chatbooks to give you 20% off your order (cards, photobooks, prints, etc!) with code CBMELISSAE20! Use that code at checkout for 20% off. This is the second year I've gone with Chatbooks as my holiday card printer. They don't offer custom design printing, but they do offer timeless designs that make it a no-brainer to use.
For me personally, Designing the card is something I
CAN and could do really well, BUT it takes so much time. I'd much rather spend that time on addressing my envelopes beautifully. If you'd like to learn more about brush lettering and calligraphy in general, check out my
online calligraphy classes! I teach online and give you one-on-one coaching to help you as you go along.
Check out my Brush Lettering class if you want to try your hand at the style below.
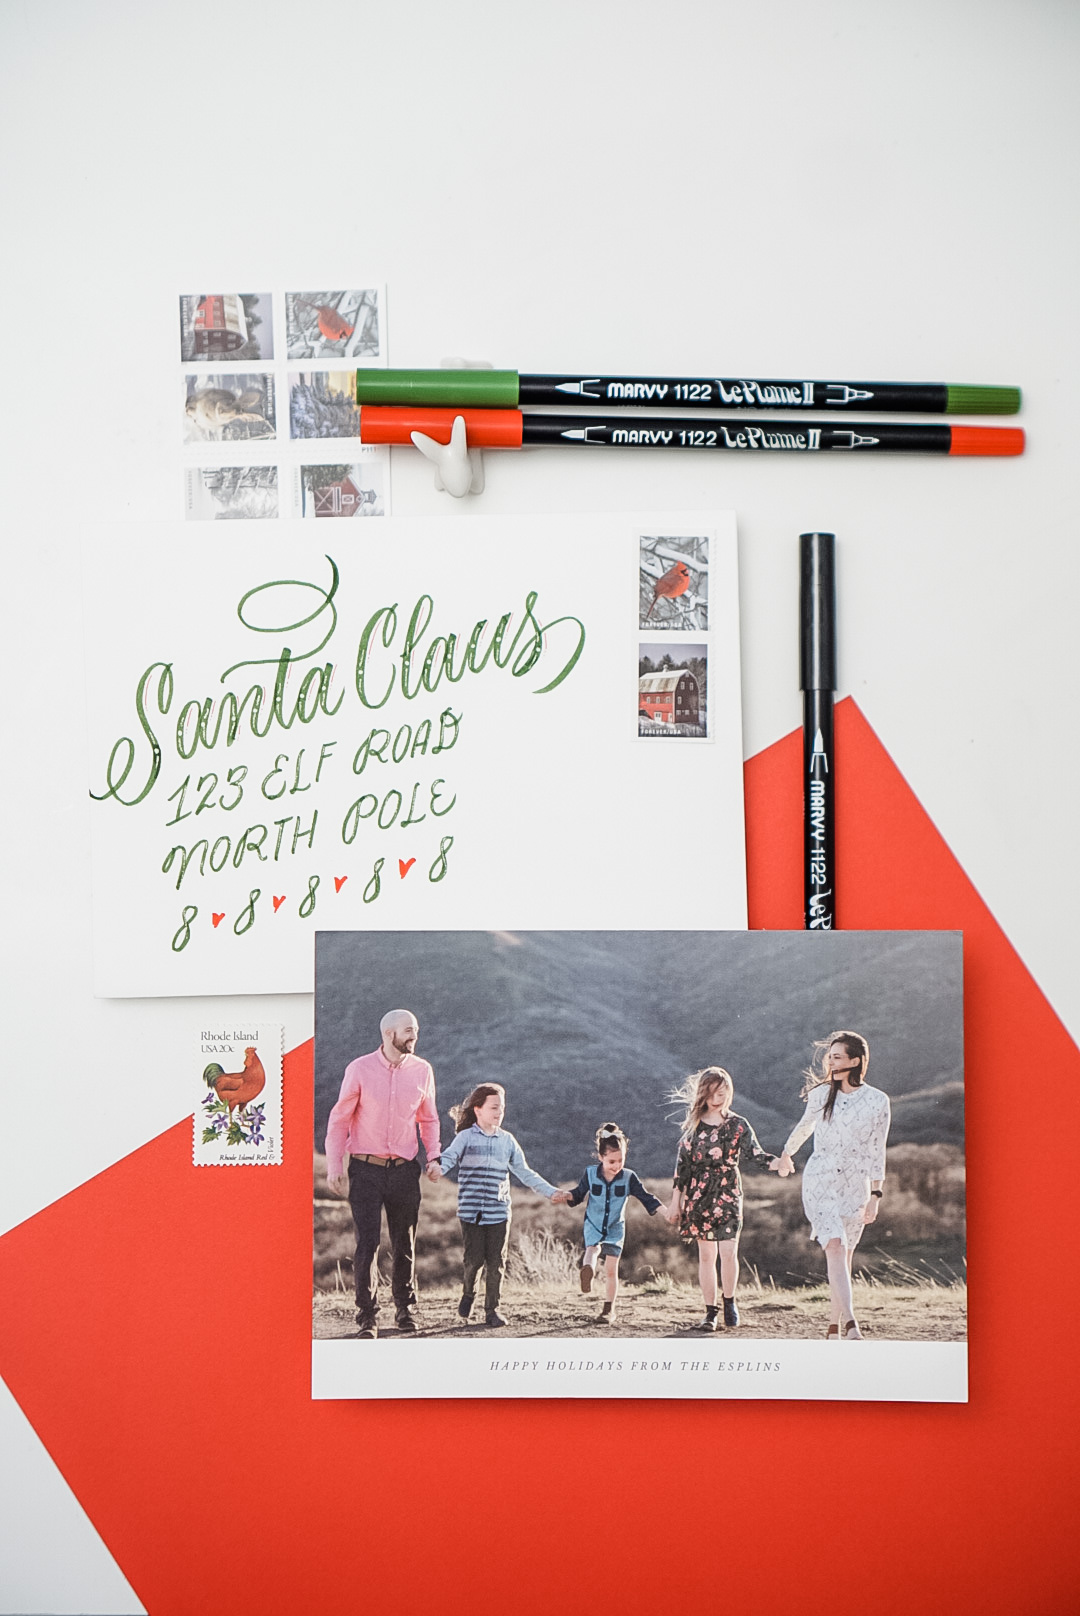
Regardless of your lettering proficiency, check out the envelope templates below. Simply cut out the template, place overtop the envelope and write in the designated spaces. This template is for A7 envelopes and leaves you enough room for postage on the right-hand side. :)
DOWNLOAD FOR HAND CUTTING
DOWNLOAD FOR SILHOUETTE CUTTER
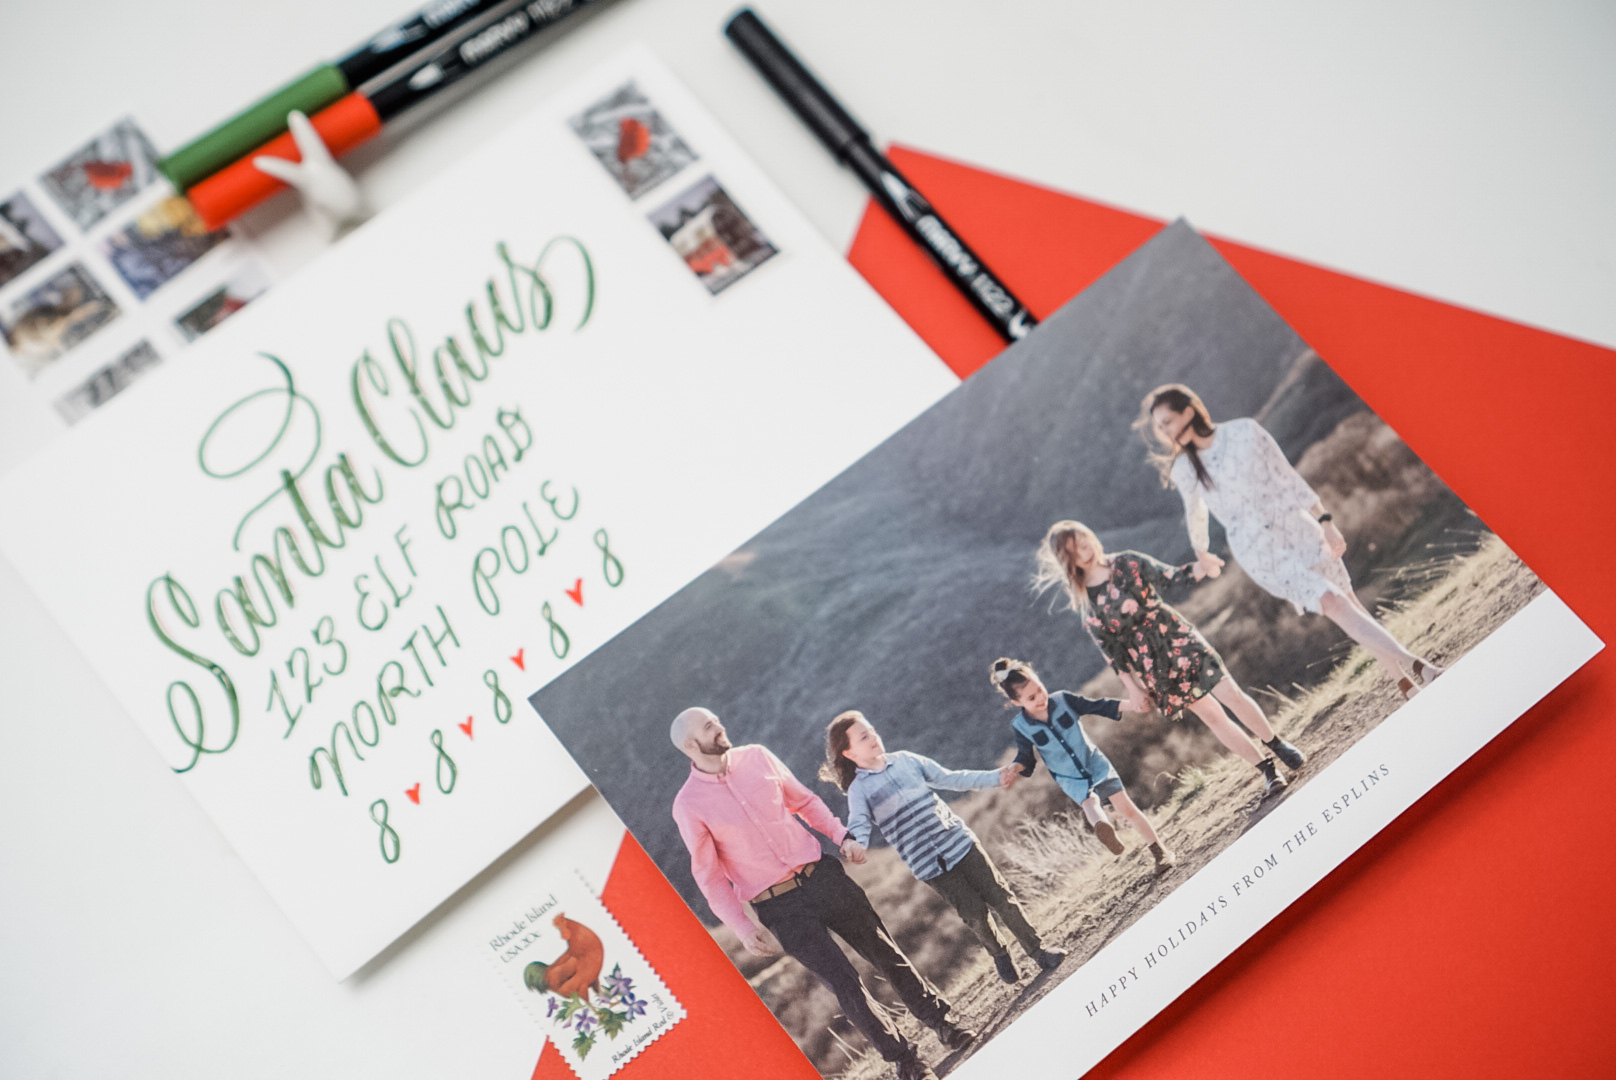
Use brightly colored markers like these
Marvy Uchida Le Plume II markers to give a spot of color as well! Use code PIN2020 for 25% off and free shipping over $25.
Hope you all have the happiest holidays and if you want to send me a card, message me on
Instagram for my address. I'll send you a card in return!!
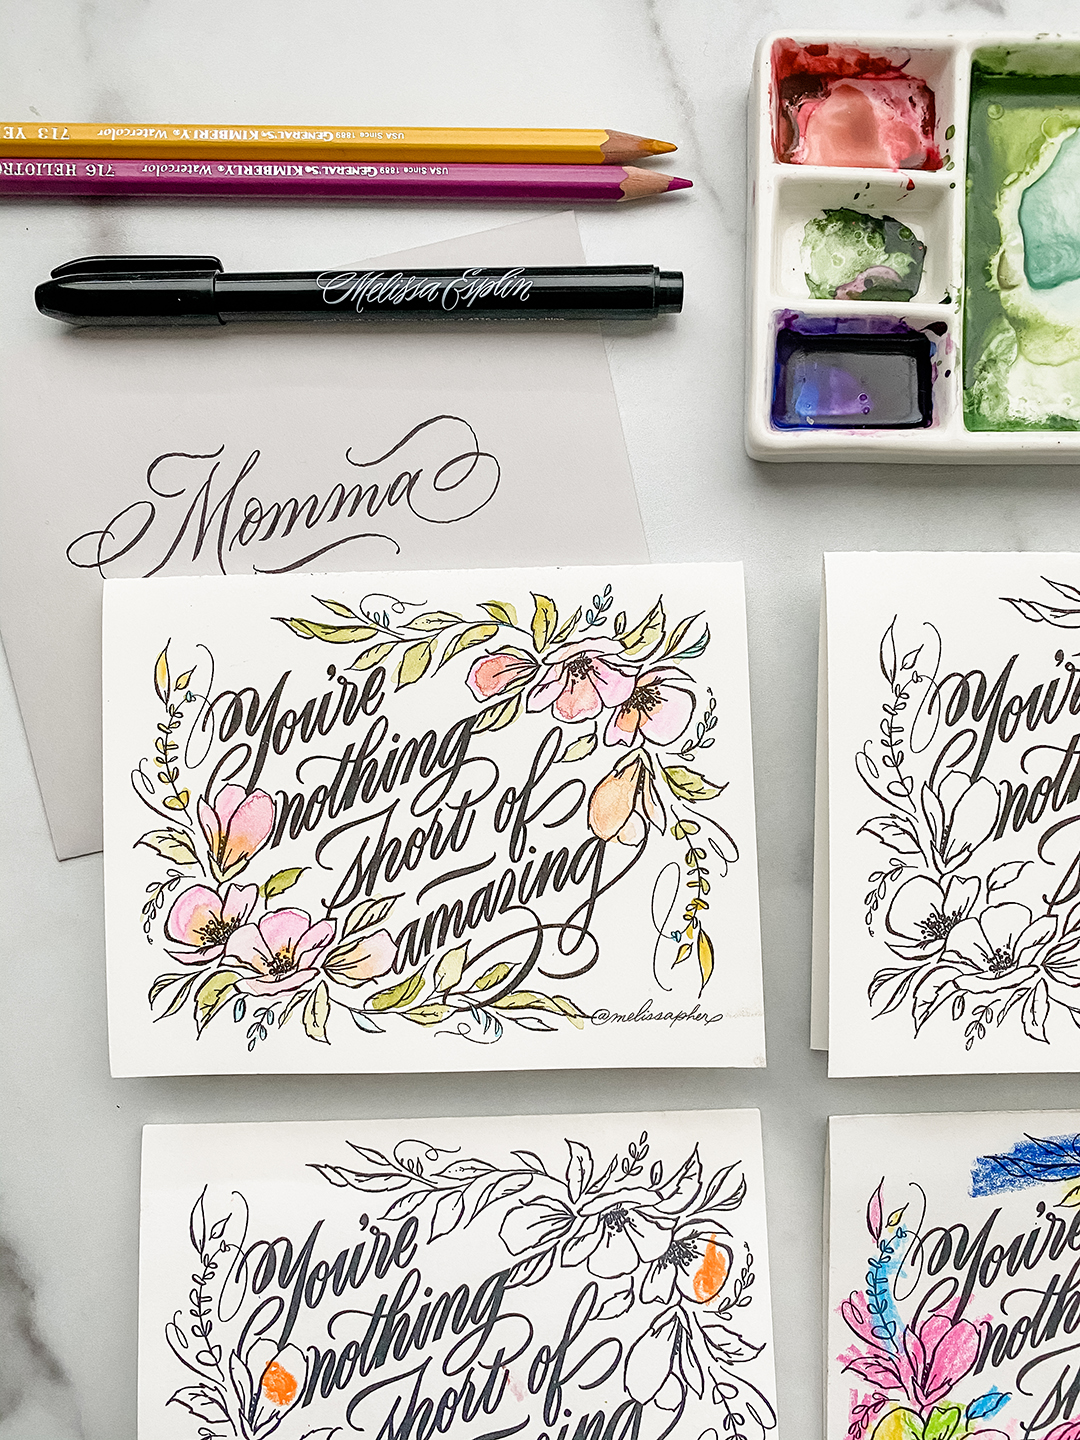
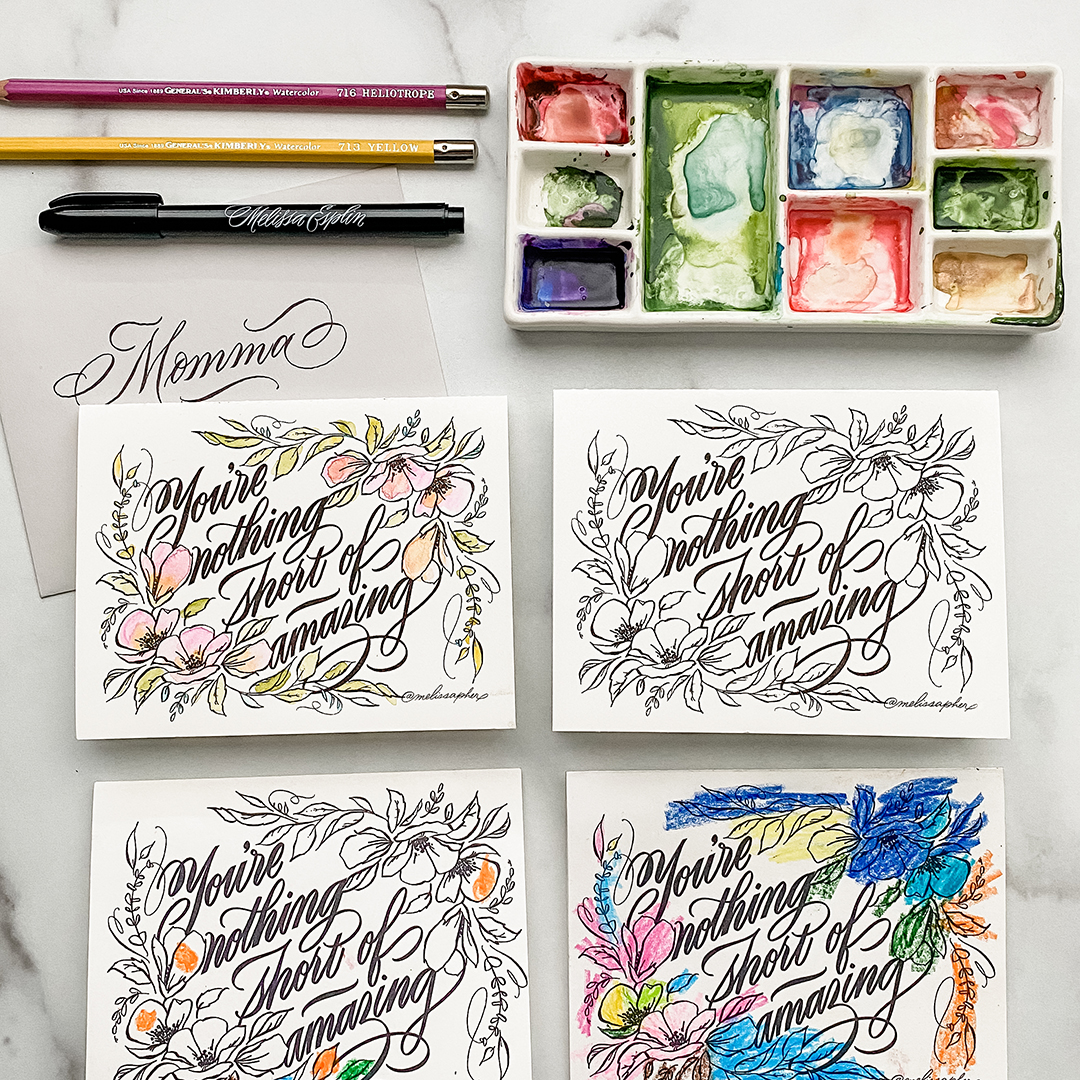
Freebies are for personal use only.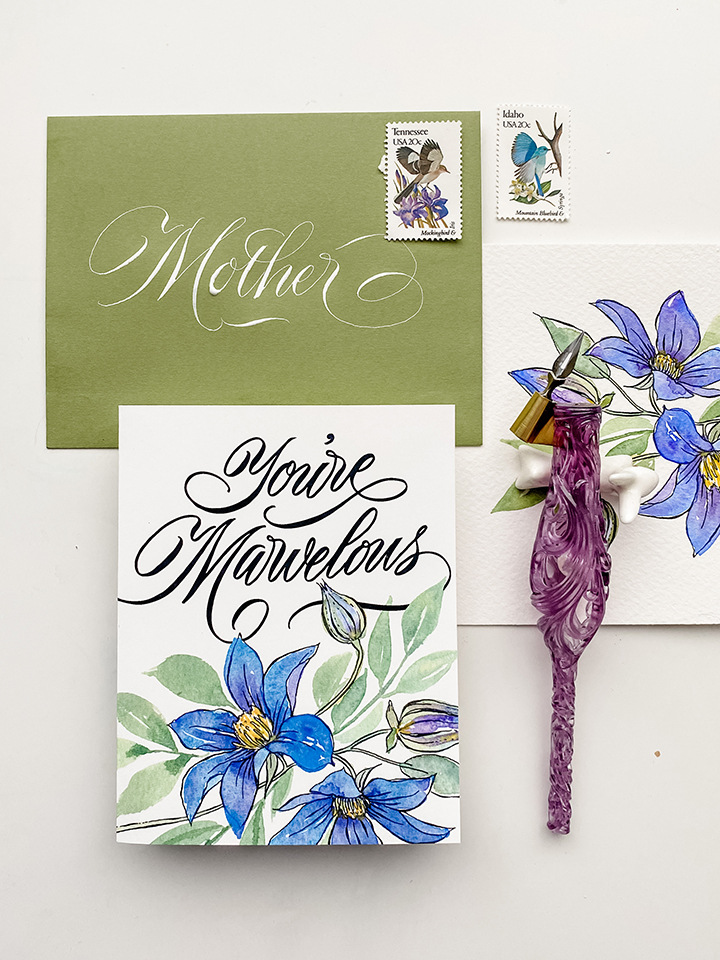 Initially, I went with my poppy painting, the first painting I made with the series, but poppies represent death. Not sure I wanted to go with that theme for Mother's Day, so I continued my search. I had a few pieces that I wanted to use, but ultimately I wanted to go with something that really meant something for motherhood.
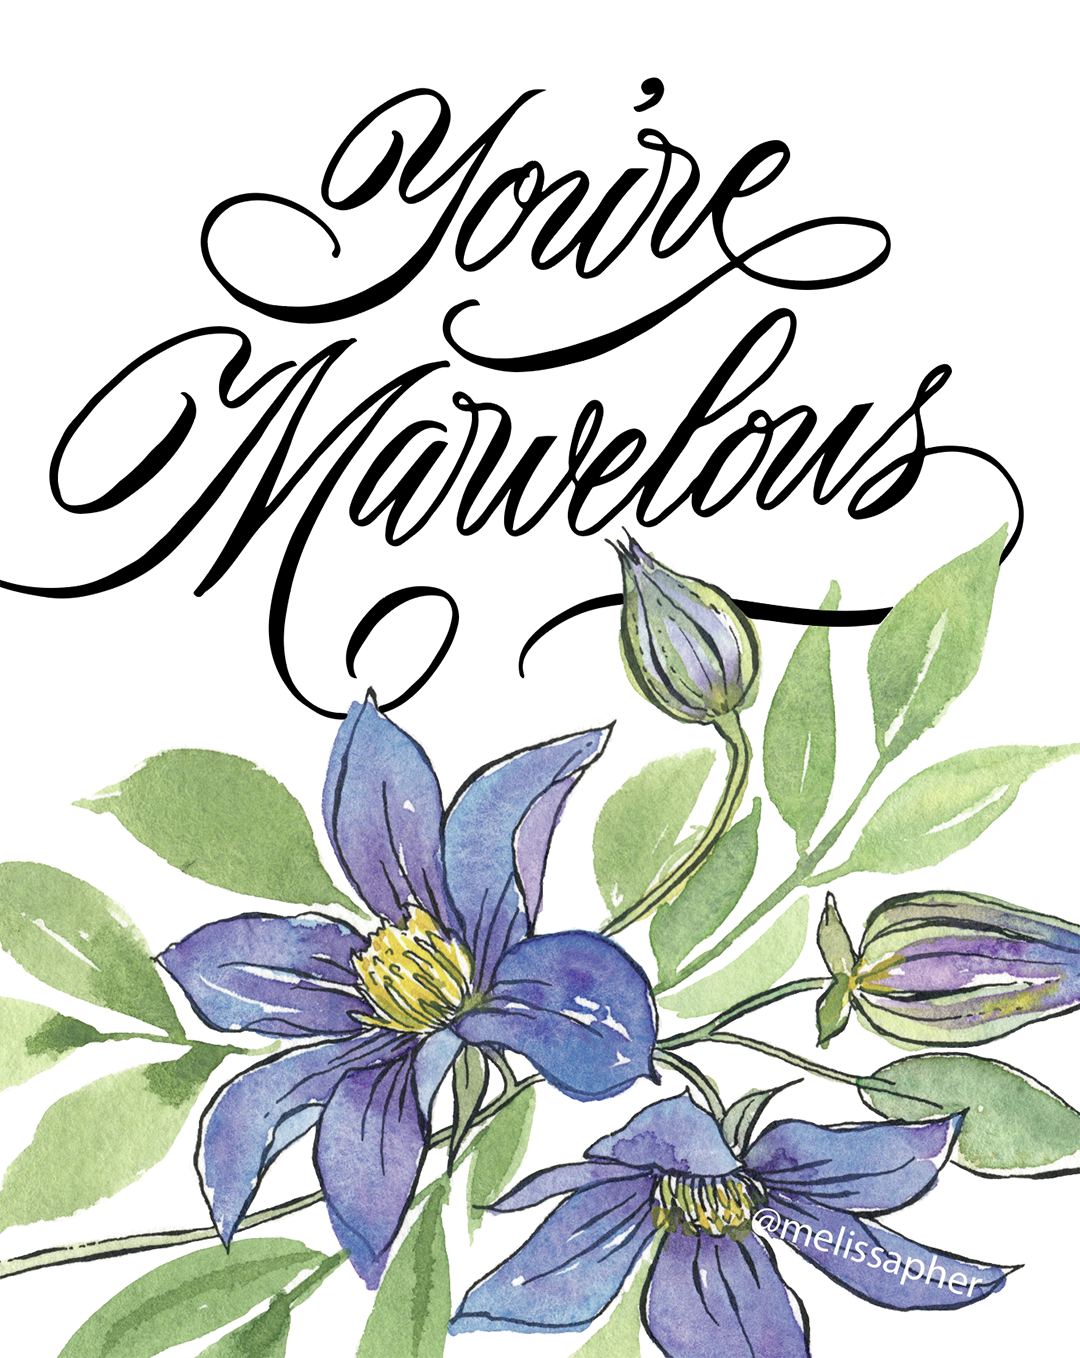
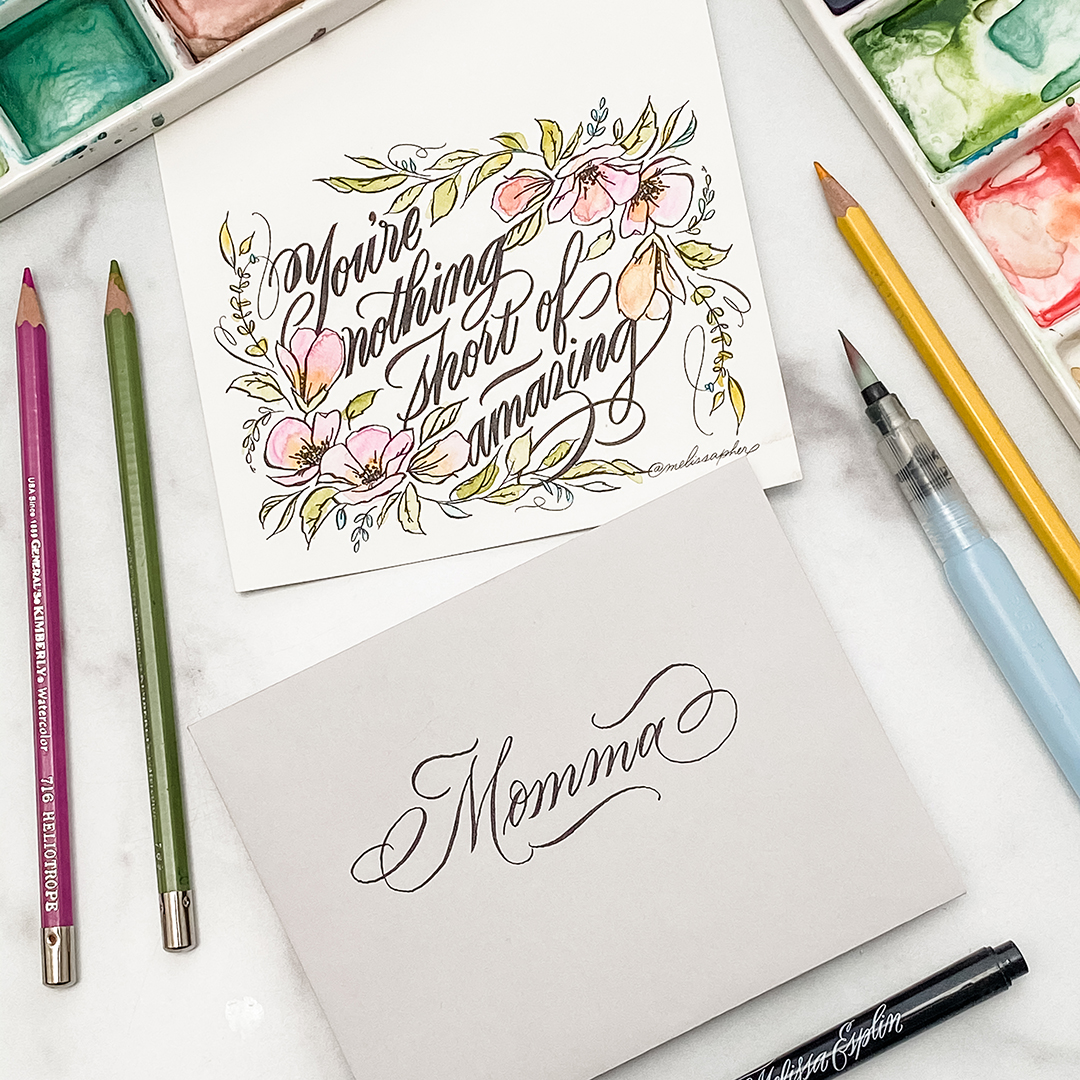
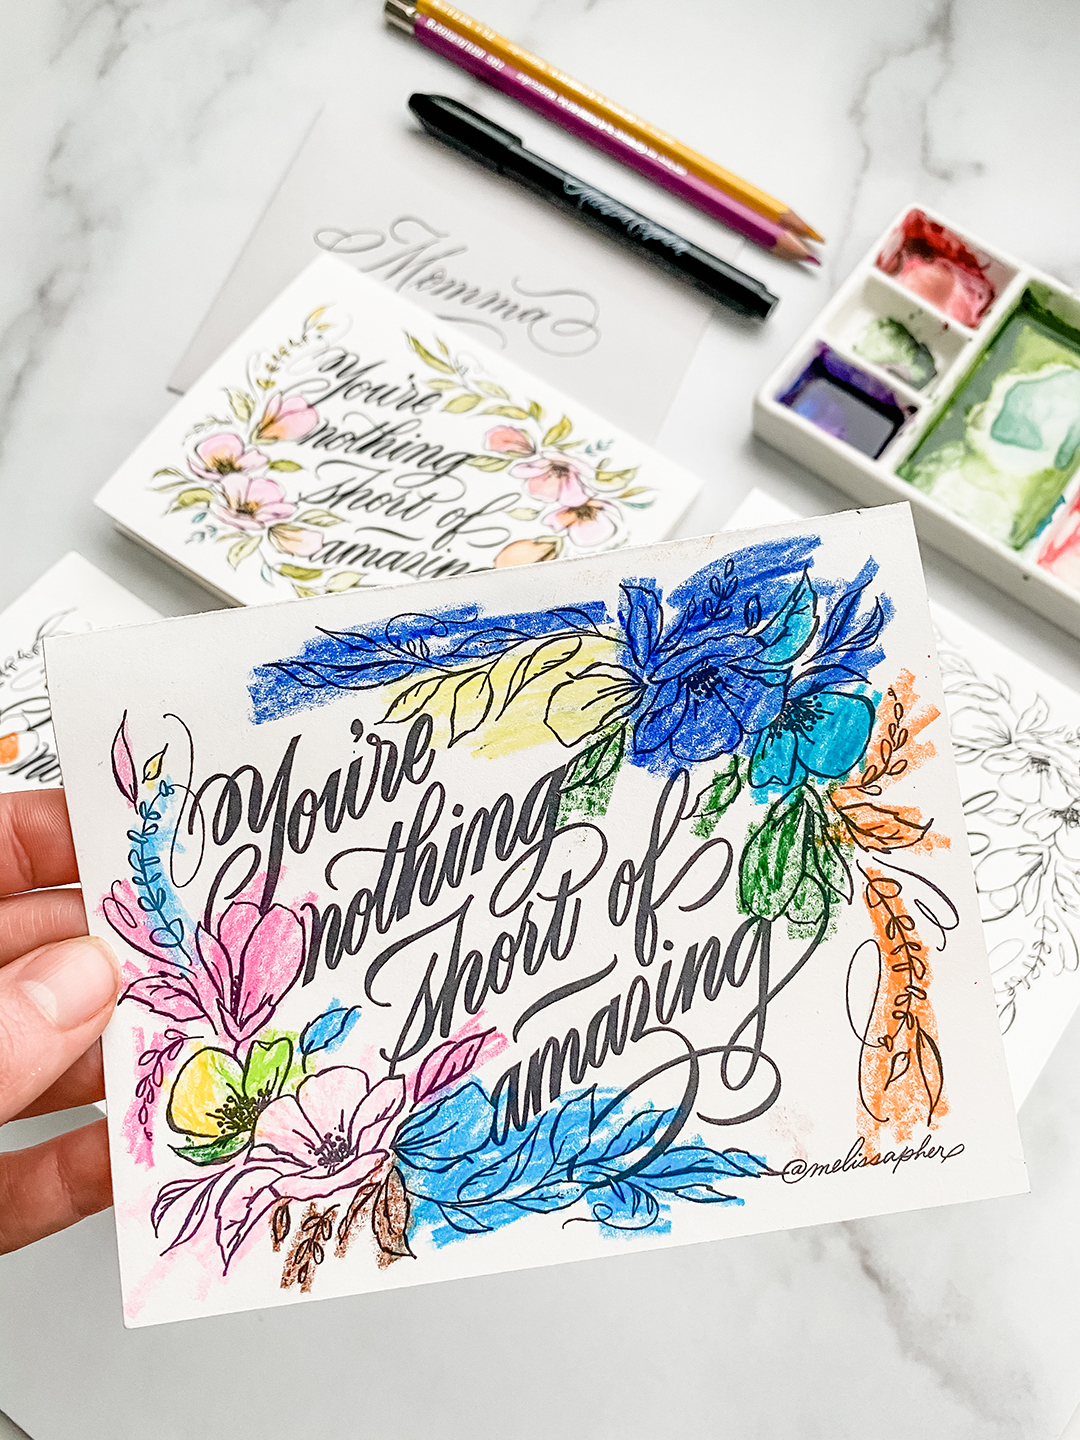
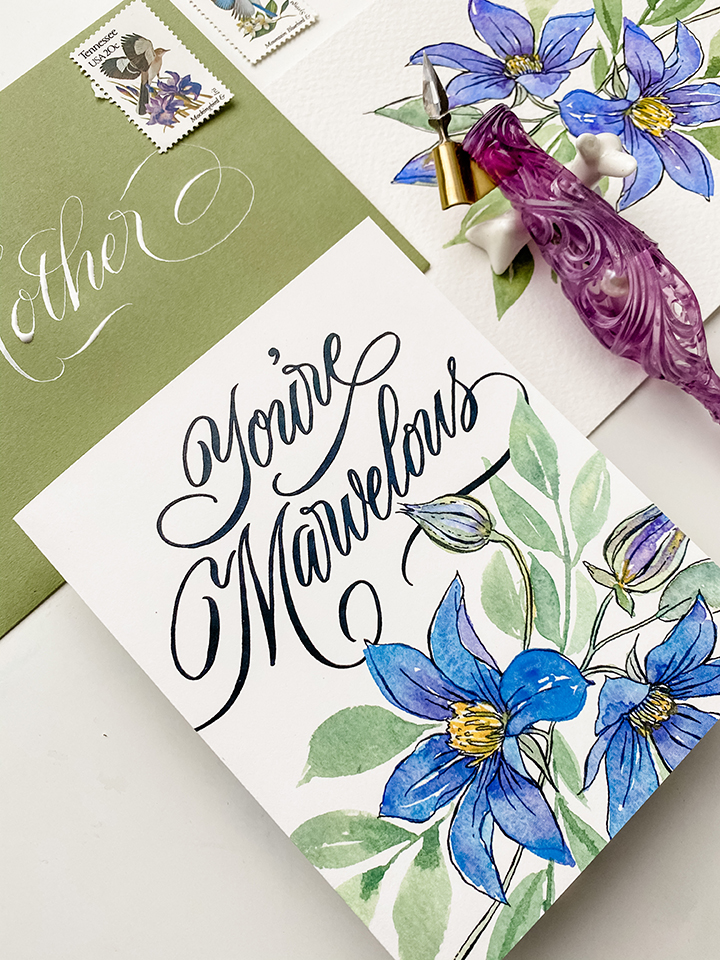 The clematis just screamed at me. In Victorian times the clematis was associated with cleverness, wisdom and aspiration. All traits that I associate with my own mother. So I wrote a little blurb on the back of the cards explaining that. Fill out the inside with a heart-felt sentiment to the woman you admire most. See link below to download.
Save the below image to your phone or computer to share with your loved one digitally!
The clematis just screamed at me. In Victorian times the clematis was associated with cleverness, wisdom and aspiration. All traits that I associate with my own mother. So I wrote a little blurb on the back of the cards explaining that. Fill out the inside with a heart-felt sentiment to the woman you admire most. See link below to download.
Save the below image to your phone or computer to share with your loved one digitally!
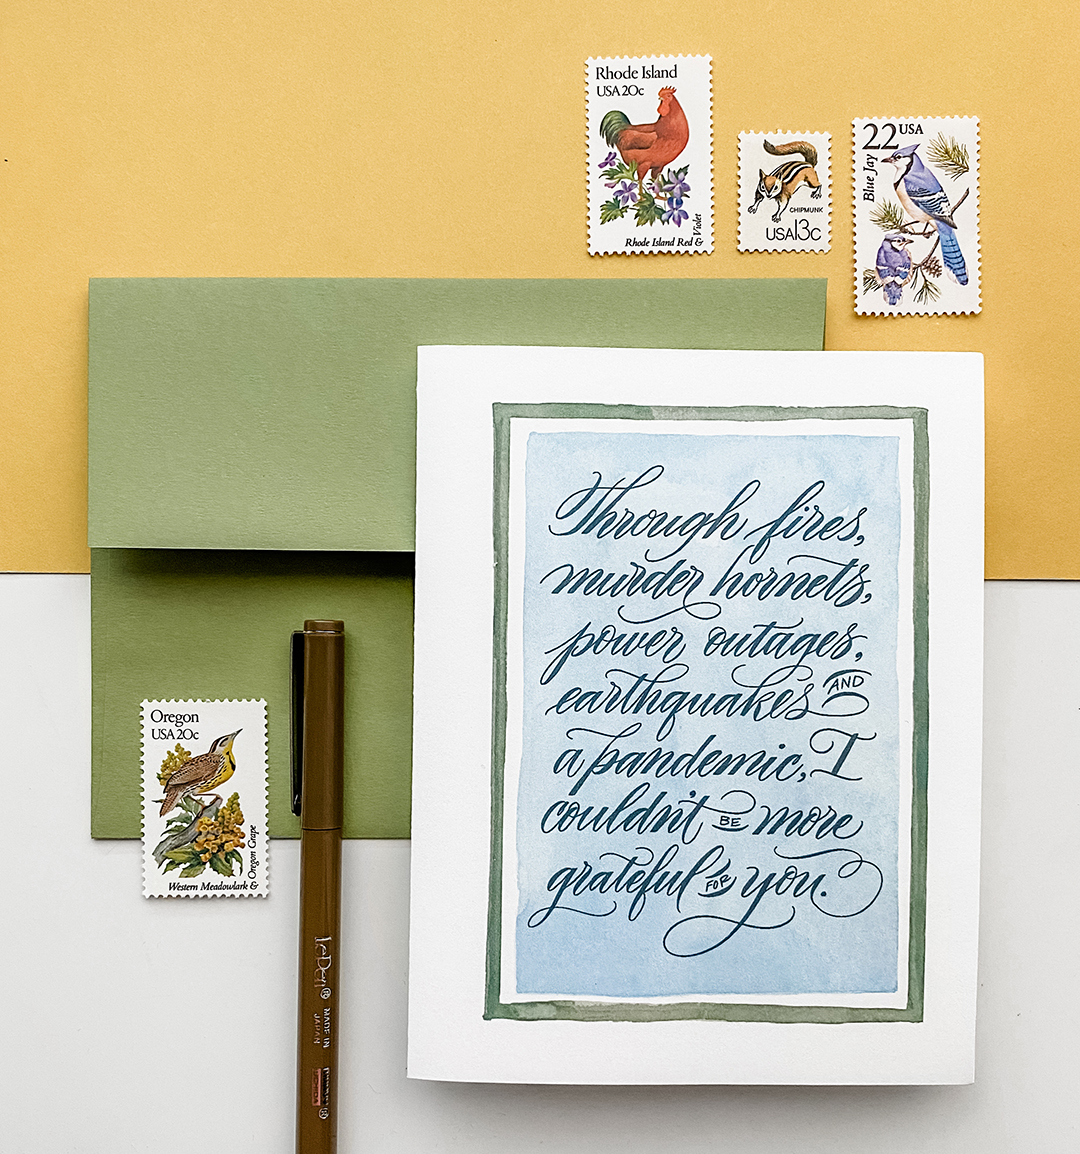
 The printable is formatted to standard letter size (8.5x11 inches). Print using borderless settings, if you have them and cut the paper in half, fold the design in half and send using A2 envelopes. If you don't have borderless printing, print as usual and trim off excess white on the sides and bottom before folding in half.
Printable and artwork is free for personal use only. Message me on Instagram if you have questions.
The printable is formatted to standard letter size (8.5x11 inches). Print using borderless settings, if you have them and cut the paper in half, fold the design in half and send using A2 envelopes. If you don't have borderless printing, print as usual and trim off excess white on the sides and bottom before folding in half.
Printable and artwork is free for personal use only. Message me on Instagram if you have questions. 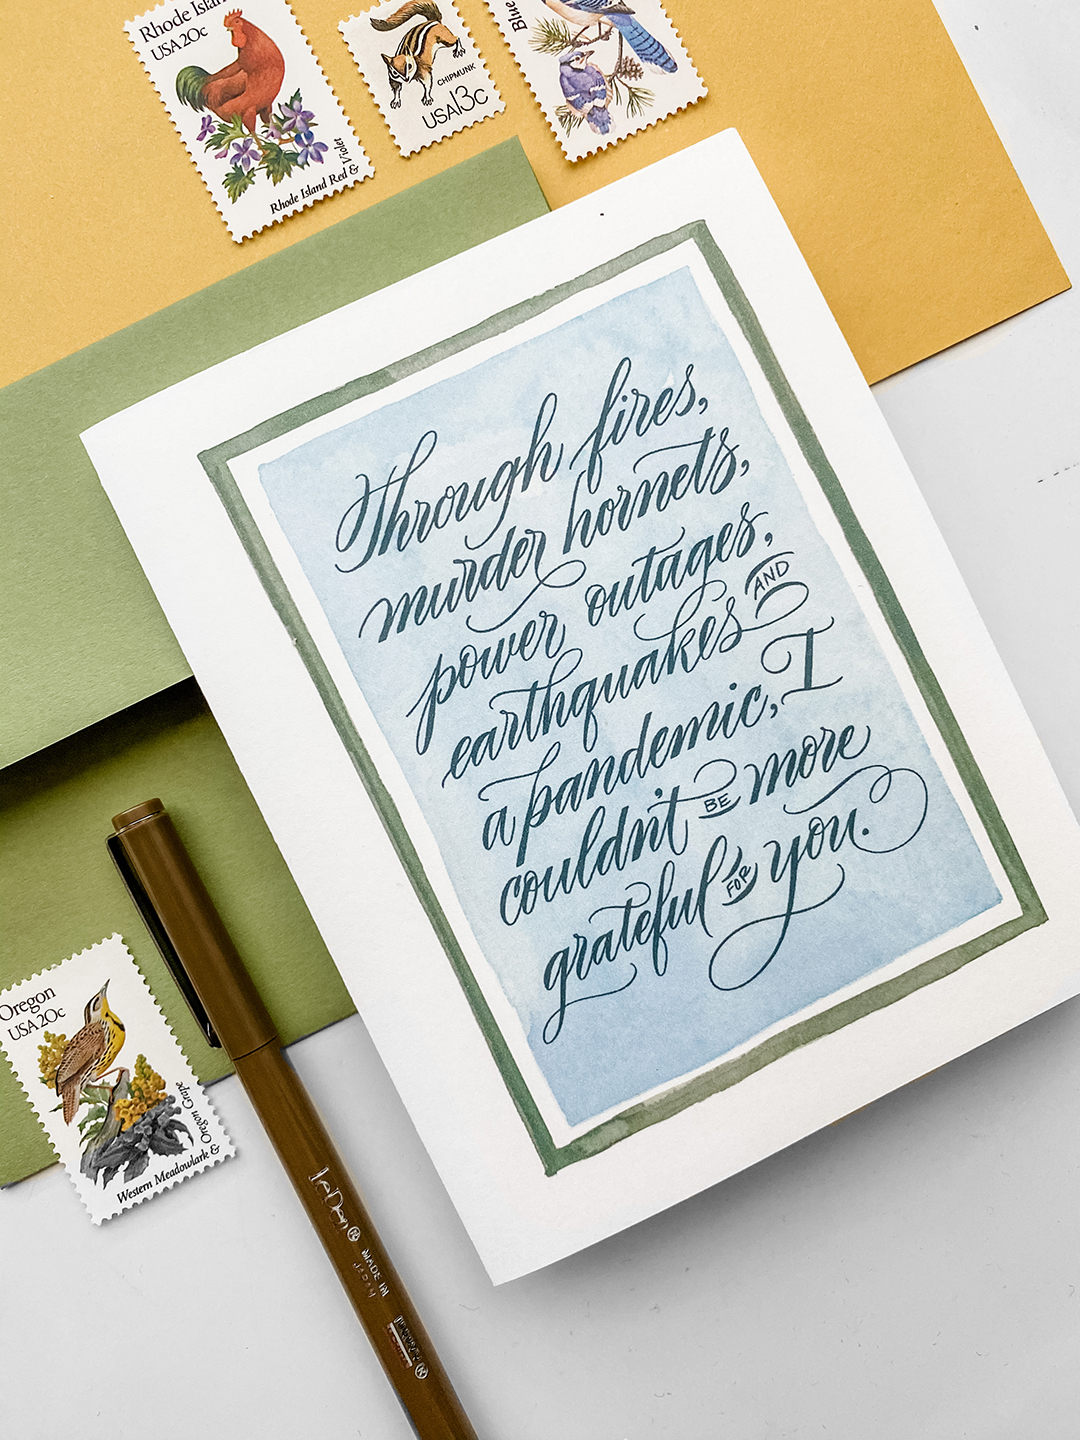
 Since we're all bored and stuck at home, I thought I would take a coloring book approach with the cards this year. Send the card as-is, black and white, or have your little ones color them in (or you can color them in) for that added personal touch. These cards are one-sided, two cards print to a page and in black and white. So, this is about as low maintenance, low-fuss as you can go and still make a great impact.
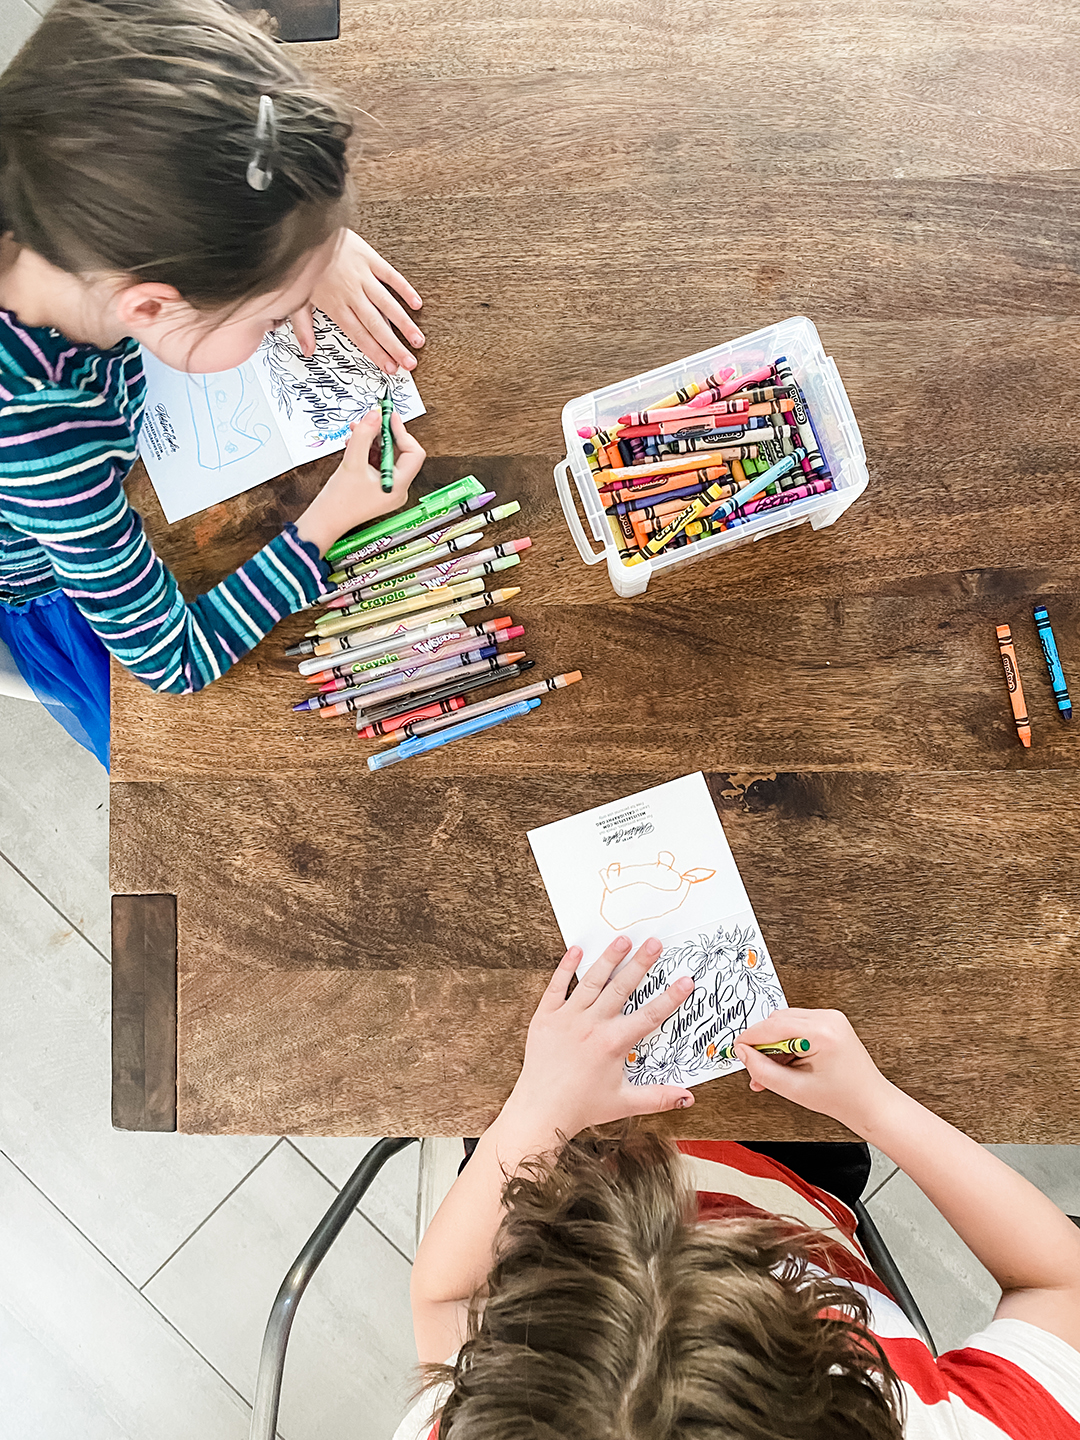 I had a blast making my kids color these cards for their grandparents. I hope you do too!!
For best results: use crayons or a non-liquid pigment like colored pencils if you're printing with an ink jet printer. If you're printing with a laser printer, feel free to bust out those watercolors or fabulous markers you've got lying around.
I had a blast making my kids color these cards for their grandparents. I hope you do too!!
For best results: use crayons or a non-liquid pigment like colored pencils if you're printing with an ink jet printer. If you're printing with a laser printer, feel free to bust out those watercolors or fabulous markers you've got lying around.
 The inspiration was vintage packaging. I don't know if you can tell or not, but I love those cookie tins from forever ago and wanted to embody that in the design.
If you're looking to add some calligraphy to the back of your tags, I highly recommend
The inspiration was vintage packaging. I don't know if you can tell or not, but I love those cookie tins from forever ago and wanted to embody that in the design.
If you're looking to add some calligraphy to the back of your tags, I highly recommend  Slap on some ribbon and you're good to go.

 With that said, I hope you have a Merry Christmas. Here are the tags I made this year for neighbors and friends. Feel free to download and use them! For personal use only. The download page is a google docs folder with a printable and a silhouette print and cut file for your convenience.
Hope this year is a wonderful one for you and yours!
With that said, I hope you have a Merry Christmas. Here are the tags I made this year for neighbors and friends. Feel free to download and use them! For personal use only. The download page is a google docs folder with a printable and a silhouette print and cut file for your convenience.
Hope this year is a wonderful one for you and yours!