I came out with a book! This Penmanship book takes you through the progression from all-caps print, to cursive, to developing your style to brush lettering. It’s a modern penmanship approach that uses foundations of Romans, Italic, Business Penmanship and Engrosser’s Script. Sounds like a hodgepodge, but it totally makes sense. Click here to snag a copy!

Hello new friends from Studio 5! Check me out on Instagram to peek at all the fun stuff going on…
You can progress through the book in chronological order, or skip around as you see fit. The book is loose-leaf pages with a 3-hole punch so you can put it in any 3-ring binder and pull out pages for practice with tracing paper. We opted for this as opposed to a spiral bound book, because we wanted this to be approachable for both right-handed and left-handed beginners! The book is geared towards any beginner ages 10+. Ages 6-10 can work on it with grown up guidance.
So let’s talk about the 3 common mistakes that I see in beginners approaching penmanship AND brush lettering and how to fix it…
Mistake 1: Holding the pen wrong and too tightly
Hold the pen or marker (check out my line of brush markers right here!) in a traditional tripod grasp. Don’t let your thumb take over! And if you’re having a hard time with holding the pen too tightly, hold a pen or object in your non-writing hand as tightly as you can. Your grip in your writing hand will naturally ease up.
Mistake 2: Going too fast
99% of my beginner students write too quickly. I’m constantly saying slow down. Slowing down will give you better structural precision until muscle memory takes over, and it allows for better and more controlled transitions from thick to thin when doing brush lettering. GO SLOW. Then, GO SLOWER. Slow, purposeful practice is going to get you better, faster.
Mistake 3: Practicing willy nilly
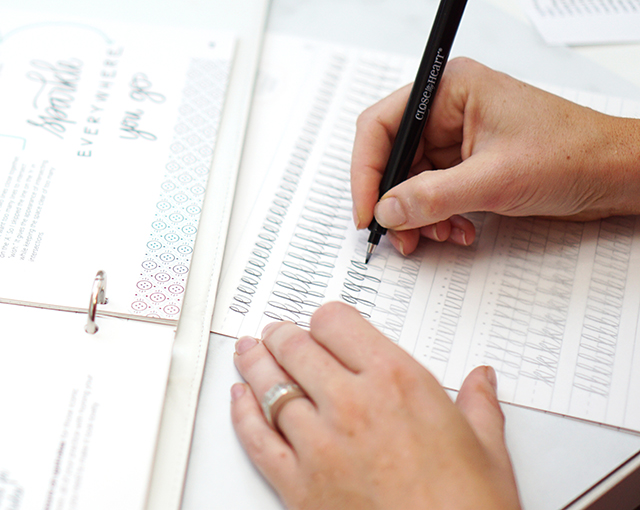
Use those guide sheets!! I have multiple blank guide sheets and practice worksheets for each letter I teach in my book. Practicing with guides makes all the difference in bringing muscle memory into learning. With all 3 of these tips combined, you’ll be unstoppable!
Hope you enjoyed my segment on Studio5! Let me know if you have questions about my book. And if you’re the kinda person that needs to learn face-to-face… I’m teaching a beginning brush lettering workshop next week, September 19th. Click here to register. And as always, my online class is always open.