Posts Tagged ‘video’

Mondays? Mon-YAY!!

2 Comments

Sometimes I feel so lonely in a world of Monday-haters. I LOVE Mondays! It’s a fresh week. I get so much done. My motivation is fresh. My ideas are fresh. I’m refreshed from a day of rest. They’re the best. 

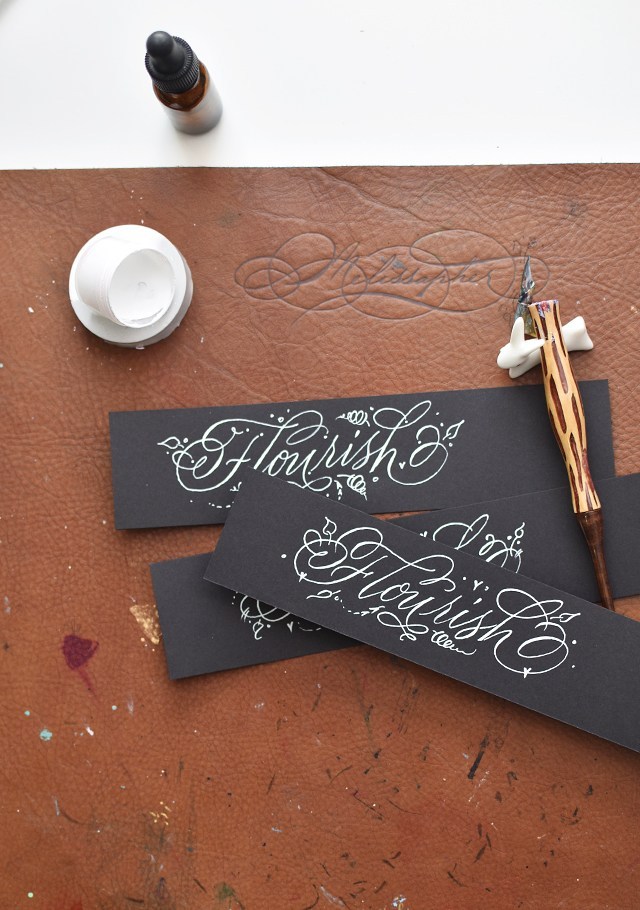
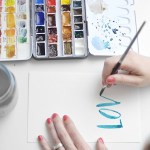
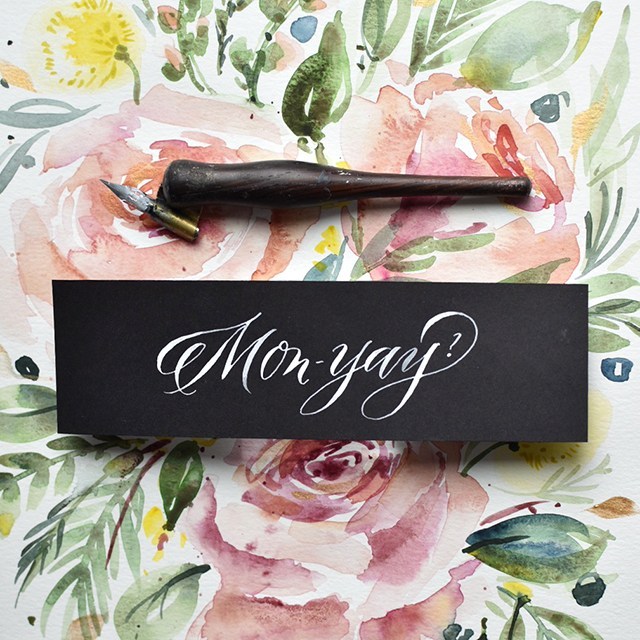
I did this little real-time calligraphy showing you the stylistic differences between one nib and another. It’s HUGE, right? I didn’t change anything about my style, grip, materials; just the nib. Think about that the next time you’re in a calligraphy rut. If you’re still in a rut after that? Try taking one of my classes!! I’ve been teaching for 8 years, I’m encouraging, thorough and helpful. If you’re in the Utah area, check out April’s local workshops below! If you’re not, the online class is the next best thing with one-on-one feedback and encouragement in each class. Check it out here.

APRIL 6 | 5-8PM | DRAPER, UT

CLICK HERE TO REGISTER

Learn the foundations of pointed pen and how to apply your own modern personality to your letters in this 3 hour intensive! It’s perfect for beginners or if you’re looking to brush up on your skills. Seats are very limited so we have a small, intimate group. You’ll get lots of one-on-one attention and feedback as we go through the lowercase letters and forming words together. Time allowing, we’ll work through numbers and capitals. I’ll give you the skills necessary to take your practice home with confidence. Materials and snacks included. 

APRIL 21 | 9-5 | BLUFFDALE, UT

CLICK HERE TO REGISTER

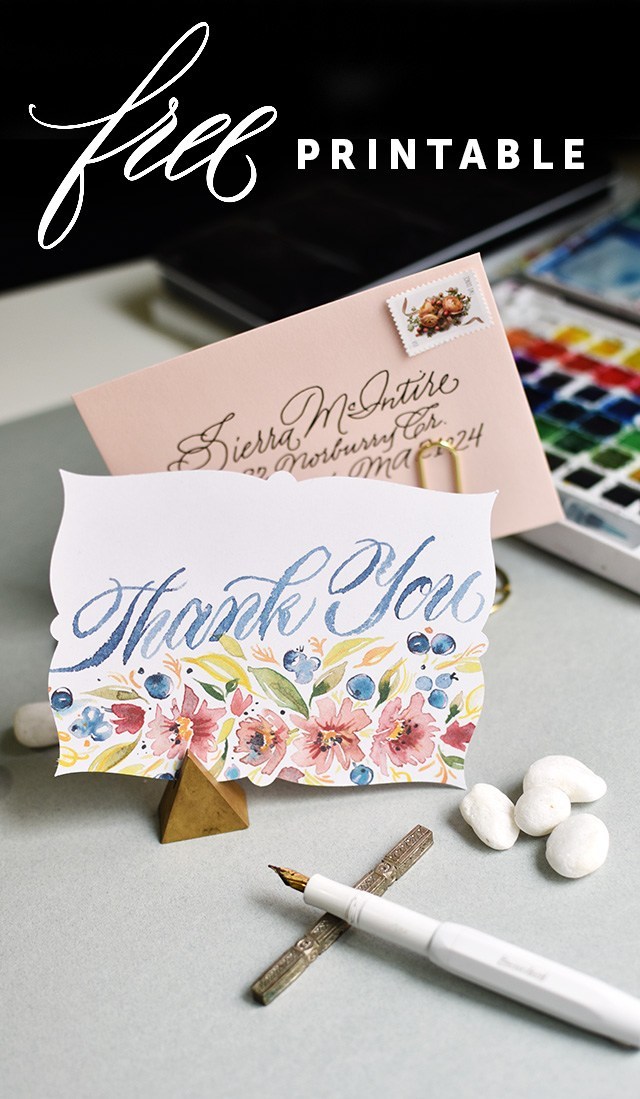
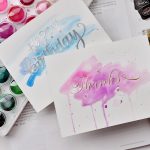
I’ve teamed up with Natalie Malan & Cents of Style for this day-long retreat! We’ll be covering flourished brush lettering and watercolor florals! The florals will be gorgeous, vibrant loose and modern (like we are all obsessing over these days). And the calligraphy will be with waterproof brushes so that we can create dynamic pieces with our watercolors. Workshop includes lunch, materials and snacks. 

Progress Takes Time Flourishing Video Comparison

5 Comments

I didn’t get good overnight. In fact, I still have a long way to go. I have more classes to take, more practice to do and more tools to hoard. Last week I came across an old video I uploaded in 2013, I had had some practice under my belt. But not much. I was proud of this work: 

OMG. 

Now that I look back, I cringe. I should cringe at old work. Sure there are some pieces I’m still proud of, but would I keep working on improving if I didn’t find my old work a little cringe-worthy? Probably not. Dare I say that embarrassment feeds improvement? Maybe a little? 

So as one does, I re-did my old video. I’m happy with how it turned out. I’ve gotten better at my filming and editing process. I’ve gotten better at my flourishing and overall technique. But is this the end? Hardly. 

Tools used: 

I think my biggest pet-peeve is when a person or class claims the end or height of learning. You know that’s an utter lie. And if someone ever claims that, you know they don’t know beans about what they’re teaching or doing. Learning and improvement never stops; no matter the discipline or art form. I teach calligraphy. And I love teaching calligraphy. I love getting people started and seeing them run with it and graduate beyond my class to other classes, other disciplines, other passions to create a style that they truly own. 

If I were to critique this piece? I’d say the flourish coming off the ‘u’ is a little awkward. I should have done it off the ‘r’. And I should have written out a baseline guildeline, because I’m bouncing around with a little less purpose than a meandering baseline. And my ink got thick on the ‘sh’ connection. But good grief, I’m getting better.

The other thing is… I had a slew of negative comments on that old video. Someone told me to stop lettering all together, because I sucked. I ignored them, I think because I never got the notification of the comment in the first place (win!). I’ve got a little PSA for you… EVERYONE SUCKS WHEN THEY FIRST START ANYTHING. I was no exception. So what’s keeping you from learning something new? It’s okay to suck a little. It’s okay to suck a lot. Just keep at it. 

Want to see the before in action? Oh yeah….

Want to get better at calligraphy? Let me help you. I teach calligraphy online and in person (in Utah). You can register for my online class right here. I give personal one-on-one feedback to help you with targeted improvements. And my next in-person workshop is April 6th in Draper, UT. Register here.

Don’t get discouraged by slow improvement. With social media and instant gratification we’re used to with everything at our fingertips, it’s easy to get discouraged. Learning a new discipline takes time. And that’s okay. Doing something that’s not perfect is okay, too!! I don’t regret publishing that old video for a second. I put out the best I could do at the time. And I was proud of it! I look at that old video like a badge of honor.

Time-Lapse Chalk Board Project

0 Comments

I teamed up with my assistant Hayley to letter these quotes on a double-sided chalkboard. We had a fantastic time hanging out, chatting and doing our favorite thing: lettering! I had 3 cameras set up. Unfortunately the two end cameras that show us lettering cut out in the middle of our process. And my shoulder is covering my hand basically the entire time. But I still thought I’d edit the footage together and share it on my YouTube channel. If you’re not a subscriber already, throw me a like or a subscribe if you like it! I’m publishing a new video each week. It switches up between time-lapse lettering, real-time lettering, art/material reviews and art tutorials. It’s all very art-related with a heavy lettering emphasis. And every tutorial and art product could be used for calligraphy. So yay to me for being focused on something!! lol. 


Find Hayley and me on Instagram:

@typeaffiliated | @melissapher

Materials used (purchasing through my affiliate links below support more videos, THX!):
General charcoal pencil
T-square
Versa chalk
ZIG posterman
Sumo grip eraser

Learn how to do chalk lettering with actual chalk right here.

Buy awesome art prints and originals at typeaffiliated.com!

Basic run-down of how we did this: I took a pic of the chalkboard with my ipad and lettered the layout on there. That gave me a rough idea of where to make guide lines. Then I chalked up the guidelines and markered everything in. BOOM. DONE. Took just over an hour for my side. Hayley was faster. Because she’s a lettering baller. 

This project is for a classroom reading nook, so we wanted the signage to be relatively permanent, hence the chalk markers versus the actual chalk. The cool thing about that is that it makes cleaning up chalkboards a breeze. We used the General Pencil white charcoal to mark up our guidelines and the Sakura SumoGrip eraser to erase them effortlessly after we were done. No white erase marks. No mess. And it didn’t even take off the chalk marker once it was dry either! WIN! 

I might have gotten a little carried away with decorative elements.

Hayley kept it clean, playful and readable. Afterall, it is a reading nook for an elementary school. And most elementary schools don’t teach cursive anymore. So as a result, most kids don’t know how to read it either. It’s the saddest thing. Isn’t the ‘m’ in “dream” just lovely?!? OMG. 

I hope you enjoyed seeing the process video and a little bit of the behind-the-scenes of how we made these chalkboards. 

Upside Down & Backwards Calligraphy

0 Comments

It was sometime, like a year and a half ago, when I realized that I could do calligraphy upside down and backwards. Ask me to do it sideways and I’m a mess, but upside down and backwards I can do. 

I posted it onto my Instagram a bit ago and got a few questions like, How do you do that? Besides the really stupid answer; I just think of the letters backwards and upside down, I really don’t have a good answer for that. It has been a great way to challenge myself to literally know my strokes backwards and forwards, but it gets me out of my funk. It’s a great way to transition from thinking entirely left-brained to allowing the creativity of the right-brain take over. If you’re a calligrapher, give it a try. It’s mind-bendingly fun! 

If you’re reading this post, it’s a new year and I’m excited to bring all-new content to the blog. I’ve decided that this blog is taking the focus of arts & materials. So along those lines, what kinds of tools/projects would you like to see? More calligraphy? More painting? Let me know in the comments! 

Want to learn calligraphy? Like the regular, right-side up stuff? Check out calligraphy.org for my classes. I teach with personal one-on-one feedback, so it’s the real deal. ;)

2017 Thank You Printable

9 Comments

The time of year has come where it’s time for the annual Thank You freebie! I love doing this because it gives me a chance to work on styles and techniques I don’t always get to do on a regular basis. For this year, it meant I got to put the watercolor floral classes I’ve taken from Natalie Malan to use. I wanted to go for a slightly muted palette, but it only worked slightly. It’s like a bright, muted palette. ;)

Also, I feel like I must mention that this month completes the 10th year I’ve been blogging! I can’t believe it’s been that long. So much has changed: 6 moves, 3 children and a few career changes to say the least. I didn’t know I would be blogging this long. But here we are! ‘Tis the season for gratitude, so I may as well express that I’m so grateful for the opportunities that blogging and social media has given me. I’ve made dear friends, I’ve traveled, I’ve learned so much and I’ve felt the creative inspiration through the connections that I’ve made. It’s been pretty awesome. Will I still be here, writing in another 10? We shall see! 

Check out the a video of my process here:

This year’s Thank you takes on two forms. One is a plain, 5.5×4.25 rectangle with cut lines for you to follow, the above is a suggestion. You can download the JPG and use Silhouette’s print & cut feature to make a gorgeous full-bleed card with a scalloped edge. See below for the tutorial! 


You certainly don’t have to have a Silhouette in order to take advantage of this printable. Just click The download link below with the description “hand cut”. :) Just giving you some fun options.

DOWNLOAD SILHOUETTE FILES HERE


But I’ve got TONS MORE ‘Thank You’s. Check out the whole list of past years’ printables below!

Want to learn calligraphy? Like the brush lettering I use here? Check out my class on Calligraphy.org. I’ll give you one-on-one instruction to help you get there. We start from the very basics, but because of the personal nature of the instruction we offer off-script learning for the more advanced letterer. Use code BRUSHLETTERING for a 10% discount on the class. :)

Materials used for this DIY: 

This printable is free for personal use only. Any redistribution or commercial use of this printable without written consent is prohibited. © Melissa Esplin 2017. Affiliate links used, by purchasing through an affiliate link, you support MelissaEsplin.com and the free content provided here. Thank you for your support! 


mobile site