Posts Tagged ‘kids crafts’

Printer-Friendly Christmas Winter Holiday Kids Craft PRINTABLE

0 Comments

Last month I was assigned the task of treat for my kids’ respective class parties. The treat is a tricky thing. Thankfully there were no gluten allergies in the class so I really only had to steer clear of nuts. I, however, wasn’t too thrilled about the printable options I saw on Pinterest. Clever ideas, but All of them used up SO. MUCH. DAMN. PRINTER INK!!! What the heck guys? I don’t want to spend $45 on printer ink for some dumb treat that’s totally going to be tossed aside. But I also didn’t want to go so minimalist that it wasn’t going to be cute. Because cute is everything. 

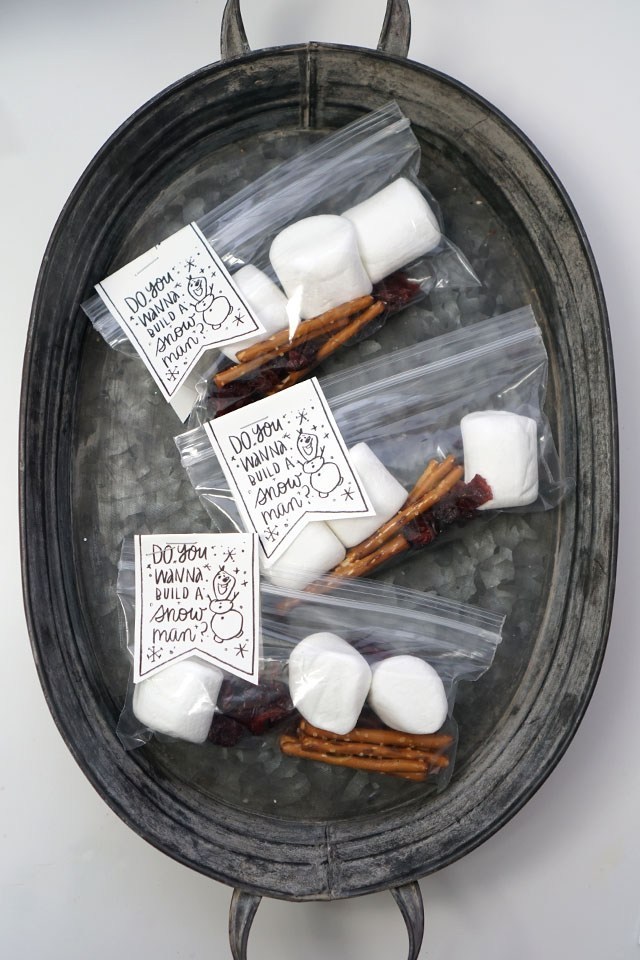
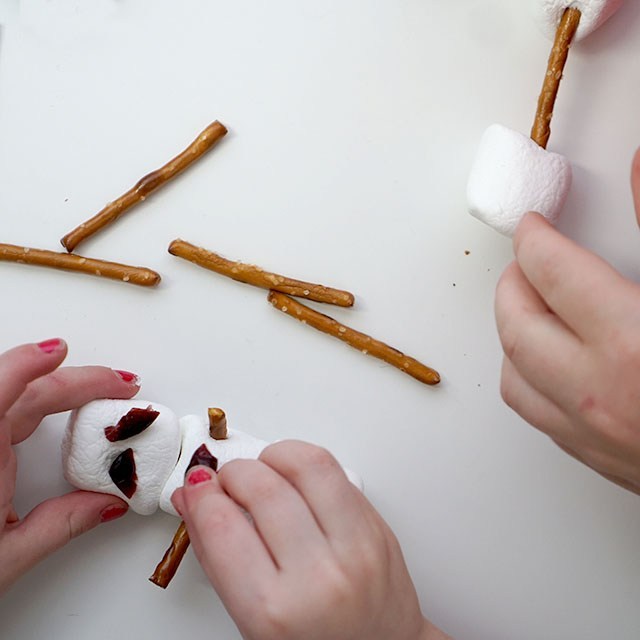
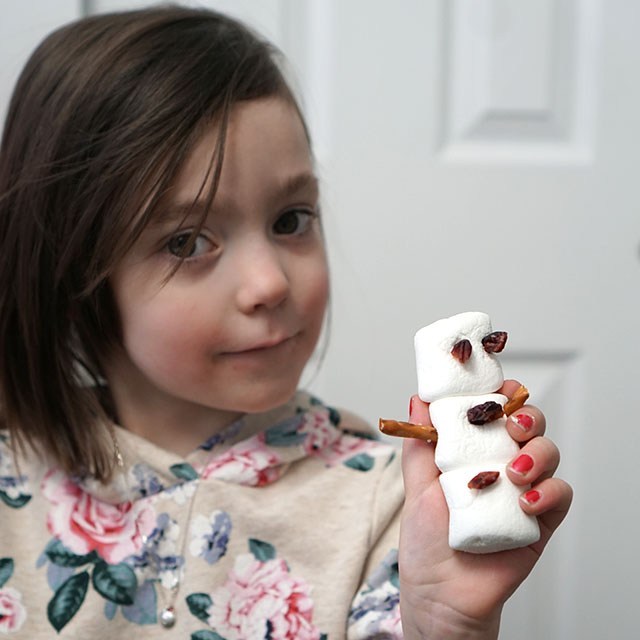
I came across this Do You Wanna Build A Snowman treat idea and decided I would do my own, printer-ink pocketbook friendly version. I have to hand it to whomever thought up this particular idea in the first place. Brilliant! The kids in my daughter’s 4th grade class and the kids in my son’s life skills class LOVED IT. The fact that it not only held the attention of wiggly 10 year olds, but it wasn’t frustrating for kids with special needs to enjoy too. 

I share this with you now. In January. Because building snowmen doesn’t need to just happen in December. We even get snow the end of may, so this is an easy anytime craft when kids are bored. And they can get clever with it and do so much more than just a snowman. 

CLICK HERE TO DOWNLOAD

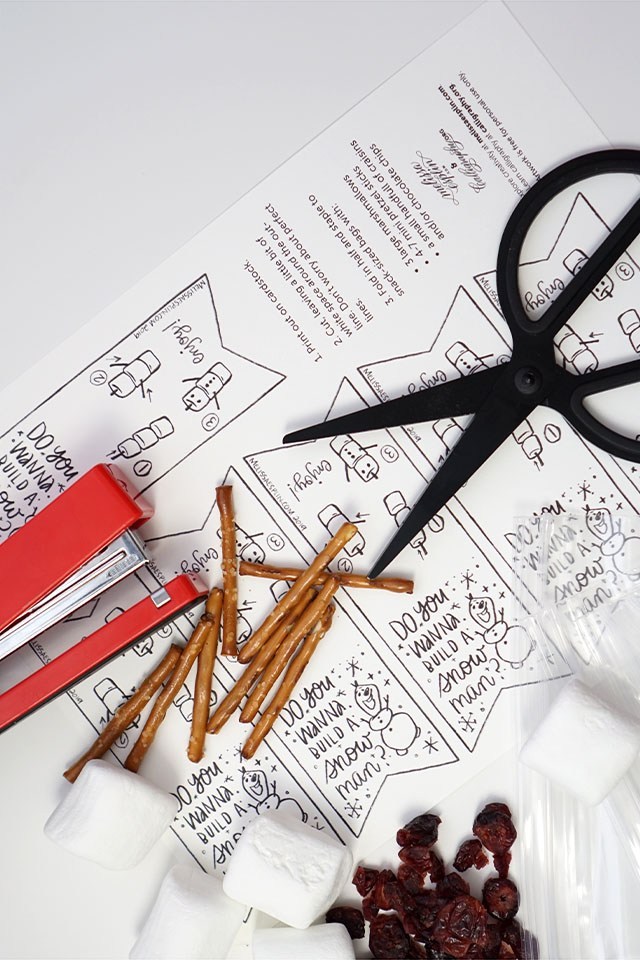
It’s pretty easy to pull together too. Here’s what you need: 

  • Printable (prints 6 per page)
  • Card stock (this is my fave!)
  • Large marshmallows
  • Mini pretzel sticks
  • Craisins or chocolate chips
  • Snack bags
  • Scissors
  • Stapler

Print out the printable. It’s black and white and fits 6 to a page. Easy peasy, doesn’t use up tons of ink and has plenty of margin on the sides for your at-home printer. I used this paper to make it look nice. 

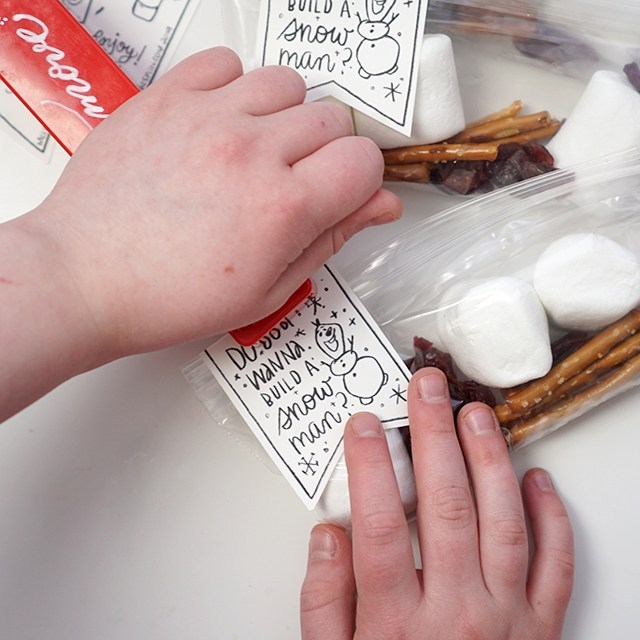
Cut out the printable, leaving white space around the pencil line. You don’t have to do this, but I think it looks nice. Don’t worry about perfect lines. Organic lines will match nicely with the style. 

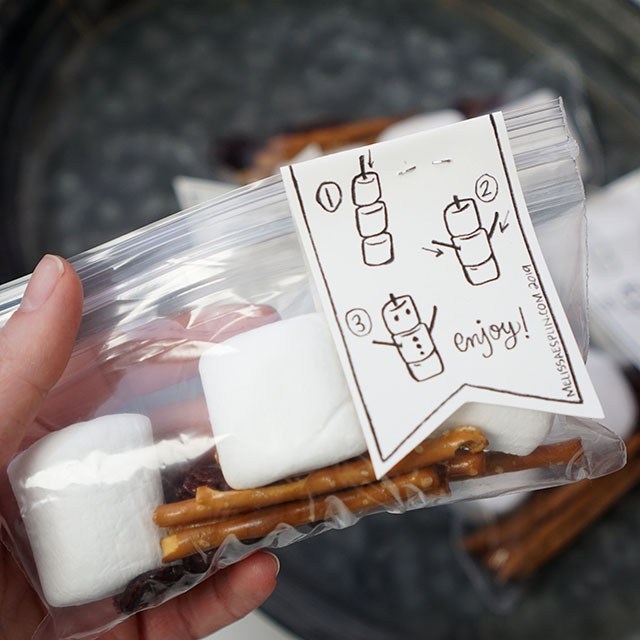
Fold over the tags, not quite in half. Just so you don’t have the other side’s design peeking over on the front.

Fill each bag with 3 large marshmallows 4-5 pretzels and a small handful of craisins or small chocolate chips. Close. 

Staple the tags to the snack bags. I personally prefer the look of the tags on the top left, but that’s just me and my OCD. ;) ENJOY!! 

This freebie is free for personal use only. Alteration and redestribution of this is prohibited. 

Post-Holiday Thank Yous for Kids

3 Comments

Finally coming up to the surface after a very wonderful, but very busy holiday season. OH wow. It was great. My kids were spoiled, too. So, how do I include them in giving thanks for their massive haul of presents? They make the backgrounds and I make the cards out of them. It’s really quite easy. I made a video about it, but I’m sure you can figure it out on your own, though, too. ;)

SUPPLIES:

  • paper (I love this stuff, you can find it at Walmart usually for $5)
  • watercolors 
  • brushes
  • Sakura brush markers (they’re waterproof)
  • -or- a Thank You stamp/sticker (I made my stamp with the Mint)

No need to cut the papers down, give them to your kids and let them have fun! But not so much fun that they totally saturate the page with water and pigment. We need the paper to still have some integrity. So try (sometimes easier said than done) to pull the paper away and give them a new one to color once they have markings in all four quadrants of the page. Teach them how to splatter their paint (only if you have washable colors like crayola watercolors!).

Once you have a collection of pages from your kid(s), let the papers dry and cut the paper in fourths (5.5×4.25). Now add your Thank You phrase! You can write it by hand with marker or use a Thank You stamp (like this or this).

Now on the back, write your Thank You on the back on the left half of the paper. Be sure to leave room for your kid to make a mark, whether it’s a scribble or part of their name. Write the recipients address on the right half and stick a stamp in the top right corner. BOOM. DONE. Postcard postage is 34 cents now, so keep that in mind. :) 

I hope you get your kids involved in expressing gratitude with us! Let me know how it goes by tagging me on Instagram @melissapher. And if you’re looking to learn how to do that fancy-pants calligraphy on the front of the card, look no further. I teach brush lettering with personal coaching (one-on-one feedback that’s actually helpful) over at calligraphy.org. Hope to see you over there! 

*Affiliate links used for products I use and love.

Sponsored: Crafting with Penelope

7 Comments

This post is sponsored by KiwiCrate.com. Fun and engaging art and science projects in a box for kids aged 3-7, delivered monthly!

Connect with Kiwi Crate via Facebook, Twitter and Pinterest for new products, great ideas and exclusive deals.

We moved this summer, and we got to our new place too late to register Penelope for most of the local preschools.  There were a few options; one of them being a preschool that was 30 minutes away and charged $250 a month. Around Utah, that’s a LOT of money for preschool—when we lived in the SF area, $250 was unheard of everything started at $300+—and it would have been 2 hours of commuting for the kids and me.  I decided that it was better to spend that tuition money on a babysitter so I can keep up with the house/blog/craftwork a few days a week and focus on schooling and being present for Penelope and Felix on off-days.

Kate from The Red Kitchen gave me a few resources and we’ve been loosely following her preschool plan. It’s been great; however, I often don’t have the motivation to get creative with Penelope’s activities. Anything creative that I would do with Nelly is usually too much of a mess or would take more time to set up than I can spare. Penelope and I recently received a nice surprise from Kiwi Crate that lets customers sign up for monthly kids craft deliveries.  They sent me one of their seasonal crates, and it has been, as Finn the Human would say, Mathematical! The crate came packed with monotype supplies for decorating the included gifts and notecards.

Moments like these make me wonder why I don’t bust out more creative projects with Penelope. We need to take more advantage of her unbridled creativity.

Penelope made this present for Chris, and she’s super excited to give it to him for Christmas.  In keeping with our family’s recent Adventure Time fixation, she says that her print is a depiction of Jake the Dog. I think it’s amazing.

We had plenty of left over supplies, so we made a print transfer onto fabric and I embellished one of her shirts with it. Another very simple project, but she won’t take this shirt off. She knows how to make this mama proud.

Sponsorship aside, I’ve been incredibly impressed with Kiwi Crates. The quality of the materials are fantastic – they include real art supplies. They encourage real creativity without a dependency on licensed characters (Disney, Sesame Street, Etc). And no preparation is required: Penelope and I were projecting within seconds of the crate arriving on our doorstep. With pre-schooling Penelope and the inevitable long winter ahead, we’ll be using Kiwi Crate in the future.

mobile site