Posts Tagged ‘Daring Bakers’

Daring Bakers May Challenge: Apple Strudel

7 Comments

I have to admit, I wasn’t very excited about this recipe. I haven’t really been that excited about cooking in general, but it could just be laziness. I’m a little late in posting this, but here’s the strudel recipe.

Apple Strudel

I think the strudel turned out great, although my crust turned out more like a pie crust than a pastry crust. Either way, it won’t last long. It was a big hit around here! I topped it with creme fraiche and streusel and included blueberries in the filling. YUM.

_dsc0373sm

Head over to Make Life Sweeter for the full recipe.

The May Daring Bakers’ challenge was hosted by Linda of Make Life Sweeter! and Courtney of Coco Cooks. They chose Apple Strudel from the recipe book Kaffeehaus: Exquisite Desserts from the Classic Cafés of Vienna, Budapest and Prague by Rick Rodgers.

Hello, My name is Melissa and I am a Daring Baker.

17 Comments

I was a big wuss last month and failed to do the challenge for lasagna. No time. Moving and Venison? no thanks. This month I was a little more enthused about the challenge because it included my favorite dessert and didn’t take 12 hours. It was also very handy that Penelope had a birthday this month, thus giving me an excuse to make Abbey’s Infamous Cheesecake.

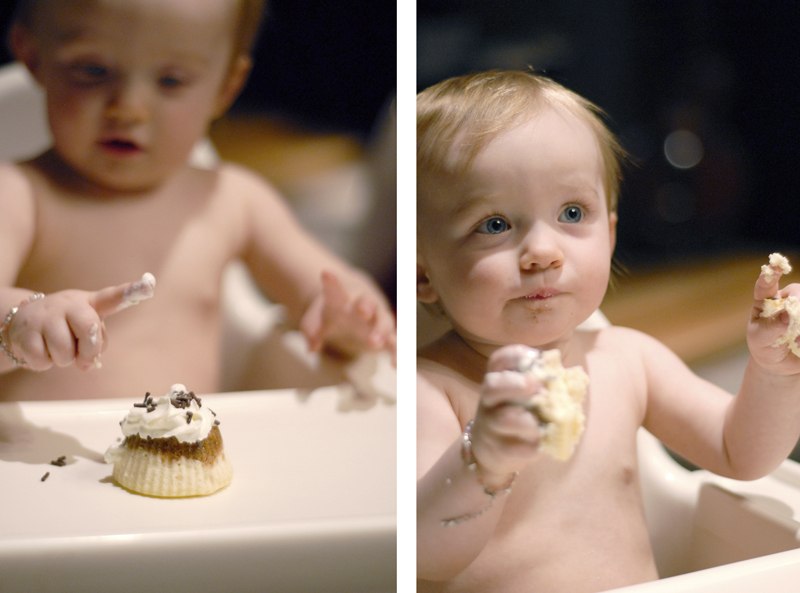
Since I wanted to give Penelope her own cake, I made the cheesecakes in cupcake form using silicone cupcake cups (genius!). This happened to make doing the water bath much easier to do and removing the cakes a snap. The recipe conveniently makes exactly enough crust and cheesecake for two dozen cupcakes. I think I ate 9 or 10 out of the 24 I made.
Nelly Likes Cheesecake

Penelope had fun playing around with the cupcake. It looks here like she was going to eat the whole thing, but she ended up dropping it on the floor. Molly the dog ended up eating it. The dog liked it at first but her intestines didn’t. Poor dog.
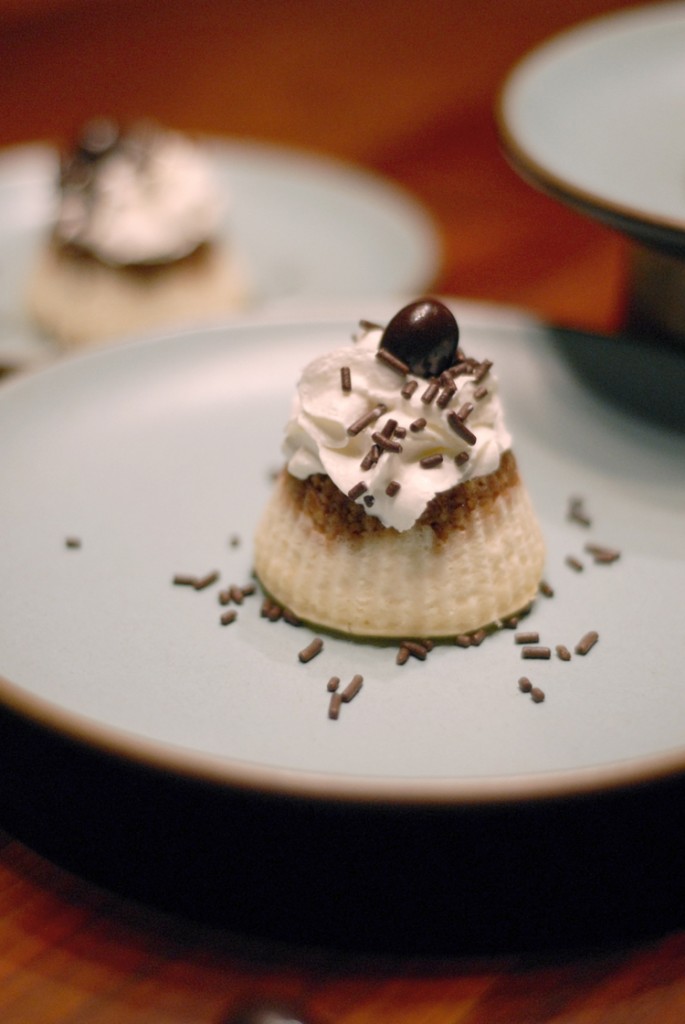
_dsc0444

The cheesecake was subtly flavored with fresh lemon, served up side down with whipped cream, chocolate sprinkles and chocolate covered pomegranates. It was a very tasty combination. I really liked presenting the cheesecake upside down. It just looks more fun to eat.

Abbey’s Infamous Cheesecake:

Crust:
2 cups / 180 g graham cracker crumbs
1 stick / 4 oz butter, melted
2 tbsp. / 24 g sugar
1 tsp. vanilla extract

Cheesecake:

3 sticks of cream cheese, 8 oz each (total of 24 oz) room temperature
1 cup / 210 g sugar
3 large eggs
1 cup / 8 oz heavy cream
1 tbsp. lemon juice
*1 extra tbsp. lemon juice
*zest of lemon
1 tbsp. vanilla extract (or the innards of a vanilla bean)

DIRECTIONS:
1. Preheat oven to 350 degrees F (Gas Mark 4 = 180C = Moderate heat). Begin to boil a large pot of water for the water bath.

2. Mix together the crust ingredients and press into your preferred pan. You can press the crust just into the bottom, or up the sides of the pan too – baker’s choice. Set crust aside.

3. Combine cream cheese and sugar in the bowl of a stand-mixer (or in a large bowl if using a hand-mixer) and cream together until smooth. Add eggs, one at a time, fully incorporating each before adding the next. Make sure to scrape down the bowl in between each egg. Add heavy cream, vanilla, lemon juice, and zest and blend until smooth and creamy.

4. Pour batter into prepared crust and tap the pan on the counter a few times to bring all air bubbles to the surface. Place pan into a larger pan and pour boiling water into the larger pan until halfway up the side of the cheesecake pan. If cheesecake pan is not airtight, cover bottom securely with foil before adding water.

5. Bake 45 to 55 minutes, until it is almost done – this can be hard to judge, but you’re looking for the cake to hold together, but still have a lot of jiggle to it in the center. You don’t want it to be completely firm at this stage. Close the oven door, turn the heat off, and let rest in the cooling oven for one hour. This lets the cake finish cooking and cool down gently enough so that it won’t crack on the top. After one hour, remove cheesecake from oven and lift carefully out of water bath. Let it finish cooling on the counter, and then cover and put in the fridge to chill. Once fully chilled, it is ready to serve.

Pan note: The creator of this recipe used to use a springform pan, but no matter how well she wrapped the thing in tin foil, water would always seep in and make the crust soggy. Now she uses one of those 1-use foil “casserole” shaped pans from the grocery store. They’re 8 or 9 inches wide and really deep, and best of all, water-tight. When it comes time to serve, just cut the foil away.

*My Notes: I added more lemon to mine (yum) and since I did it in silicone cupcake cups, I only cooked it for 20-35 minutes, or until still a little jiggly, and cooled using the cake directions.

The April 2009 challenge is hosted by Jenny from Jenny Bakes. She has chosen Abbey’s Infamous Cheesecake as the challenge.

February DB: Flourless Chocolate Cake

10 Comments

For some reason this month has gone by SO slowly. I originally wasn’t going to do this month’s challenge, but the end of the month came so slowly I had enough time to do it. Weird. That will never happen again. I’m very glad I did it. Although I think I messed up a little. I may or may not have whisked the egg whites too much, and may have cooked the cake too long. I used Trader Joe’s Pound plus Dark Chocolate, next time I’m going to use milk chocolate for a sweeter cake.

_dsc1920sm

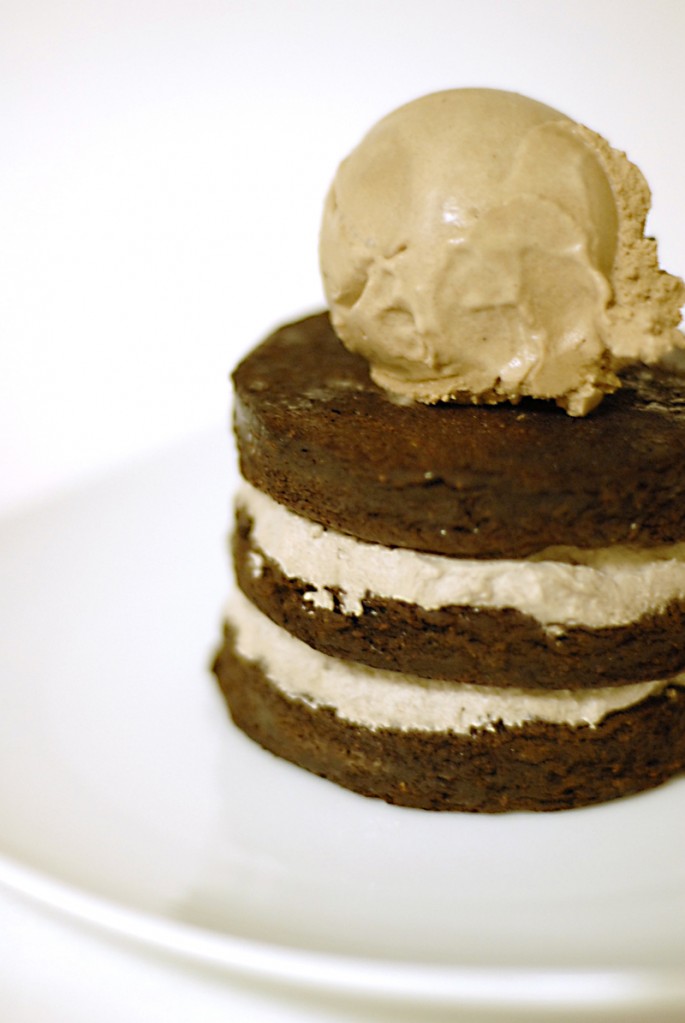
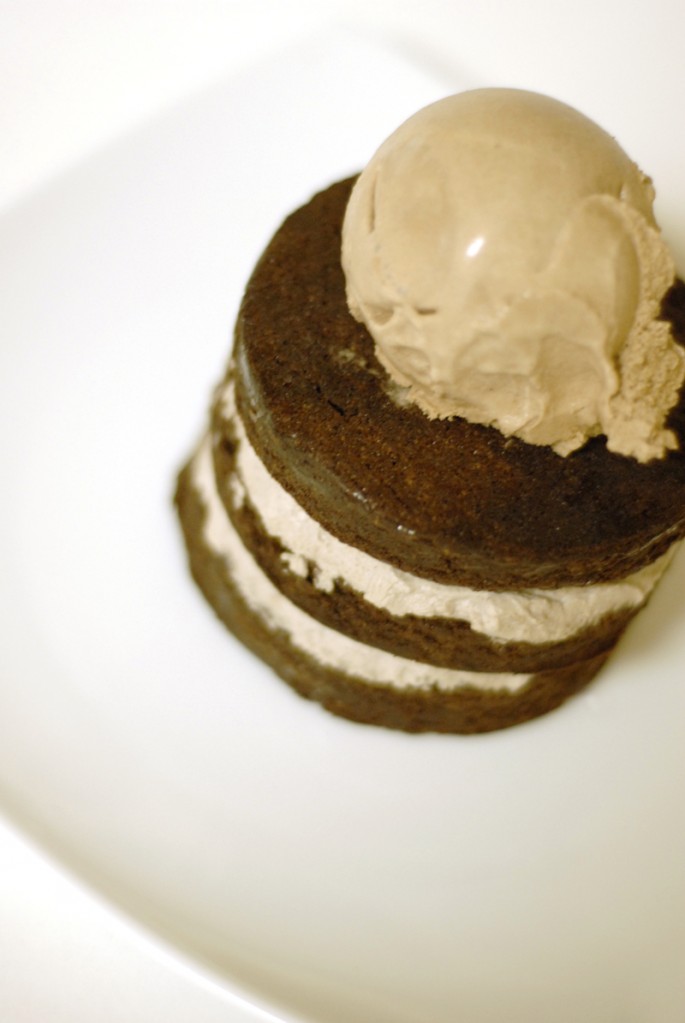
I love how this recipe only has 3 ingredients, and no flour or additional sugar. Genius. I served my cake like an over sized Oreo; sandwiched with chocolate whipped cream and chocolate ice cream on top. This is the chocolate triple threat. Delicious.

Chocolate Valentino

Preparation Time: 20 minutes

16 ounces (1 pound) (454 grams) of semisweet chocolate, roughly chopped
½ cup (1 stick) plus 2 tablespoons (146 grams total) of unsalted butter
5 large eggs separated

1. Put chocolate and butter in a heatproof bowl and set over a pan of simmering water (the bottom of the bowl should not touch the water) and melt, stirring often.

2. While your chocolate butter mixture is cooling. Butter your pan and line with a parchment circle then butter the parchment.

3. Separate the egg yolks from the egg whites and put into two medium/large bowls.

4. Whip the egg whites in a medium/large grease free bowl until stiff peaks are formed (do not over-whip or the cake will be dry).

5. With the same beater beat the egg yolks together.

6. Add the egg yolks to the cooled chocolate.

7. Fold in 1/3 of the egg whites into the chocolate mixture and follow with remaining 2/3rds. Fold until no white remains without deflating the batter. {link of folding demonstration}

8. Pour batter into prepared pan, the batter should fill the pan 3/4 of the way full, and bake at 375F/190C

9. Bake for 25 minutes until an instant read thermometer reads 140F/60C. Note – If you do not have an instant read thermometer, the top of the cake will look similar to a brownie and a cake tester will appear wet.

10. Cool cake on a rack for 10 minutes then unmold.

_dsc1923sm

_dsc1941

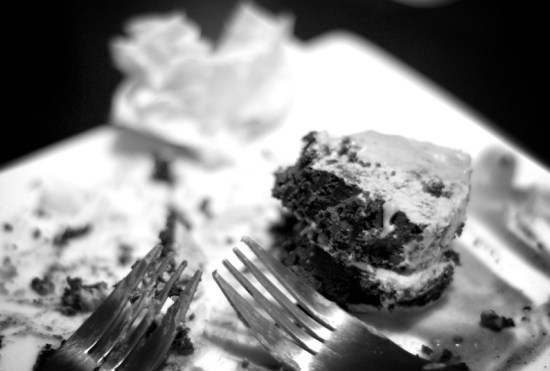
Chris and I had a great time eating the oversized flourless Oreo, but we couldn’t quite finish it. Too rich. MMmmmMMMM.

The February 2009 challenge is hosted by Wendy of WMPE’s blog and Dharm of Dad ~ Baker & Chef. We have chosen a Chocolate Valentino cake by Chef Wan; a Vanilla Ice Cream recipe from Dharm and a Vanilla Ice Cream recipe from Wendy as the challenge.

January DB: Light and Easy Tuiles

2 Comments

Compared to last month, this month’s DBers challenge was a breeze. Hands down I will be making these again. Possibly in cigar format with mousse in the middle.

MmmMMmm

_dsc0776

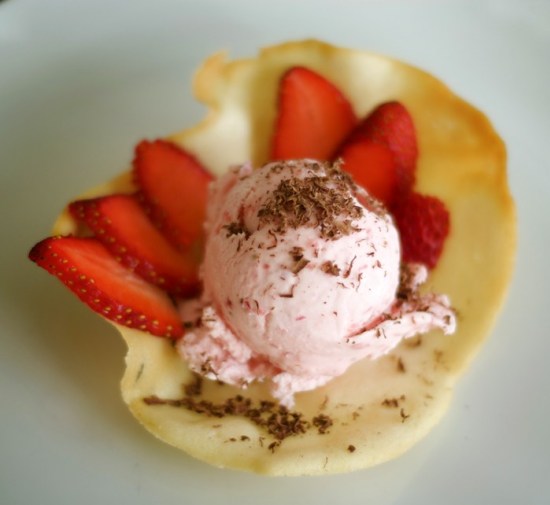
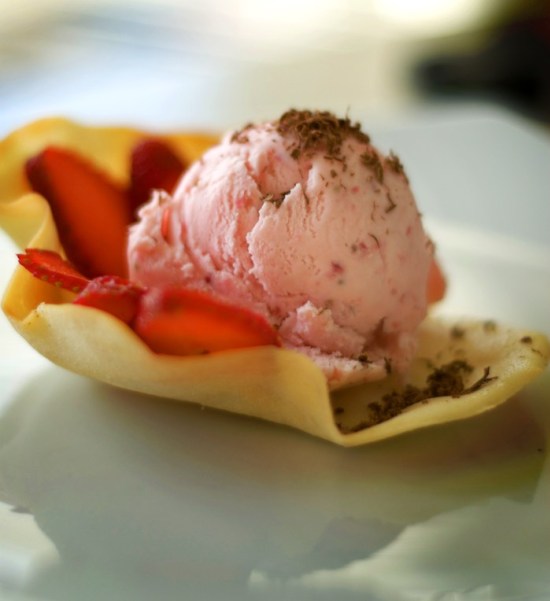
I made these tuiles for some friends and tried my hand at making a sweet little star cup. While the plastic placemat worked perfectly as a pattern, the original star pattern I made was just a little too detailed for the recipe. Now I know what to do next time. Not only was the tuile just downright tasty, the ice cream complimented it nicely.

_dsc0783

Tuile Recipe:

Yields: 20 small butterflies/6 large (butterflies are just an example)
Preparation time batter 10 minutes, waiting time 30 minutes, baking time: 5-10 minutes per batch

¼ cup softened butter (not melted but soft)
½ cup sifted confectioner’s sugar
1 sachet vanilla sugar (7 grams or substitute with a dash of vanilla extract)
2 large egg whites (slightly whisked with a fork)
1/2 cup sifted all purpose flour
1 table spoon cocoa powder/or food coloring of choice
Butter/spray to grease baking sheet

Oven: 350ºF

Using a hand whisk or a stand mixer fitted with the paddle (low speed) and cream butter, sugar and vanilla to a paste. Keep stirring while you gradually add the egg whites. Continue to add the flour in small batches and stir to achieve a homogeneous and smooth batter/paste. Be careful to not overmix.
Cover the bowl with plastic wrap and chill in the fridge for at least 30 minutes to firm up. (This batter will keep in the fridge for up to a week, take it out 30 minutes before you plan to use it).

Line a baking sheet with parchment paper or grease with either butter/spray and chill in the fridge for at least 15 minutes. This will help spread the batter more easily if using a stencil/cardboard template such as the butterfly. Press the stencil on the bakingsheet and use an off sided spatula to spread batter. Leave some room in between your shapes. Mix a small part of the batter with the cocoa and a few drops of warm water until evenly colored. Use this colored batter in a paper piping bag and proceed to pipe decorations on the wings and body of the butterfly.

Bake butterflies in a preheated oven (350ºF) for about 5-10 minutes or until the edges turn golden brown. Immediately release from bakingsheet and proceed to shape/bend the cookies in the desired shape. These cookies have to be shaped when still warm, you might want to bake a small amount at a time or maybe put them in the oven to warm them up again. (Haven’t tried that). Or: place a bakingsheet toward the front of the warm oven, leaving the door half open. The warmth will keep the cookies malleable.

If you don’t want to do stencil shapes, you might want to transfer the batter into a piping bag fitted with a small plain tip. Pipe the desired shapes and bake. Shape immediately after baking using for instance a rolling pin, a broom handle, cups, cones….

This month’s challenge is brought to us by Karen of Bake My Day and Zorra of 1x umruehren bitte aka Kochtopf. They have chosen Tuiles from The Chocolate Book by Angélique Schmeink and Nougatine and Chocolate Tuiles from Michel Roux.

Yule be glad you did it.

7 Comments

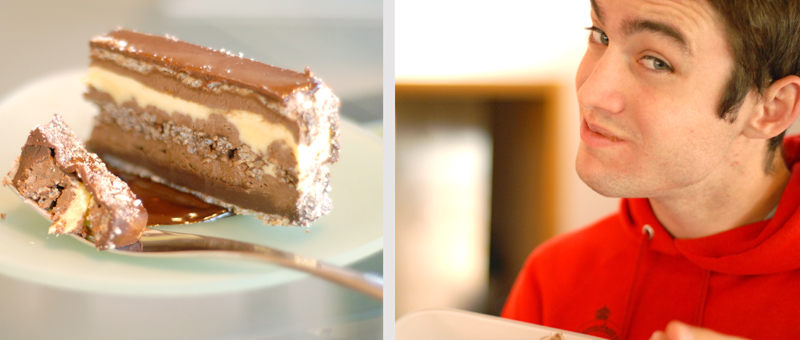
Honestly, many thanks to my Mother-in-law for keeping me motivated for this mammoth DBers Challenge. I wouldn’t have been able to do it in 12 hours if it weren’t for her. Overall: I’ll likely never make this again, but it was absolutely delicious.

This month’s challenge is brought to us by the adventurous Hilda from Saffron and Blueberry and Marion from Il en Faut Peu Pour Etre Heureux.
They have chosen a French Yule Log by Flore from Florilege Gourmand.

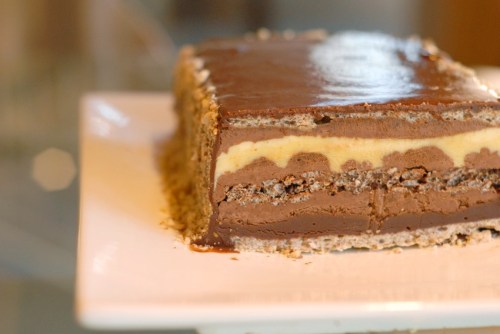
If you want the recipe, go here (it’s 18 pages of hair-pulling, eye-gouging fabulousness) because I don’t want copy down the colossal recipe. Sorry. I will, however, tell you what the layers are. . .

  • Almond Dacquoise
  • Dark Chocolate Mousse
  • Dark Chocolate Ganache
  • Praline Feuillete
  • Vanilla/Nutmeg Creme Brulee
  • Dark Chocolate Icing

It was great to have my mother-in-law’s help, plus her enormously huge kitchen and sweet glass servingware.

Brother-in-law, Eric, seemed to like it.

Also, thanks to Chris and father-in-law, Cordell, for getting me the amazing D200 and 50mm Lens for Christmas. You can almost taste the creaminess of the mousse and the crunchiness of the feiullete through the screen.

mobile site