A couple of you have emailed me about the hanging system I used for the Seesaw calendar I hung last Friday. I thought I’d show you how I did it. It’s super simple, cheap & easy for hanging those cool prints that you don’t have the time/money to frame (just yet). Here’s how it goes:
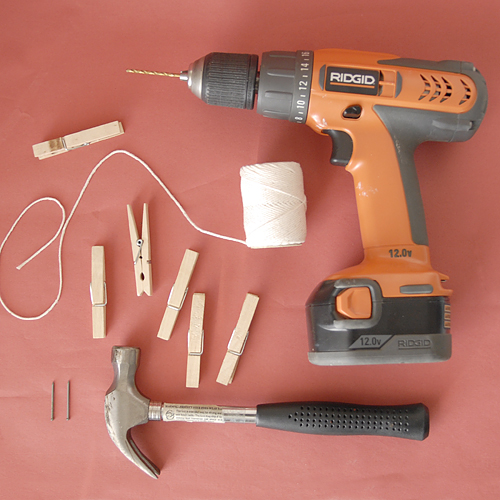
SUPPLIES:
- clothespins
- coarse string/jute twine
- drill
- 2 finishing nails
- hammer
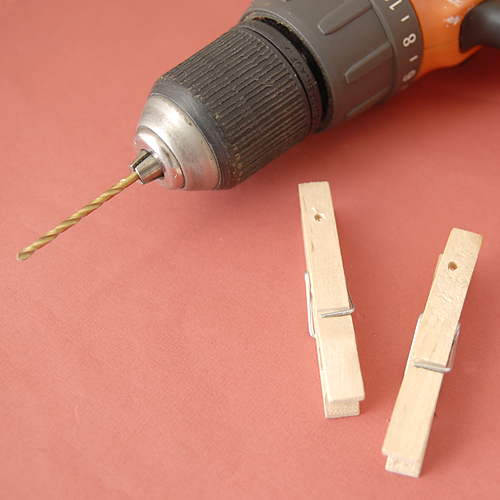
Take two clothespins (end-pins) and drill holes in the top of each end using a bit just slightly larger than your nailhead. Test your nail with the holes afterwards if you need to make the hole larger.
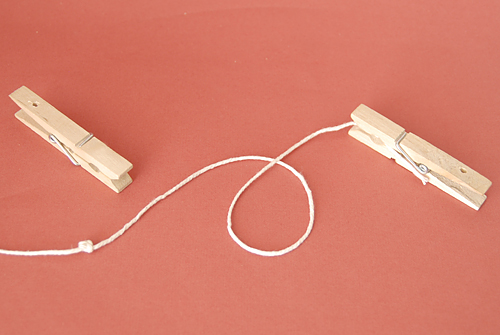
Measure your string about 6 inches longer than the width of your desired clothesline & tie giant knots at each end. Trim off extra string & sandwich knots inside each of the end-pins.
Hammer your two nails into the wall at the appropriate distance, making sure your nails are level with each other.
Slide the two end pins onto the nails & adjust the string tension. You want it to be tight and your endpins parallel to the ground. Hang your artwork on the string using the remaining clothespins & enjoy.
For your DIY-ing convenience, the tutorial is available for download by clicking the button below.
This tutorial is free for personal use and should not be distributed/republished without my consent. If you would like to use this for commercial purposes, please email me. Thank







Thanks so much for sharing this!!! This is so simple and so cute. I can’t wait to try it myself.
Ooooh awesome tutorial I’ve been obsessed with hanging items on clotheslines on my walls lately, so simple and chic.
really cute! i want to do this somewhere in my house.
Neat idea, thnx!!!
I love it! Thanks so much for the downloadable tute, I’ll be spreading the word.
Hey you! Just an FYI–I used your idea for bean bags from awhile ago and posted the project on my blog just in case you wanted to take a peek.
I hope you are doing well. I can’t wait to see photos of your new babe!
I need this! thanks for the tutorial. I never come up with this stuff on my own so it is really nice that you share things like this.
Thanks!
If you happen to be interested in a glove swap check out my blog. The swap closes tomorrow.
Love this! I will be using in my studio :)
This looks great. I have a string, tied between two nails as my “inspiration line” above my desk but I love the way it looks more “finished” with the two clothespins at the ends.
[…] that I’d complete in a clothesline fashion like this. (Melissa over at ISLY blog has a tutorial that might work for […]
Love this idea! Thanks so much for the tute :)
thanks for sharing! This is so cute and simple.
this is totally awesome. thank you for including us in this handy dandy post.
[…] I Still Love You […]