


This post is sponsored by Canon.
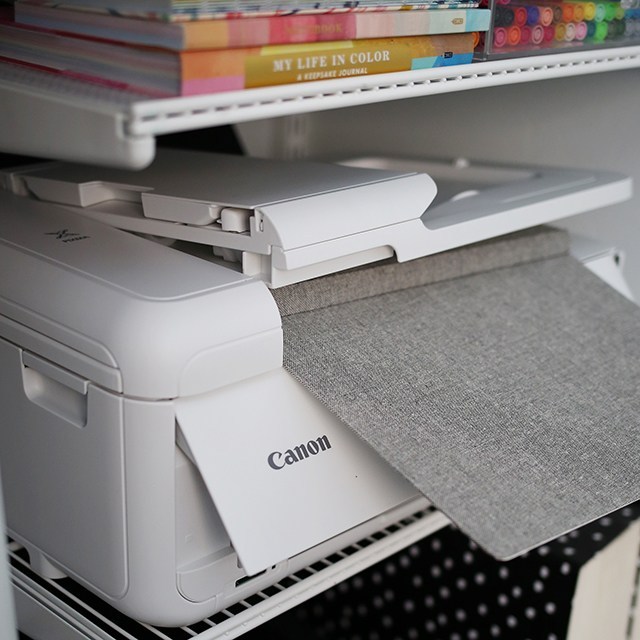
I’ve been a long-time Canon printer fan. I previously had, and LOVED, the Canon MG5620 for 5 years and loved it (here’s the newer version at $75). When I got the opportunity to try their TS9521C Craft Printer, I jumped at the chance! I set it up successfully all by myself. In an afternoon.
The craft printer boasts printing 12×12 borderless, I’ve ALSO successfully been able to print borderless 11×17 as well. So score, right? A larger printer that can handle bigger print and cut projects that doesn’t cost an arm and a leg?? I’m sold.
See the bottom of the post for the download, but if you want the low-down for this printer, check out my pros and cons list.
PROS:
- Easy set up
- Pre-loaded templates
- Wireless Printing
- 12×12 borderless printing*
- Scanner
- Duplexing Scanner
- Front and Rear feeds for different media types
CONS:
- Scans legal sized paper, not 12×12
- It’s not compact
- Front tray doesn’t work well with thicker paper
These cons by all means aren’t deal breakers at all. It would be amazing to have a larger-format scanner, but it does do 9×12, so that’s pretty darn great. The size of the TS9521C is a fair amount larger than my older Pixma MG5320, but that’s to be expected of a larger-format printer. Just don’t expect it to fit in to super tight spaces. ;) And the front tray doesn’t work well with all of my card stocks. It works with Neenah card stock, but not letterpress. HOWEVER, that’s what the rear tray is for! It’s great to have that option so I can work with thicker card stocks no sweat.
The cons list aren’t really cons because I’m so excited about this printer.
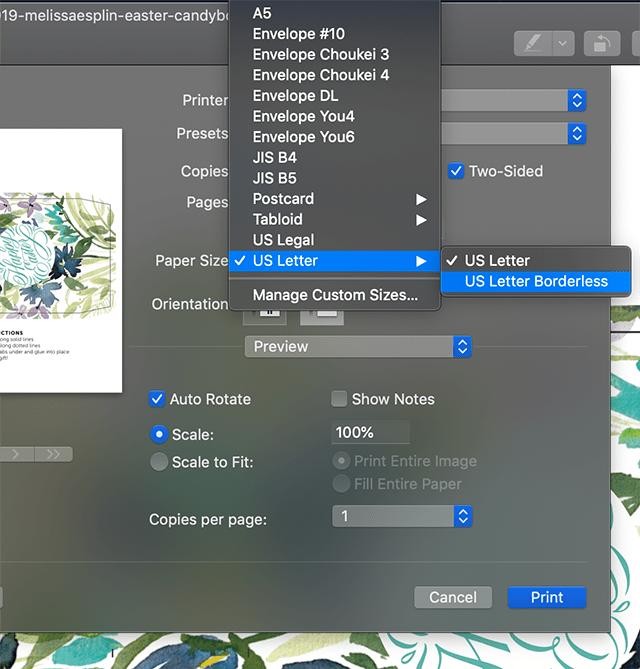
*It doesn’t print borderless as a default setting. When you select print, you’ll see the option in print settings where you can select a borderless option in the paper size selection area. See image below.
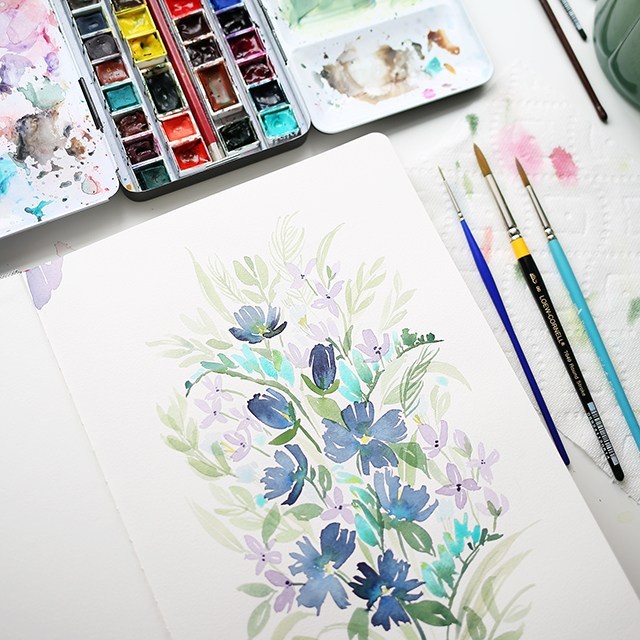
I painted up this floral and made a print and cut, and didn’t have to worry about borders. I’d call that a win.
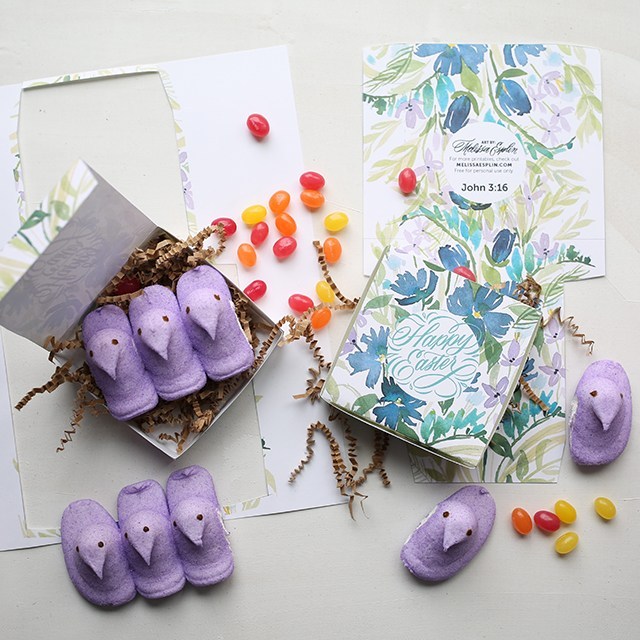
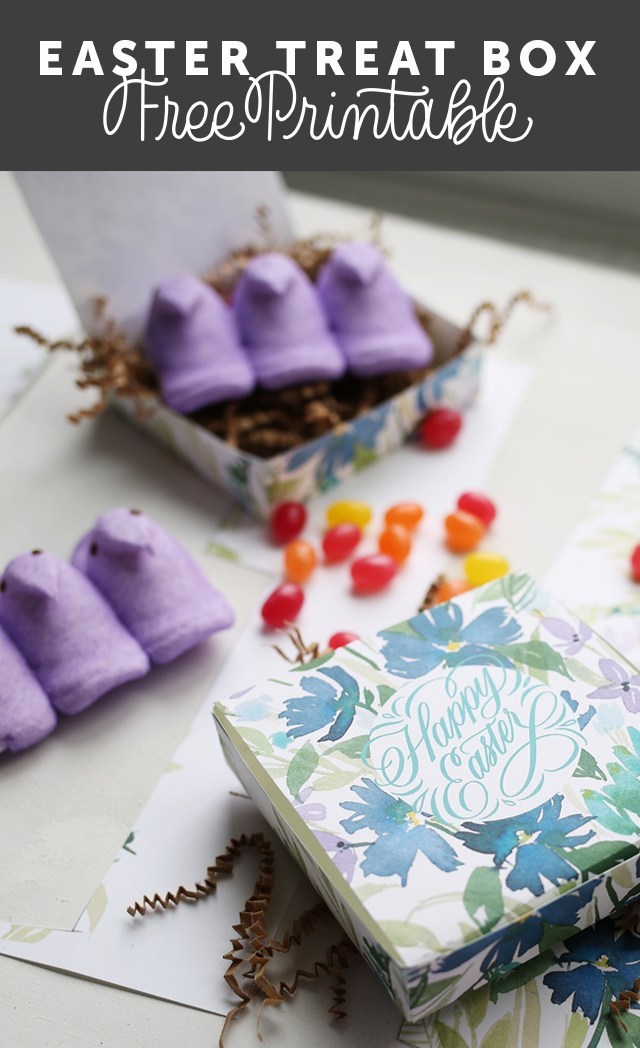
The box dimensions are 3.75 x 3.75 x 1 inches; It’s the perfect size for a few candies or a cookie. The perfect little treat to gift to someone in celebration of this Easter week.

There’s something about Easter that makes me go for blues and greens. See below for different file downloads.

More goodies for your Easter Celebrations below:
2017 Easter Scripture Print • 2016 Easter Basket Tag • 2016 Easter Box • 2016 Easter Scripture •2014 Easter Banner • 2011 Easter Box • 2010 Easter Box
This post is sponsored by Canon. This post contains affiliate links. All opinions are my own.


