Archive for the ‘Reviews’ Category

Sakura CAC Neons & Metallics Review

0 Comments

Hey friends!! Welcome here. I’ve got 3 upcoming workshops this summer (more in the works, fingers crossed). I hope to see you there!

Beginning Brush Lettering Workshop | DRAPER, UT | JULY 19

Learn brush lettering based on more traditional foundations and how to manipulate those foundations to write some funky letters! All skill levels welcome, but it is geared more toward beginners. Lefties welcome!

Eventbrite - July 19 Brush Lettering Calligraphy Workshop


Penmanship Workshop | PROVO, UT | AUGUST 16

Learn the art of beautiful penmanship and how to harness your own style to tell your story. This is perfect for beginners, lefties and future brides! We’ll go through foundations, style and how to address an envelope. 

Eventbrite - Beginning Cursive Penmanship & Letter Writing Night


2-Day Brush Lettering/Digitization Intensive | NASHVILLE, TN | AUG 25-26

Join me in Nashville for a whole lot of fun with a 2-day lettering intensive with the pointed brush. We’ll dig deeper than in any other class in the two days. We’ll go letter-by-letter through variant options, work on word and compositional structure and style structure. At the end of the class, we’ll work on the beginning essentials of digitization by making our own personalized stamps with our artwork. All skill levels welcome. 
Paperinkarts - brush lettering event august 2018

I hope I can see you at one of the above workshops this summer. We always have a blast and I try to pack as much information as possible so you leave the workshop motivated, empowered and ready to continue your calligraphy journey.
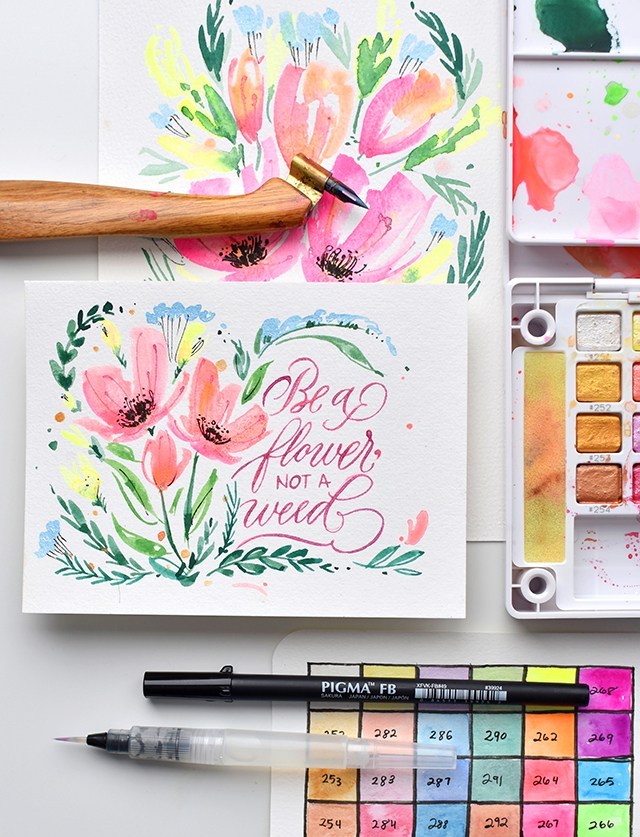
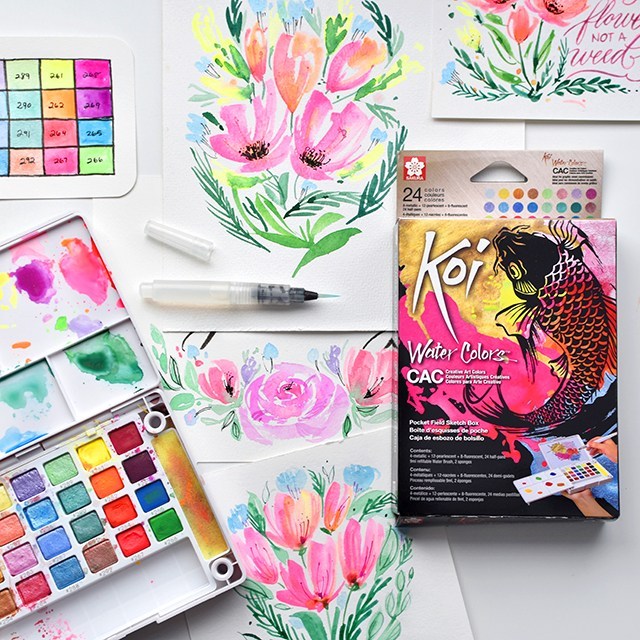
Sakura sent me their BRAND-NEW CAC (Creative Art Colors) 24 pan watercolor set to play around with. It’s just like their regular 24 pan field sketch set, but with nothing but neons, metallics and pearlescent colors. Uhhhhhhmmmmmmm yes please! I love how bright these pigments are and it’s a real pity that they’re not captured fully with these photos. The colors just JUMP off the page. So I made a review video (above). Give it a watch or you can scroll down below to see the pros and cons list:

Pros:

  • SUUUPER bright pigments
  • Smooth blending (even with regular colors)
  • Zero chalkiness
  • Portable size palette
  • Generous wells for mixing pigments
  • Shimmery pearlescents

Cons:

  • Student grade
  • Not lightfast
  • Metallics not opaque

I feel like I need to give explanation to the cons. It’s a bummer they’re student grade and not artist or professional grade, but they out-perform any student grade pigments I have in my studio as if they were artist grade. So bummer, but not a deal breaker.

The neons especially aren’t lightfast at all. But you’re not going to find light-fast neons anyway. Just be aware that they’re not lightfast so you’re not displaying your work where it gets direct sunlight.
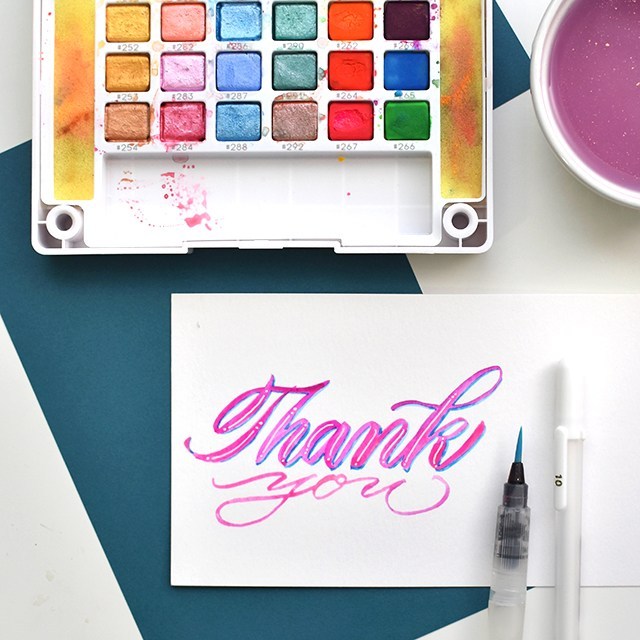
I personally like more opaque metallics. Don’t get me wrong, these metallics are beautiful, but if you’re going to try and do fine linework like use the pointed pen with the metallics, you’re not going to get the opacity you need to get the metallic to jump off the page. You’ll want to switch over to the pearlescent pigments for pointed pen linework. The pearlescents have watercolor pigment and metallic in them so the pigment soaks into the page while the metallic shimmers at the top of the page. It’s lovely.

Overall: I really love these watercolors! They’re really great! I hope you give them a try some time.
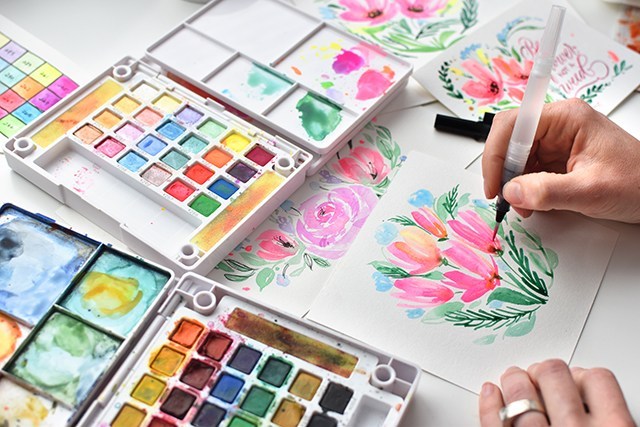
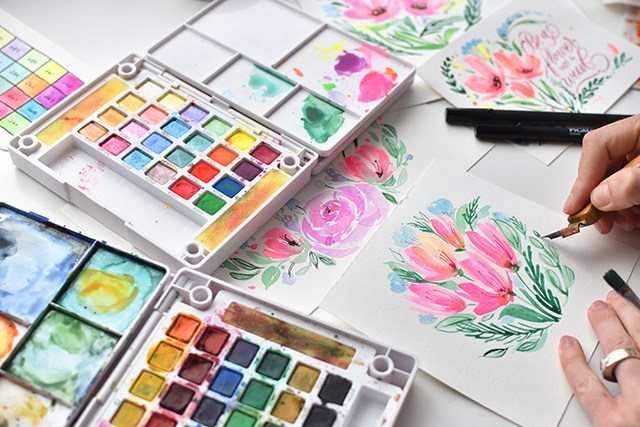
I’ve been using the medium waterbrush that came with the kit, but then also adding in fun details with the Gillott 404 to bring in those finer details. It’s a lot of fun to bridge the gap of brush lettering and pointed pen modern calligraphy with this neon set. Overall, I’m a fan. 

Sakura of America provided me with the materials for this review. All opinions are my own. Affiliate links are used, your support by purchasing through these links supports more content like this! 

Pilot Parallel Pen Review & Difference between Broad-Edge & Pointed-Pen

0 Comments

Thanks to Goulet Pen Company for providing us with the Pilot Parallel Pen Handlettering and Calligraphy Set. Both Hayley and I had a lot of fun playing around with these pens. I’ve had a few of these pens for a while, so it was fun to use the full line of pens from the Parallel Pen line.  

Before giving you my thoughts on the Parallel Pens, I thought I would give you a little info about calligraphy in general: Broad-edge calligraphy vs. Pointed-pen calligraphy. 

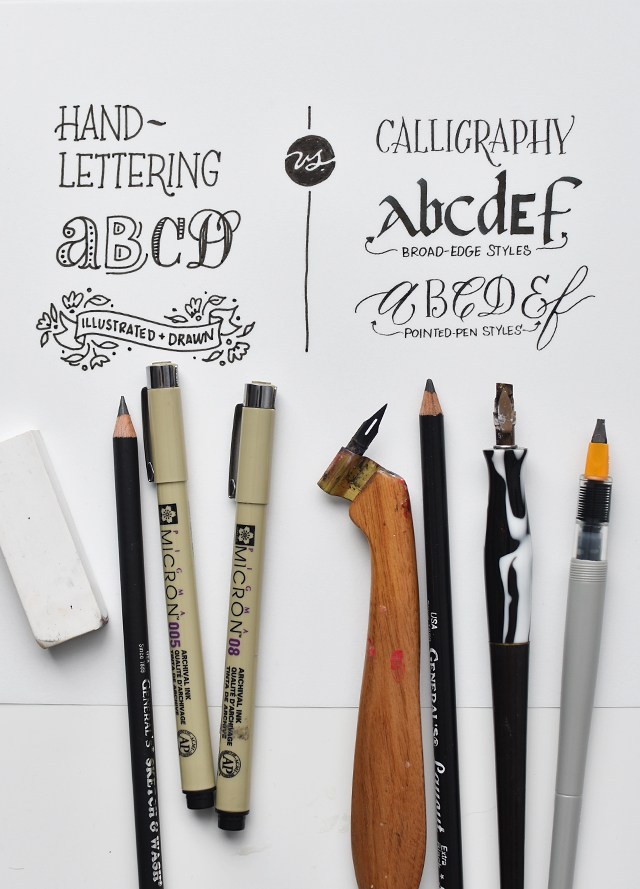
You’ve got hand-lettering versus calligraphy. Hand-lettering is illustrating letterforms. Often times letterforms take on a more dimensional look with decorative elements and illustrative affectations (above left). Calligraphy is the careful construction of letters with a prescribed set of strokes (see above right). Think of it as carefully writing each stroke, almost drawing each stroke. 

There are two camps within calligraphy itself: broad-edge and pointed-pen. Broad edge materials literally have a broad edge (see marbled holder and pilot parallel pen in the far right). The orientation and angle of the nib gives you the control over thicks and thins. But because of the broad edge, you’ll find that you have lots of thick strokes (see broad-edge styles). The broad-edge styles in the above image there are in no way exhaustive of the kinds of letters you can make with those tools. As a general rule, tools with number measurements like Speedball C-2, C-0, Mitchell 5mm, Pilot Parallel 6.0mm, etc. are all describing the width of the edge. 

Pointed-pen calligraphy, while using angle and orientation in order to work, relies on pressure in order for the thicks and thins to happen. As a result, you’ll find you can easily get sweeping fine lines and hairline flourishes with pointed-pen tools. When it comes to “Modern Calligraphy” that’s oh-so-popular, it’s referring to a pointed-pen script hand that’s based (although sometimes too loosely to be actually readable) on Copperplate/Engrosser’s Script foundations. This style needs pointed-pen tools. If you don’t, you’ll get messed up results like below:

SO…….. 

While the Pilot Parallel Pen Set may not be the right materials for “modern calligraphy”, this set is awesome for exploring a wide range of broad-edge styles in a variety of sizes! Without any further ado, check out the full review video. If you already know the difference, skip to 5:40.


Now for the review, we really loved these pens a lot! Here’s the breakdown of the pros and cons.

The pros:

  • Instruction packet for easy assembly
  • Variety of colored inks & black inks
  • Plastic nib/plate cleaner
  • Pens are juicy and synthesize dip pen beautifully
  • They travel well
  • They feel great

The cons: 

  • The artwork on the packaging is a little deceptive (you canNOT do brush lettering with these pens)
  • The “ductus” pages are made from fonts, not calligraphic hands*
  • You can’t put the caps on the ends of the pens while in use

*A “font” is a programmed set of letters used on the computer, a “hand” is a calligraphic style. The fonts in the ductus pages aren’t a bad place to start, but they don’t give you much information on pen angle/orientation or pen manipulation or stroke order. 

Overall, I’d say this set is a win. If you’re interested in trying broad-edge or bolder styles these pens are a must-have! They’re a great tool to take with you for practice on the go or even when attending workshops, meet-ups or guild meetings with limited space. 

Want to learn more about calligraphy? Check out my classes over at Calligraphy.org! 

Product provided by Goulet Pens. All thoughts are our own. 

Review: Resonate Collection Review from Ash Bush

0 Comments

I’m really, really excited about the review that’s coming at you today. Ashley Bush is one of the early calligraphy.org students. She’s made an incredible business of freelance calligraphy and pensmithing. It’s so exciting to see when students really run with it and make calligraphy into a career. 

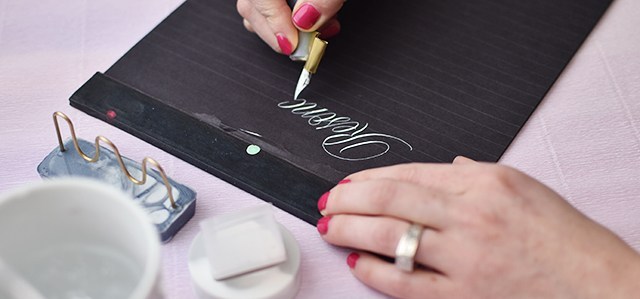
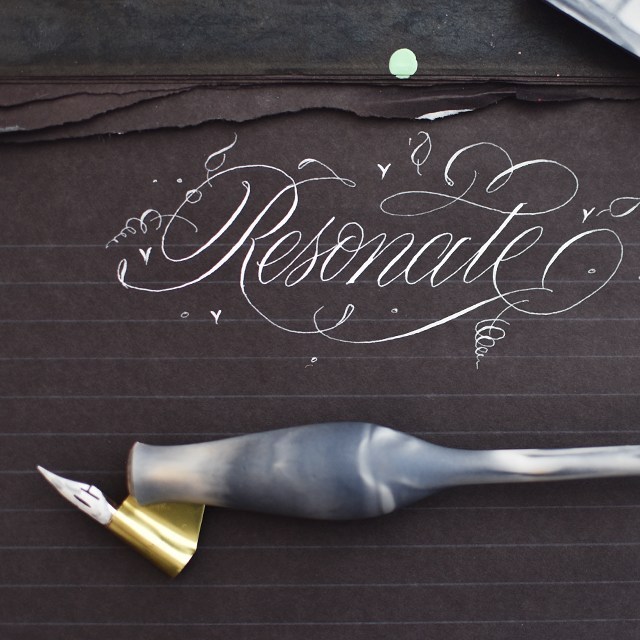
Ashley recently reached out to me to try out her resonate line. I’m really thrilled with how it’s turned out. It’s affordable, instagrammable and most importantly: comfortably functional. At $30 for these gorgeous marbleized pens, you really can’t go wrong. See the pen rest, tilted ink holder and pen holder in action in my YouTube video below. 

VIDEO DETAILS: 

But if you’re not the video-watching type… Here are my pros & cons of each item offered in the collection…

HOLDER $30

PROS: Affordable, smooth/silky finish, easy to clean, made from resin so it won’t split, carrot holder for promoting whole arm movement (also a great holder style for arthritic hands), flange adjusted and pre-fit with a G-nib

CONS: It’s a little short. It feels nicely balanced in the hand, but I personally wish it were a little bit longer. I wouldn’t mind an angled foot, either. But the foot is still small enough for a carrot holder that it fits in most ink jars. 

PEN REST $9

PROS: Holds 2 holders for easily switching styles, pretty, heavy enough base that it doesn’t topple over.

CONS: has a slightly different finish on it than the pen, it’d be nice if it had the same matte finish. Not a deal breaker by any means. 

TILTED INK HOLDER $7

PROS: It tilts the jar just enough that you can get that last little bit of your ink out of the jar. It really works with very little ink!

CONS: It doesn’t do well with full jars of ink. I wish there were a second well that was upright for me to hold my ink when the jar was full, and then tilt when the jar was nearing empty. But I really rarely put my full ink jars in an upright inkwell holder anyway, so it might just be superfluous. 

BOTTOM LINE: It’s a no-brainer. Scrounge up $50 and snatch up the entire collection. But at the very least, get the holder. It’s a must. It’s so so good. GET ONE RIGHT HERE.

Tips For Working Magic with Chalk Markers

2 Comments

Chalk markers are one of those tools that I’ve used and haven’t liked, so I dismissed them altogether. They’re so fussy that by the time you get one to work, you could have been done with an entire composition if you had used regular chalk. No convenience factor. And usually they’re so permanent that they may as well be paint pens. So completely negating the whole reason why you opted for chalk in the first place. No room for mistakes? Not my jam. I make tons of mistakes. We all do. 

Then these babies showed up in the mail. With my nose turned up awaiting for disgust, I found three glorious things out of these chalk markers: juicy ink, opaqueness and non-permanence. Yep! But first, four tips for making chalk markers work for you

  • To avoid puddles of ink when starting the marker; shake the marker while capped and lid pointing up, remove the cap, and depress the nib while point is still facing up. This releases pressure that may build up while taking advantage of gravity to keep the ink inside the pen and not all over the chalkboard or test paper.
  • Store chalk markers horizontally (this is a great practice for all markers) to keep the point from drying out.
  • For best results on clean-up, use a non-porous chalkboard surface. I used chalkboard MDF from Home Depot for this review and every color (except white) came off beautifully with just water and paper towels. 
  • Ghosting? No problem. Grab some windex and a magic eraser. 

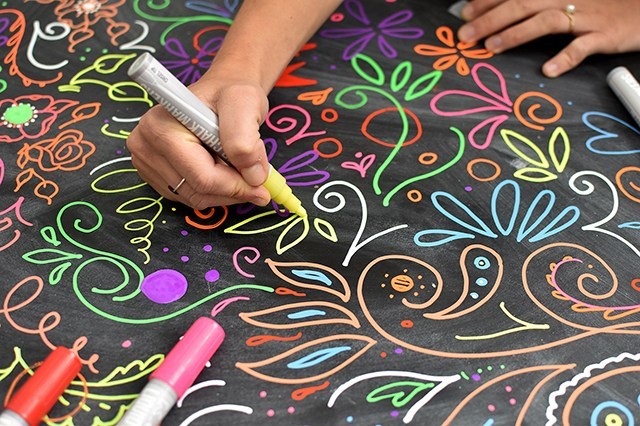
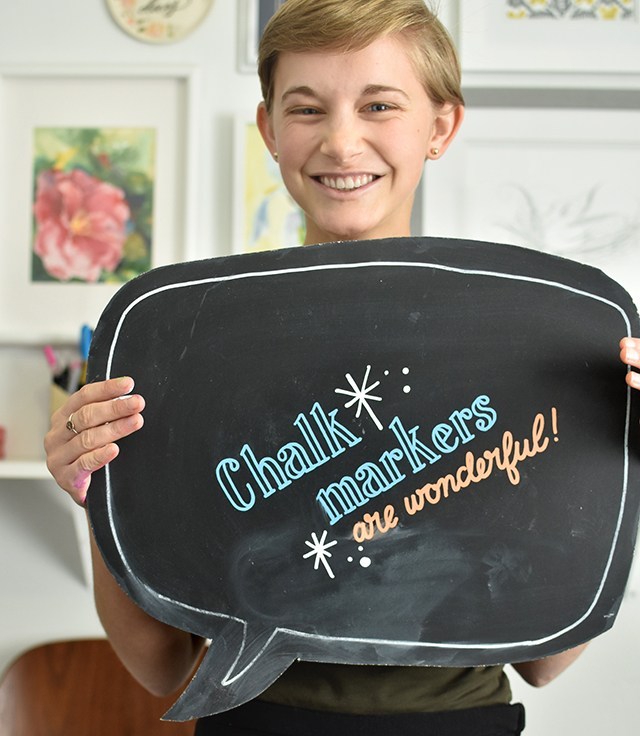
My assistant, Hayley, and I spent a morning last month testing out these markers and we were both singing praises. You can see the results from our testing in the above review video. 

Hayley approves!

Like I mentioned earlier, we found some serious pros to these markers: 

  • The ink flowed smoothly, each line was just as juicy as the last. Consistent ink is king!
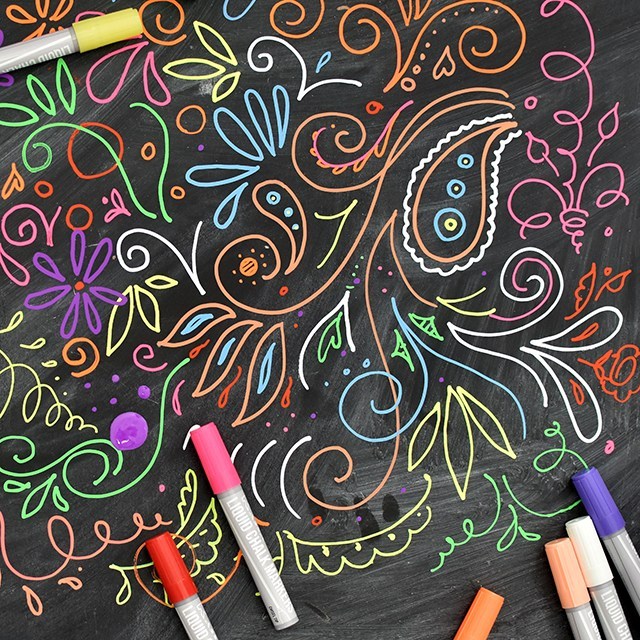
  • The markers were all very vibrant and opaque. The images and video don’t do the hot pink justice. ;)
  • Clean-up was easier than anticipated for sure. Water and paper towels (a lot of paper towels) did the trick. 

We found a couple of cons, but not deal-breakers: 

  • The white had a tendency to ghost upon clean-up. The other colors cleaned up easily, though. Windex and magic eraser was my friend to get that off. 
  • The ink tended to flood out when we were starting the markers. Relieving pressure with the tip facing up did the trick, though.

Overall, These Kassa Flourescent Chalk Markers were a fantastic surprise to both Hayley & me. Major win over here. I hope you try them out and enjoy them as much as we have!

I’m working on doing a review per month on art and calligraphy-related materials. Stay tuned for more! If there’s a material or product you’d like to see in the future, comment below!

Looking to learn the art of Chalk Lettering? Take our class (taught by the ever-amazing Skyler Chubak) right here! Use code CHALKROCKS for 15% off the workshop. Code valid through 6/30/2017.

Product was donated for this unpaid review. All opinions are my own. Affiliate links are used to link to products which help support the blog. Thanks so much for reading!

Review: Sakura Koi Water Color Set

4 Comments

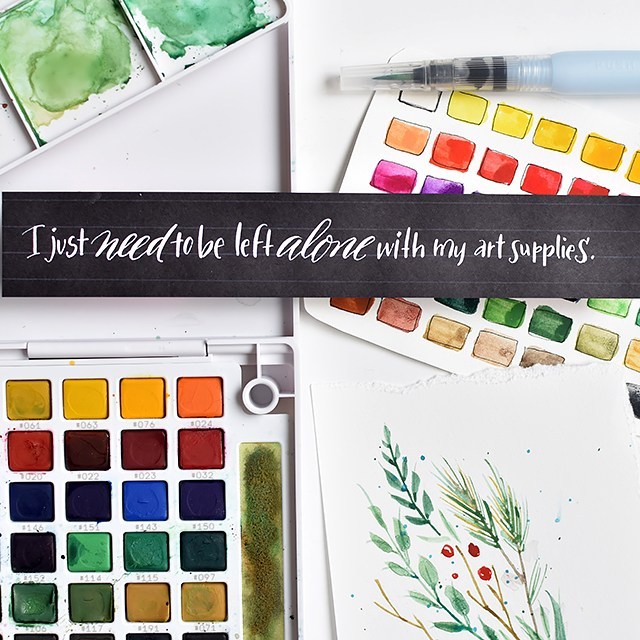
I’ve spent about 3 weeks with Sakura’s newest product, the 48 pan watercolor set (it’s currently sold out on Amazon). It’s fabulous. I’m loving the color and texture quality. LOVING. 

See my review below and enter to win a 36 pan set on Instagram RIGHT HERE.

If you want to learn more about how to watercolor, check out the work of Natalie Malan

mobile site