This April 3rd, I started my first 100 day project. It’s a global art-focused (but not exclusive to art) community project of your choosing. In the past I’ve started a passion project at the beginning of the year (#calligraphynameoftheday #calligraphyquoteoftheday), but this year I decided to do something different and do it in 100 days and with the art community at large. This is not my own idea. I’m not the organizer. The 100 day project originated from senior design critic at Yale University: Michael Beirut. He challenged his students to come up with a project to do for 100 days. Then Elle Luna & Lindsay Jeane Thompson took the concept to a more global format on Instagram. You can read more about their mission right here on the100dayproject.org.
Check out a process/tutorial video of this week’s marigolds right here:

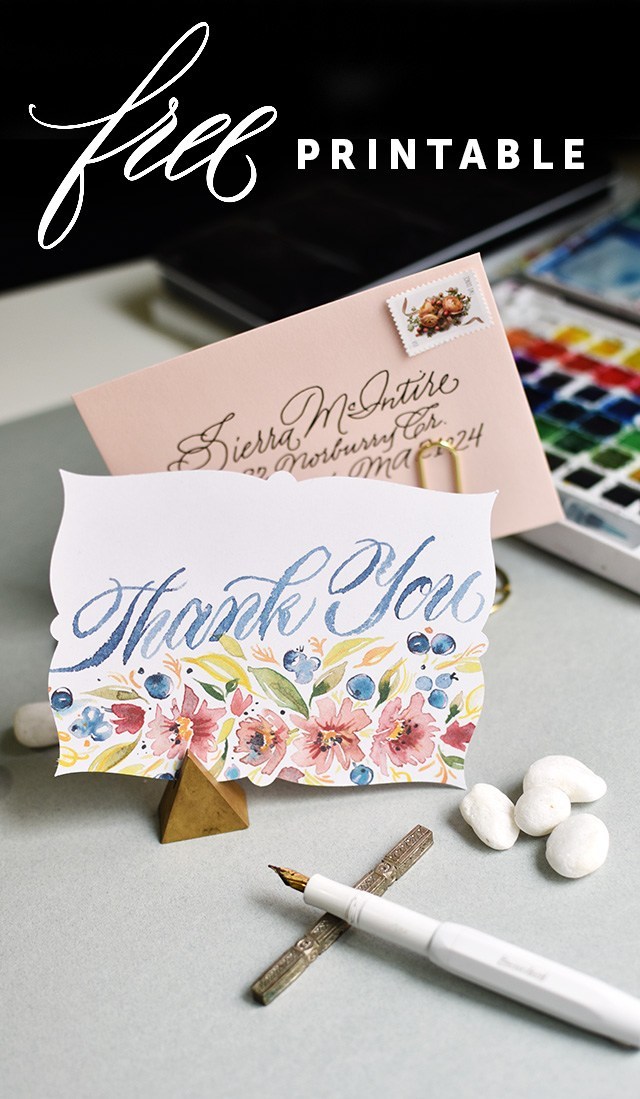
My project this year is 100 watercolor floral paintings in 100 days. I’m not sticking to doing 1 painting every day format. I’m painting at least 3 every 3 days. So I’m allowing myself the freedom to batch my efforts. But your project could look completely different. The global 100 day project started on April 3, so you’ve got some catching up to do ;), but anyone is welcome to join and start at any time! And you can do whatever strikes your fancy!!

Here are some tips to make your project successful:
- Give yourself constraints
- Make it simple
- Keep it specific
- Do something you’re genuinely excited about
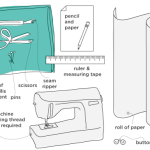
- Start with tools you already have
- Use pre-generated content wherever applicable
- Be nice to yourself
Use constraints: basically make up fake rules to follow. Whether you’re doing art on a specific size canvas or you’re only allowing yourself 10 minutes to do the project each day, keep those things consistent. For me, I’m sticking to the same size paper.
Make it simple: this art effort isn’t the end, it’s the beginning. Don’t look at making each piece or project so crazy and lengthy or complicated. Use constraints to simplify your process.
Keep it specific: this project is a chance to become an expert in something. If you want to become better at cooking an egg, explore 100 different ways to cook an egg. You’re not exploring any other ingredient, just the egg specifically.
Use your excitement: I’ve heard, (this is my first time doing 100 consecutive days for a passion project) that day 30-35 are the hardest. If you’re not genuinely interested or excited you’re going to quit. Simple as that.
Use what you’ve got: this goes with keeping it simple. No need to buy and have to learn to use all new equipment for this project. And chances are, you’ve got supplies or tools that are collecting dust that could use a little love.
Use pre-generated content: Reducing the amount of decisions you have to make every time you sit down to create is key. It helps simplify. For me, I’ve written down 150 different flowers to choose from. I just go down the list and start from there. I don’t have to research flowers every time I sit down to paint.

Be nice to yourself: chances are, you may not initially see what you have envisioned in your head when you start this project. But the whole point of the 100 day project is to get better or more comfortable with something. There are some flower paintings that I’ve done (like Cleome and Chrysanthemum) that I wasn’t too excited about. That’s okay. I got it done!! DONE IS BETTER THAN PERFECT. Learning to be kind to yourself through this whole project is benefit enough to get started, don’t you think?

So, there you go. It can be as easy as making eggs for 100 days. Making your bed for 100 days. Painting flowers for 100 days. It’s entirely up to you!
Artists I love doing it too…
I hope you follow along and perhaps get in on the project, too!!