I’ve had no idea what to do with the corner of our living room from the first second we moved in. The previous lamp was too big & my attempt to modernize it was just as much of a failure as wee wee pads on Project Runway. I finally got clarity after chucking the darned thing & getting a little pinterest inspiration.

Before I chucked the lamp, I had bought a new shade for it from DI for $2 in hopes that it would fit. Alas, it did not! It was too short & wide for the lamp’s tall & skinny profile. Once the lamp was gone, though, I still had a great shade, but no lamp. I thought about buying a table lamp, but it just seemed that the room would be lacking some height in the corner. It was then I realized that I wanted to do a ceiling lamp. I still wanted to incorporate some orange in there somehow, so when we got to dyeing a few weeks ago, it only seemed natural that I dye my tan shade orange.

I opted for an ombre because it’s gorgeous & takes very little effort & dye bath in order to make it work. See, you need a bath as wide in diameter as your shade, & as tall as your shade. Since I didn’t need it to go all the way up, that saved me a lot of time & boiled water.

Finding the right fixture for making this shade a ceiling lamp was tricky. At least I thought. I planned on going to Lowe’s & following an expert around while they imparted their complicated electrical knowledge. That didn’t happen, or need to happen. I was able to find all the right stuff on one aisle & in about 3 minutes. I made Chris put it all together, though. I’m becoming DIY lazy in my old age.

As soon as we hung the lamp, my problem was fixed! I feel so much more resolved about our living room decor! I have a couple more things to do before it’s finished, finished, but I’ll be sharing the rest of the details with you soon. What do you think? Would you have dyed your lamp shade? I’ll surely be doing it again!!
• • •

This is pam. Pam shares her transformed outfits here. She also shares pictures from the party here.
This project was one of the few things I finished during our Rit Dye party. We had so much fun! It was only a couple of us that ended up able to do it, but we had a great time chatting & mixing colors. What creative gal wouldn’t want to spend her saturday afternoon talking about everything under the sun while doing crafty things & eating delicious cupcakes?!?
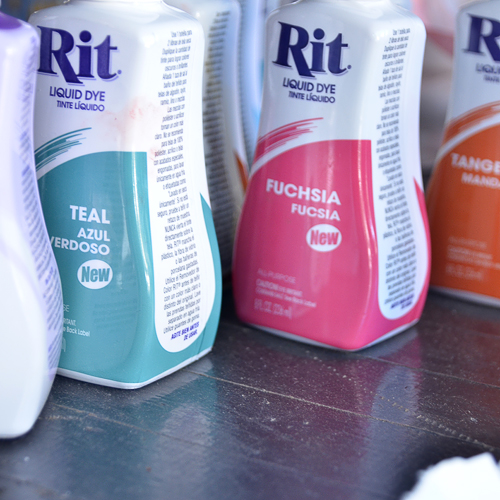
I loved working with Rit Dye. It was a lot easier working with it than I previously thought! We didn’t need giant tubs for dyeing like I thought we did. The only toughie was transporting hot water down the stairs to our garage – next time I dye I’m doing it on our back porch, just outside the kitchen. Having hot water near would be a lot better. The colors turned out fantastic & the dye ended up giving new life to SO many garments! Here are a few things I’ve learned:
- no matter how annoying gloves are, I need to wear them when dyeing
- make sure I have plenty of plastic bags around to separate colors – I accidentally stained a few shirts with one project
- keep hot water near
- buy more salt
- dyeing with friends is awesome
- liquid dye is king
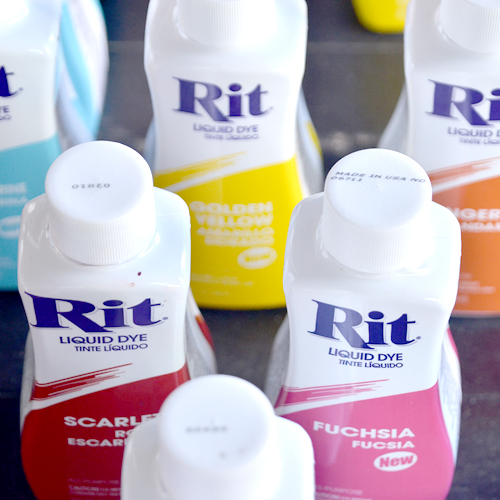
I’m going to do more dyeing projects in the future & try some new techniques. It’s fun how similar dyeing clothes is to watercolor. Batik – you’re up next!!
Dye provided by Rit Dye.





the lamp is awesome. i need something similiar in our corner. good work on the dye job.
This is fantastic, the ombre is so cool and I so want to try this with a lamp now!
i want to host a dye party now! the lamp turned out beautiful!
I cleaned out my closet the other day and was just about to chuck these two old, dingy-white Gap t-shirts that I haven’t worn in ages. Then I was like “wait. You do not read crafty blogs for nothing. Be like Melissa and dye these suckers!” so I had my first dyeing experience this morning, and it was a total success! Thanks for the inspiration!
I’d never have thought to dye a lampshade. Such a great look!!
I’ve never used Rit dye by hand, but I’ve used it in the washing machine before – it worked great! It’s also awesome for re-dying black clothes black again when they start to fade. :)
i love the liquid Rit dye too. I would never use the powder again! I really love your ombre lampshade and it fits perfectly in that corner. Well done!
Dyeing a lampshade?! You may have just saved me a lot of time and effort looking for a new lampshade! My father-in-law gave me this really cool art-deco/modern lamp with a lampshade that is a little drab (very similar to your’s), so I figured I just needed to replace it. Now I think I’ll just dye it. Thank you for sharing this project!!
very original!
Genius, as usual. I would never have thought to dye a lamp shade! Unrelated–I love that print on the wall with the golden rule. I remember lusting over it when it came out, but I forgot where to get it. Do you know if it’s still available?
oh oh i LOVE! such a great idea, great look!
1. Hanging lamp = brilliant. 2. Cant wait for the full living room reveal. 3. where do you find all those RIT colors???!!!! I have only found it at walmart and the color choice is limited. very limited. Maybe I should try Target…
[…] That modern chair you see in the background was from the thrift store & the pillow was hand made. Lamp was thrifted & DIYed. […]
[…] I still love you […]
I love the lampshade! It turned out gorgeous; I am inspired to try it! ( I do wonder if you might like the light hanging a bit lower so the bottom of the shade is level with the art hanging on the side wall. As it is , it blocks your charming temple and looks a tad out of balance. But maybe it’s just me. In any case, it was well and cleverly done!)